Usage
Once the Ionic Enterprise Windows platform is installed in your app, usage follows the typical Capacitor Development Workflow.
CLI Workflow#
The Windows platform provides support for the common commands used during Capacitor development: add, open, sync, and copy/update.
Add Windows Platform#
In your Capacitor app, add a new windows platform project:
npx cap add @ionic-enterprise/capacitor-windowsNote, the @ionic-enterprise/capacitor-windows package must be npm install'ed before running this command.
Opening Visual Studio#
To run, test, and publish your app, Visual Studio should be used. See the Using Visual Studio guide below for more details.
To open the windows project in Visual Studio:
npx cap open @ionic-enterprise/capacitor-windowsThis will try to find Visual Studio 2022 and 2019 in that order, based on their default installation locations. To specify the exact location of the Visual Studio installation, set the CAPACITOR_VISUAL_STUDIO_PATH environment variable to the exact location of the devenv.exe file for your preferred version of Visual Studio, and then re-run the command.
Syncing web assets and native plugins:#
To sync both web assets and any windows-specific native plugins:
npx cap sync @ionic-enterprise/capacitor-windowsCopying web assets only#
To perform only the web asset copy part of the sync operation:
npx cap copy @ionic-enterprise/capacitor-windowsUpdating native plugins only#
To perform only the native plugin update part of the sync operation:
npx cap update @ionic-enterprise/capacitor-windowsUsing Visual Studio#
To open your app project in Visual Studio, use the open command above.
Running the app#
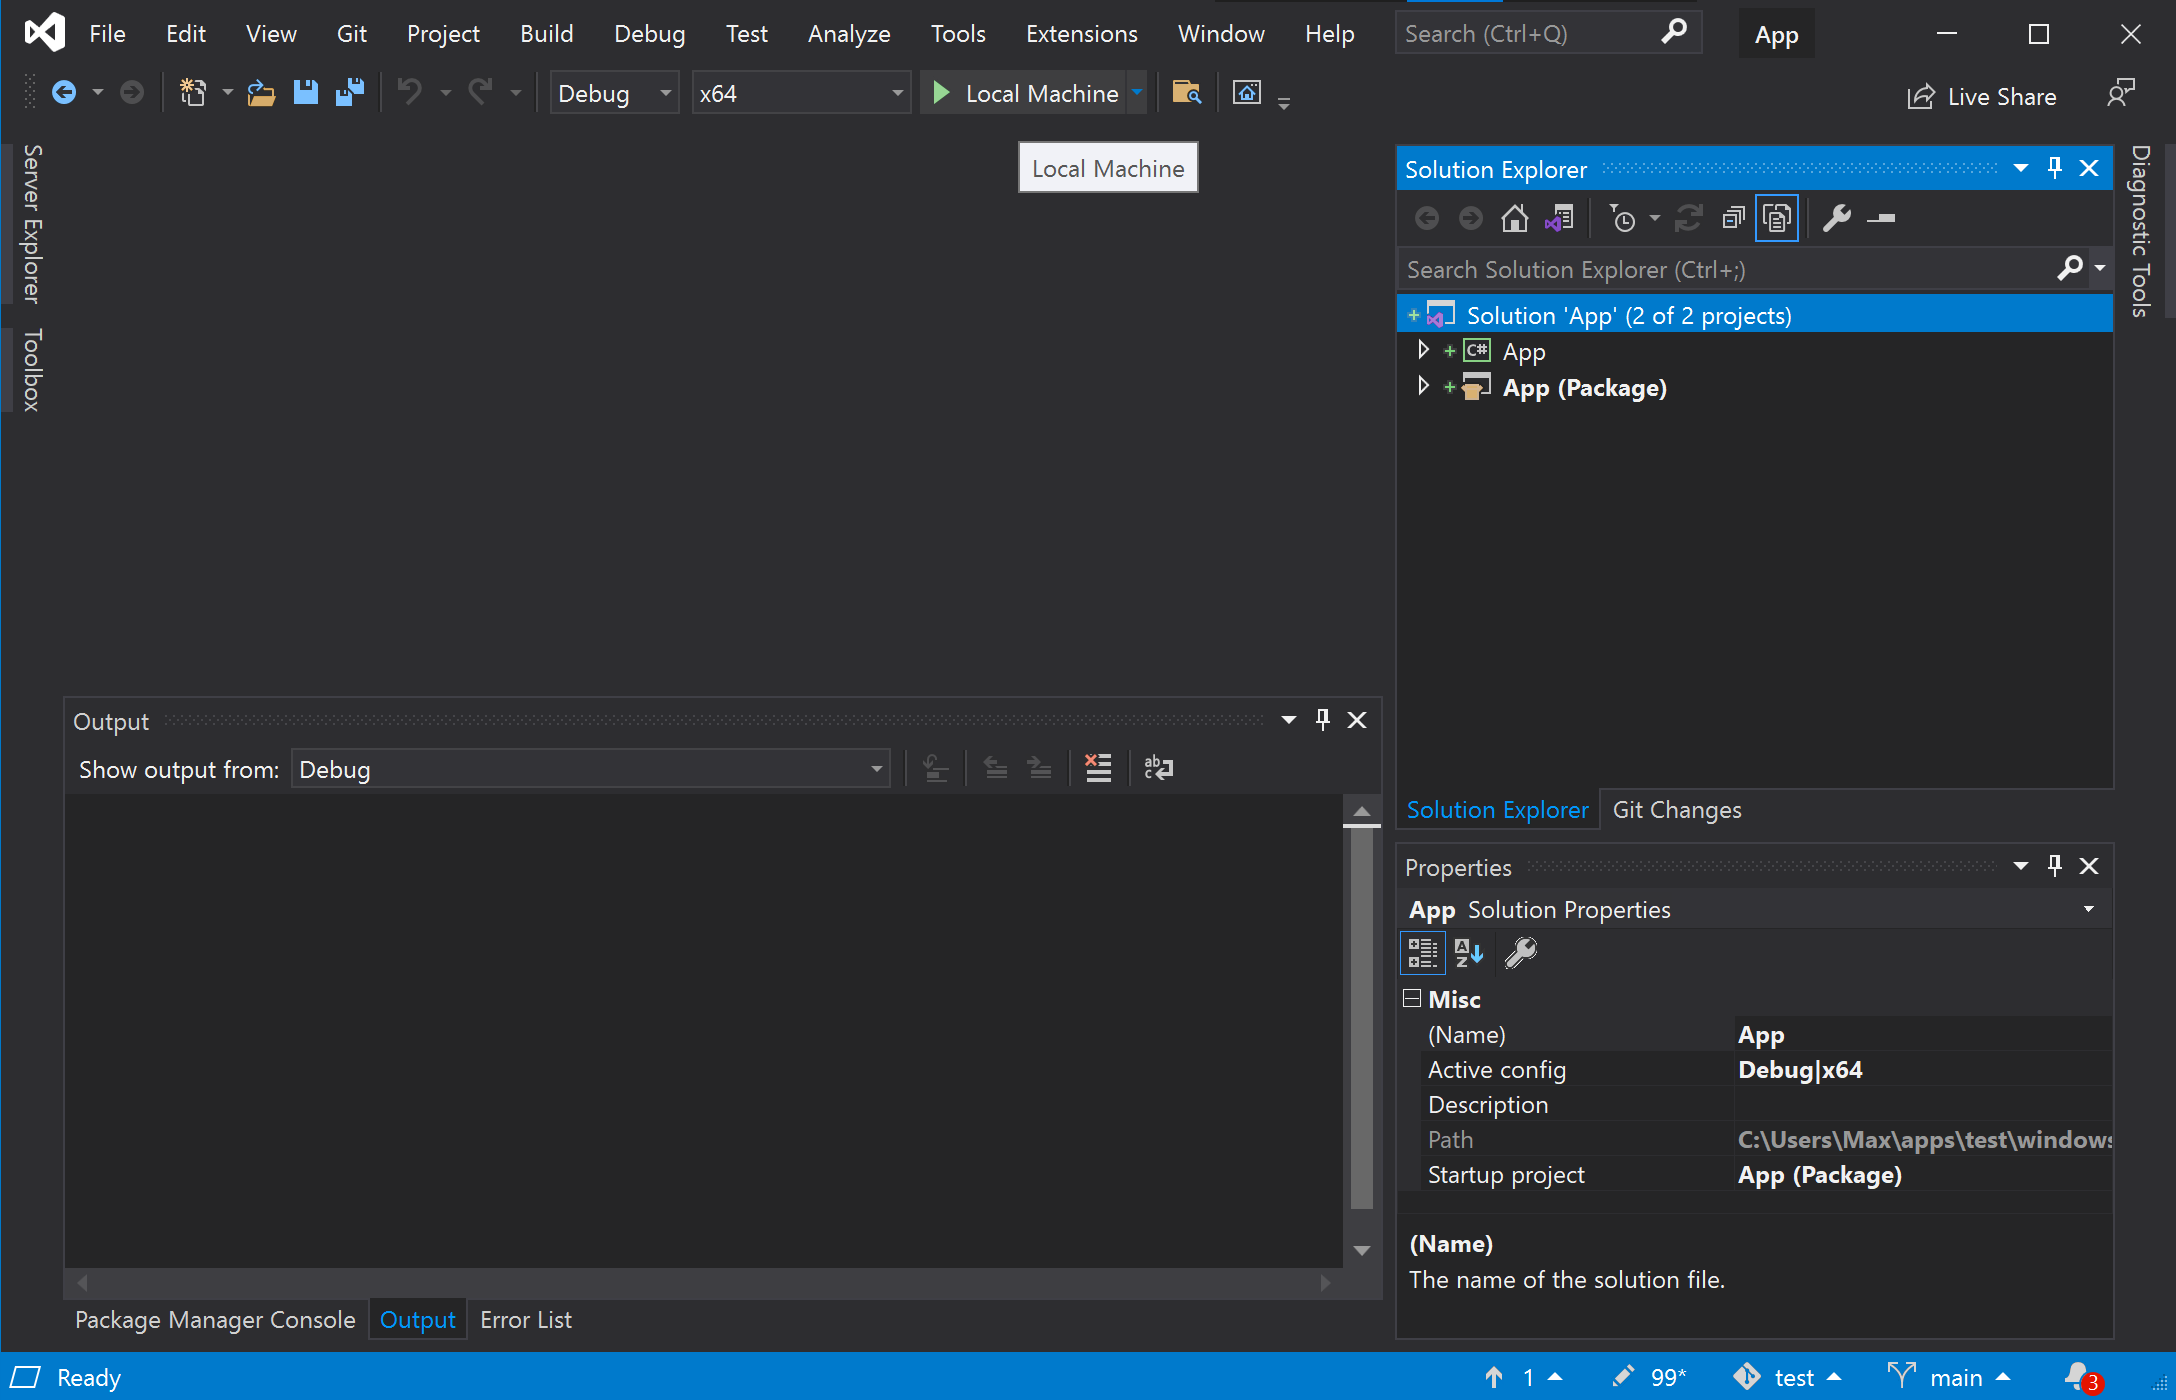
To run the app, use the Local Machine button in the toolbar:
Building the app#
To manually build the app solution, run Build -> Build Solution in the main menu:

Debugging the app and plugins#
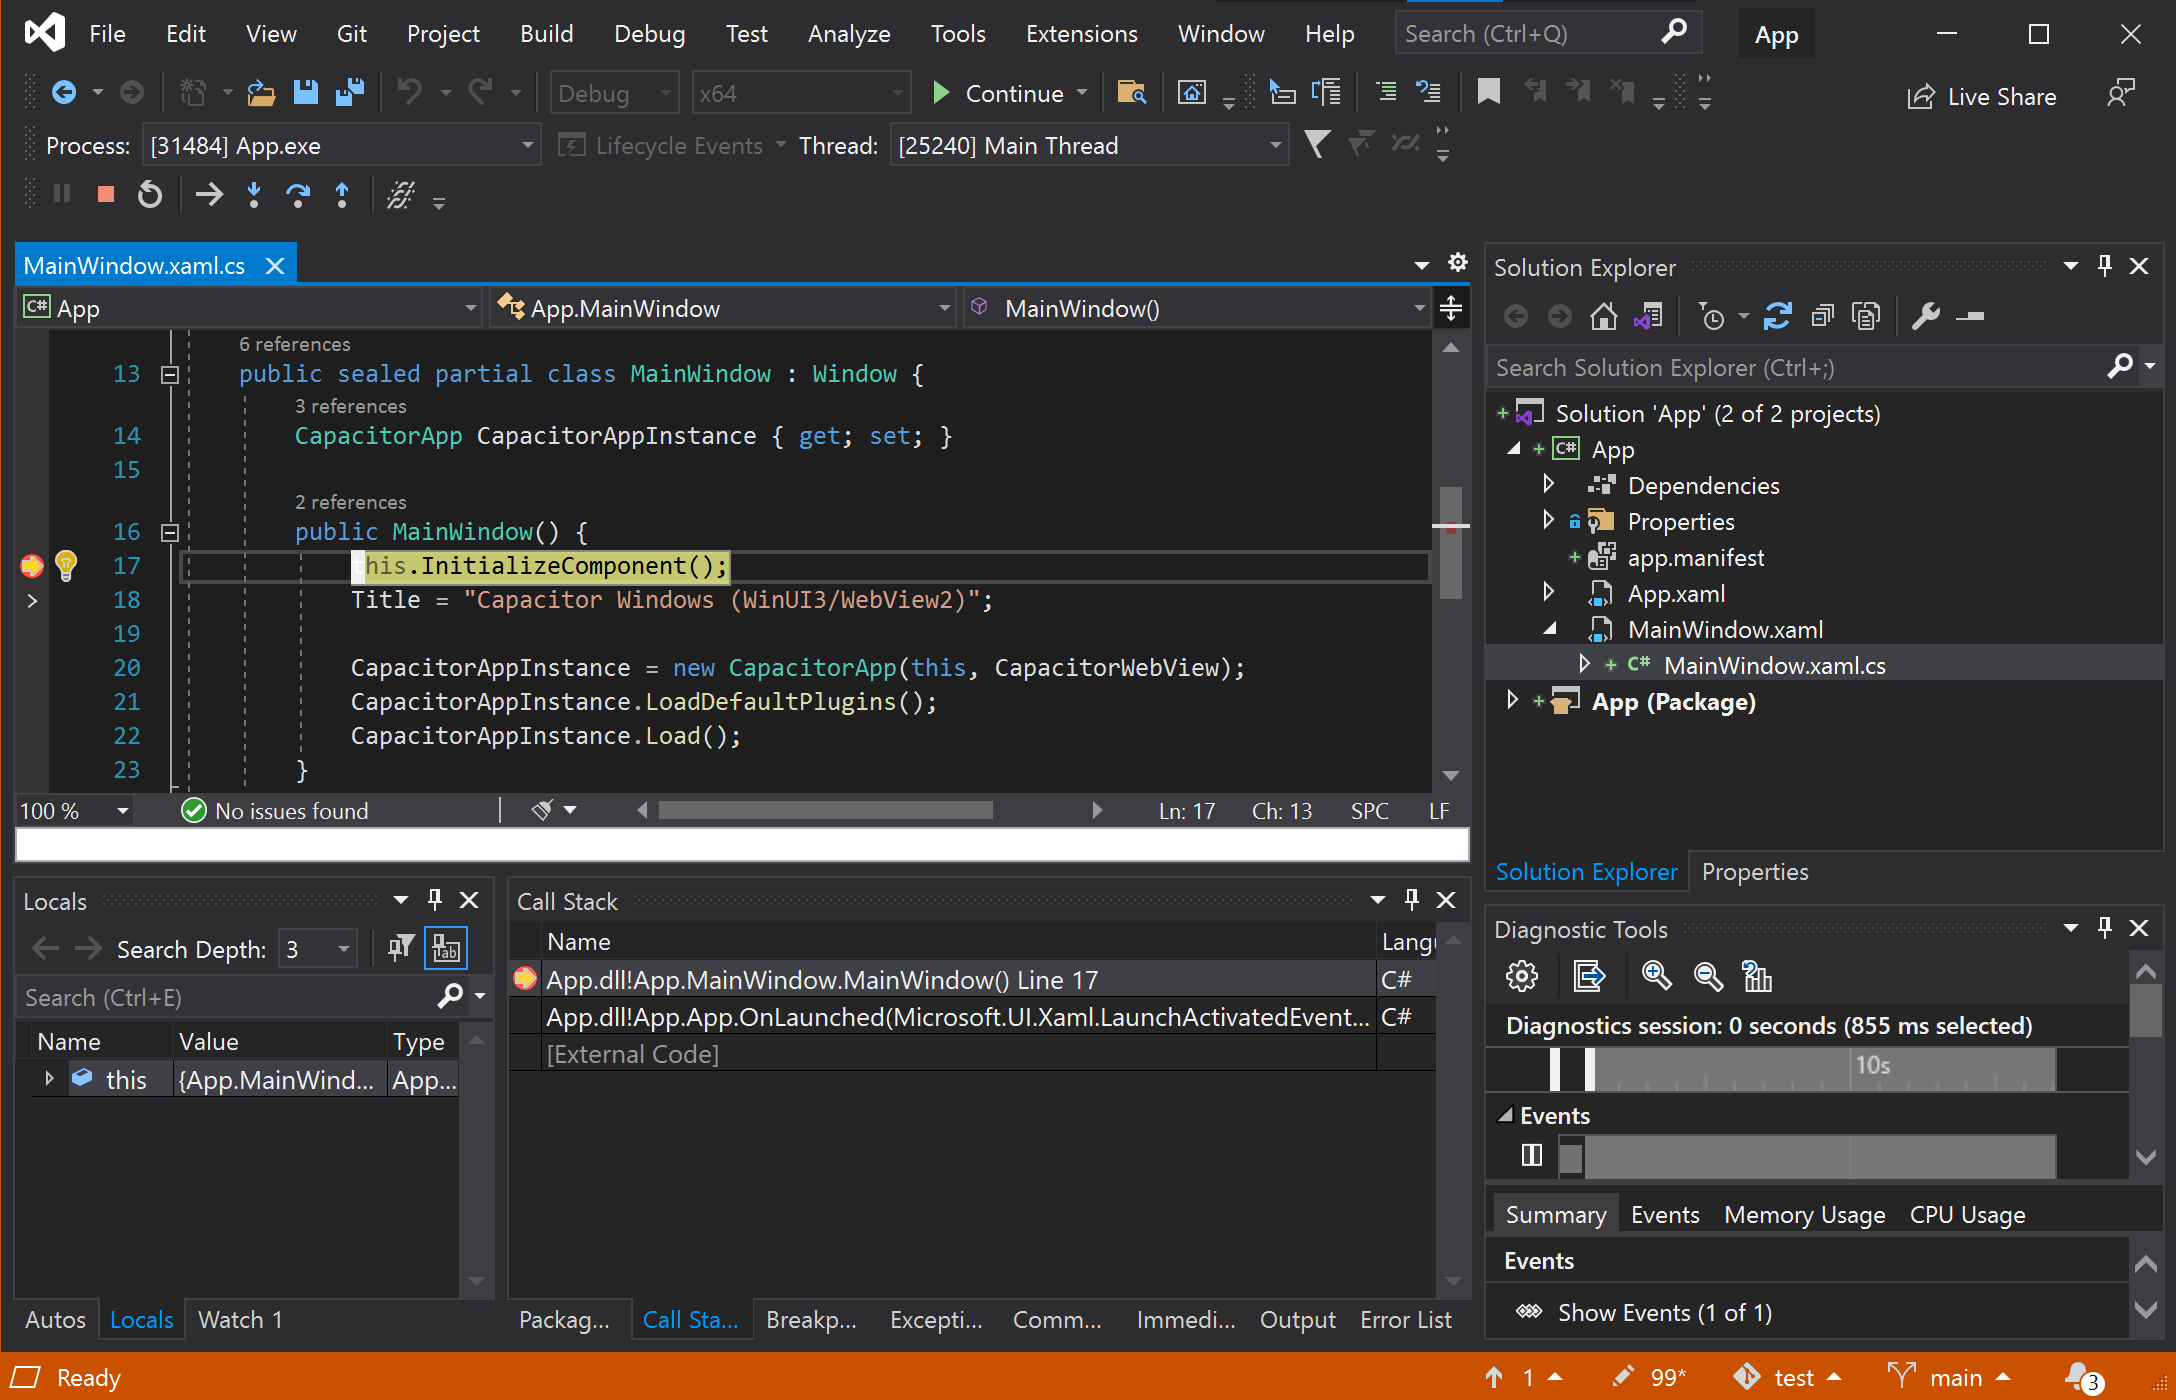
To debug any native code, such as custom plugins, set breakpoints in the Visual Studio debugger and use the debugging toolbar to step through code:
Installing NuGet Packages#
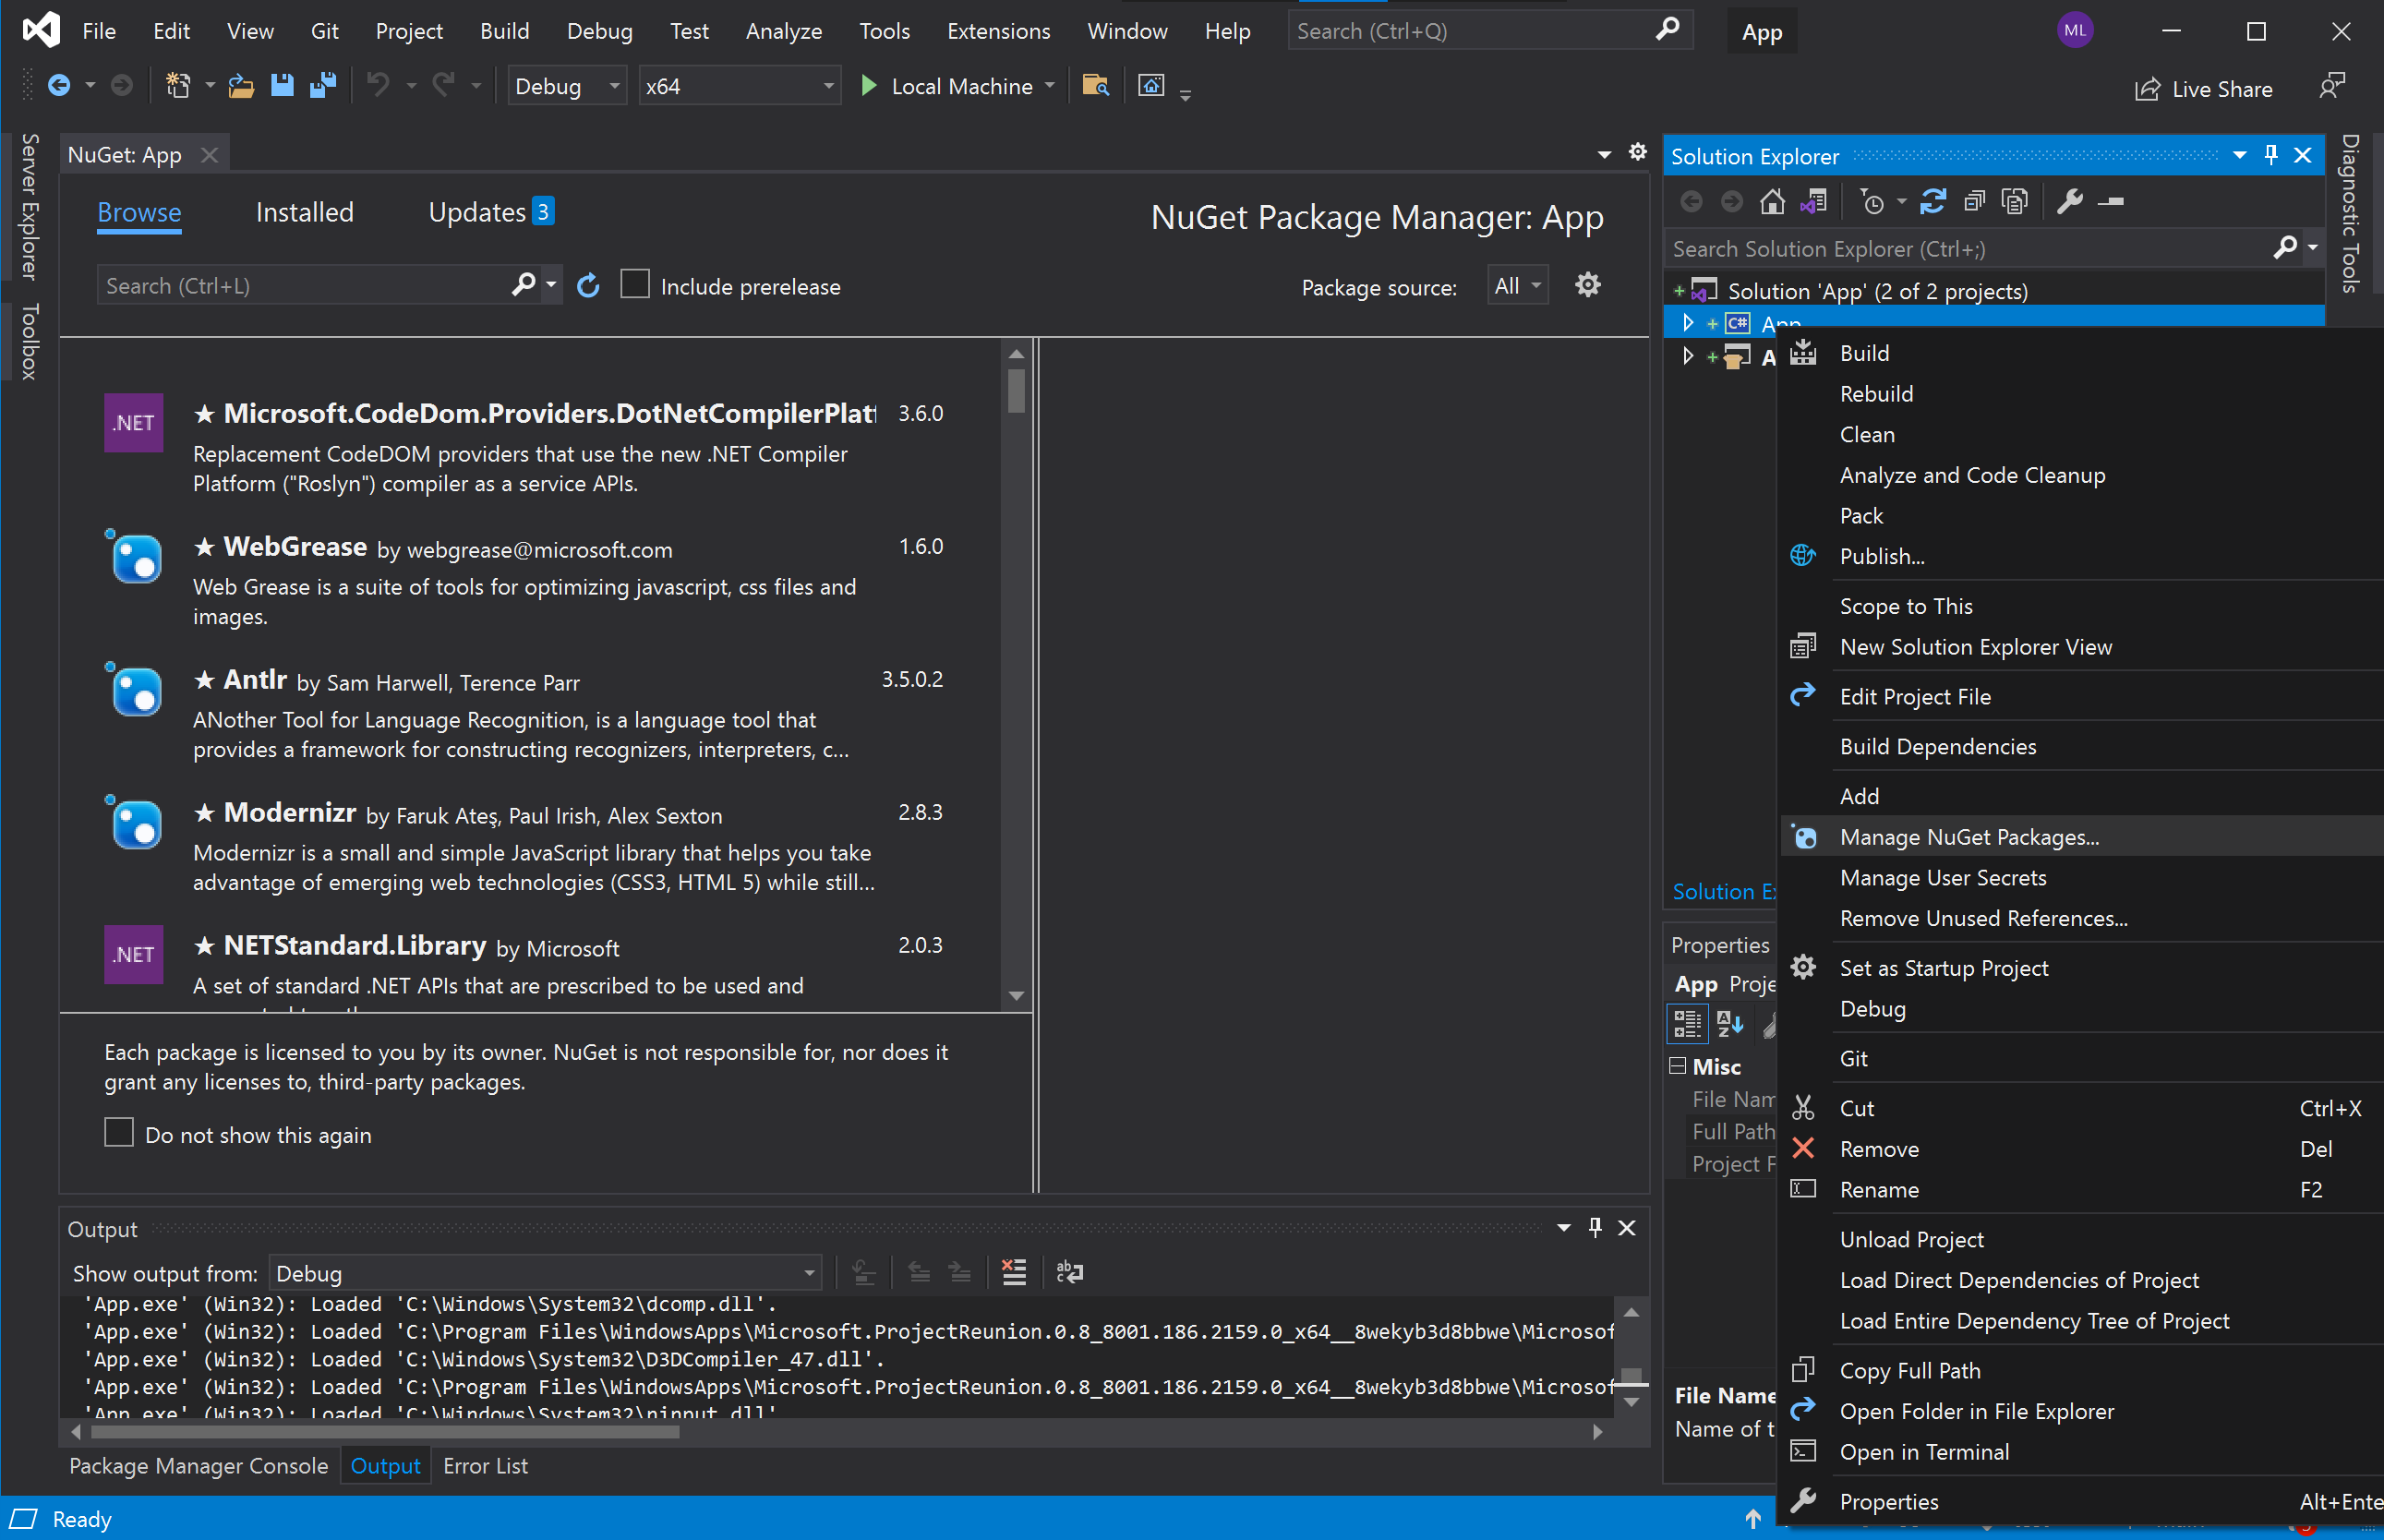
If your app needs a new native dependency (such as a new .NET library), right click on your App project, and choose Manage NuGet Packages.... Make sure to set the Package Source is set to All to browse packages from all referenced NuGet sources.
Updating NuGet Packages#
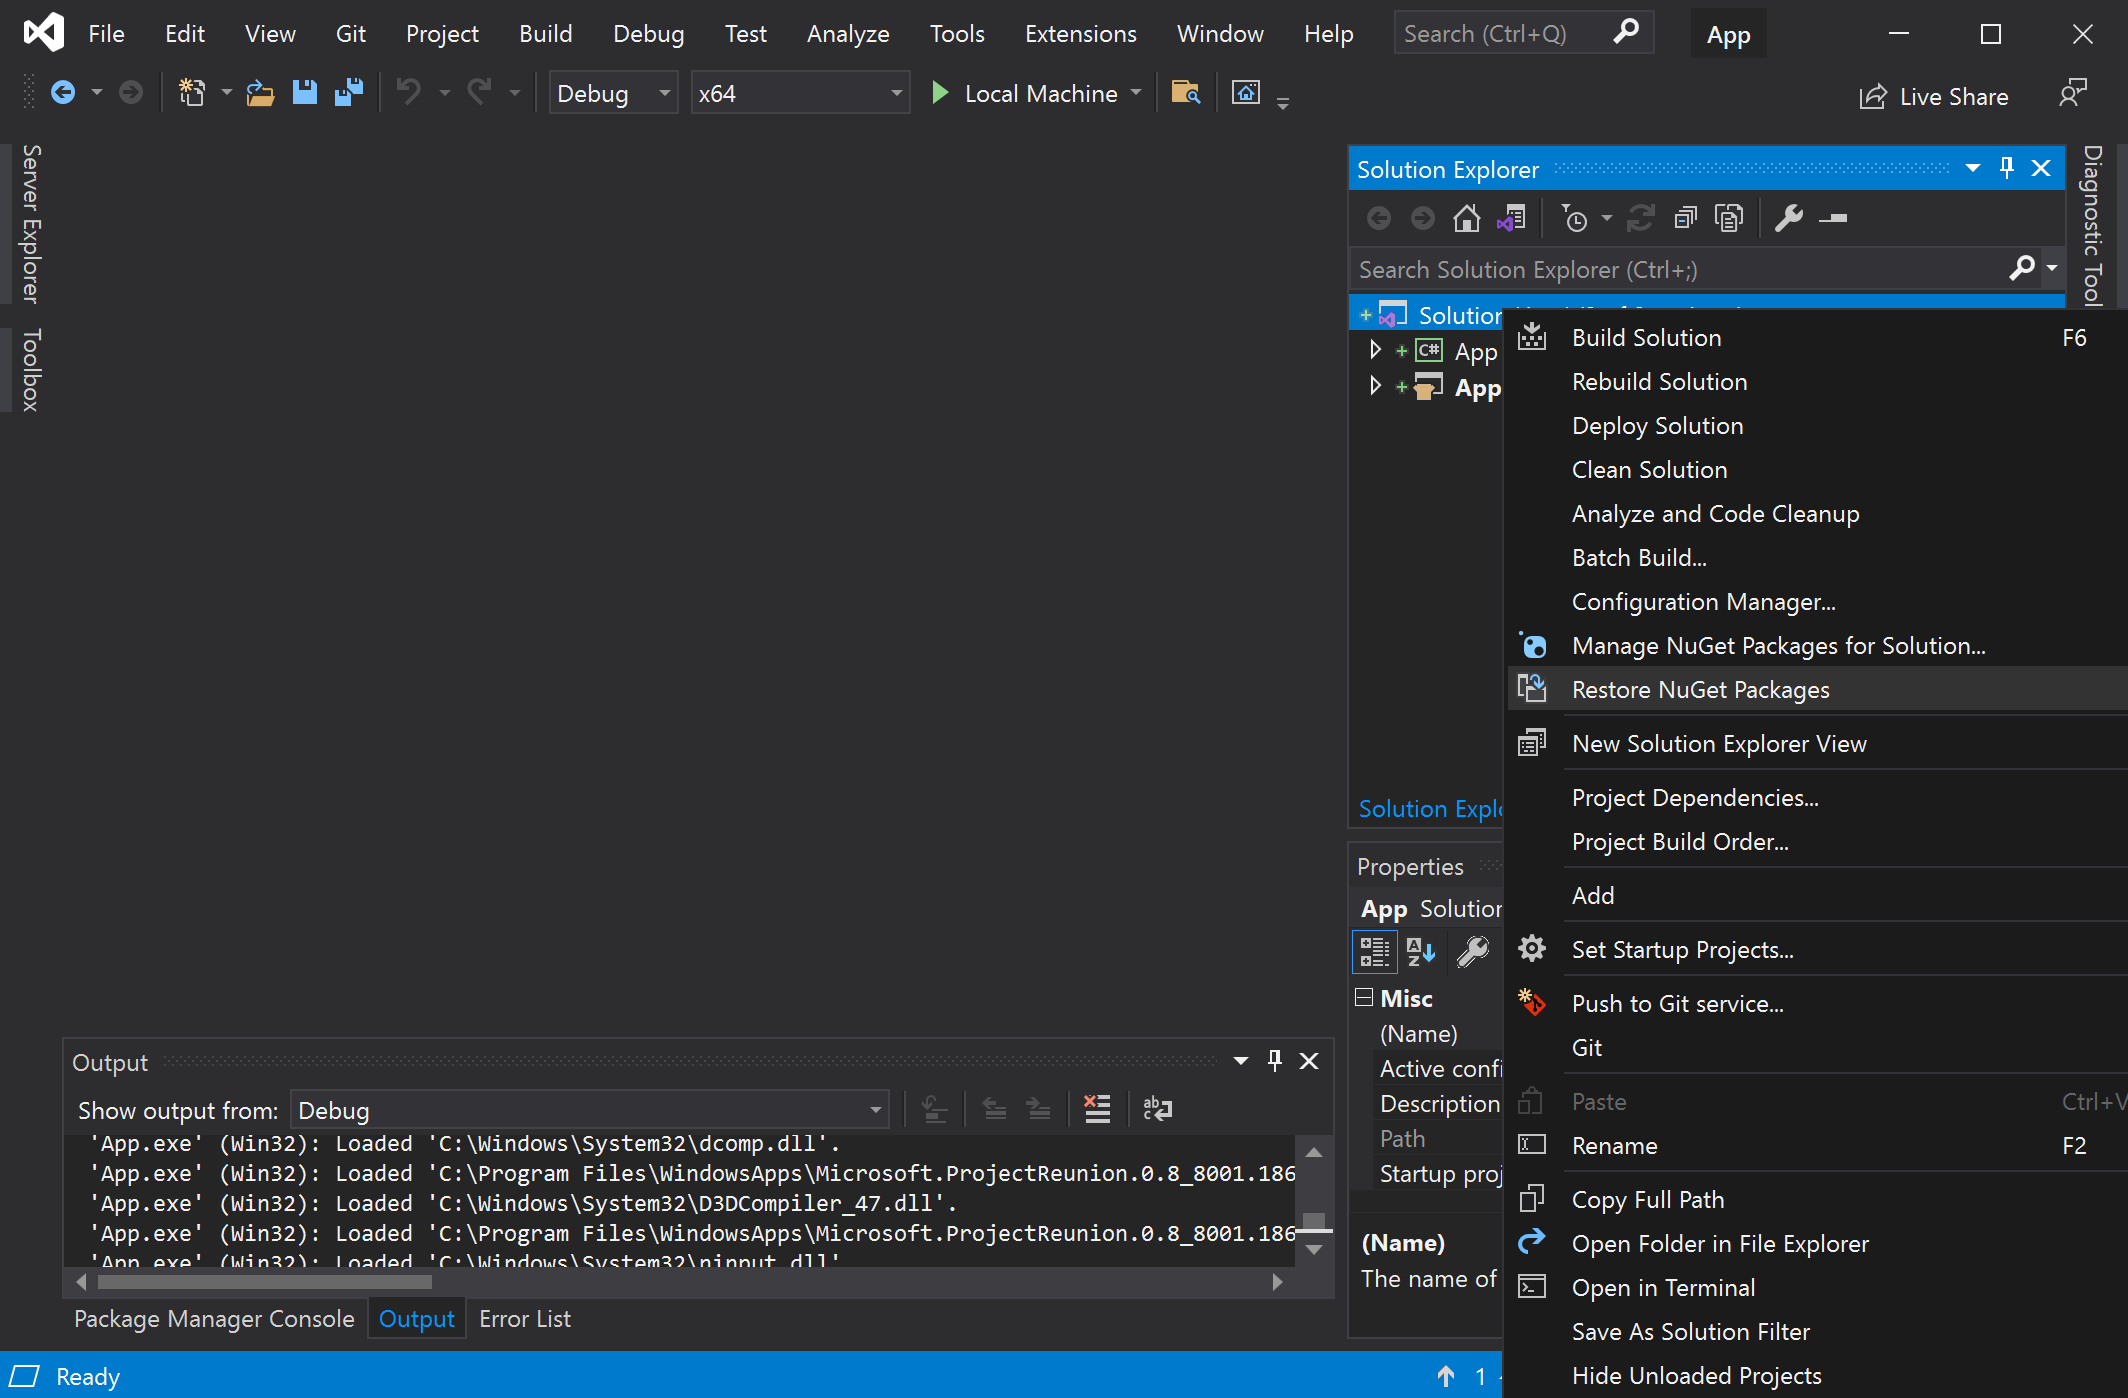
To manually restore any NuGet packages, right click on the solution in the Solution Explorer and choose Restore NuGet Packages.
Packaging and Publishing#
When your app is ready to package and publish, follow the Publishing guide to see how to build a package for manual or Microsoft Store distribution.