Single sign-on with Auth Connect
Auth Connect makes it easy to add single sign-on and secure authentication to your app. The hard work of setting up the infrastructure to login, logout, and utilize token refresh for every platform using OpenID Connect is all done for you! When paired with Identity Vault, the authentication and storage of logged-in credentials becomes completely secure.
We will soon talk about configuring Identity Vault into your application, but first we have to dive into just the authentication process. Auth Connect supports many popular auth providers, such as Auth0, AWS Cognito, Azure AD, and more! Auth0 will be our auth provider of choice for this demonstration.
Install Auth Connect#
First, you need to have Auth Connect installed. This will use the Enterprise Native Key you added to your app in the last step. To do this you can issue the following command:
npm install @ionic-enterprise/authLet's now ensure we have a web build at our disposal using:
ionic build --prodNext, you will add iOS and Android native platform projects to your app via the following:
npx cap add iosnpx cap add androidFor each, it may have you run a related Capacitor install first. If so, follow those prompts, then re-run your desired command.
With iOS and Android projects added you can copy the web app build and Capacitor configuration file into the native platform projects, as well as update the native plugins and dependencies using the following command:
npx cap syncMore information on these commands can be found by visiting the Ionic CLI docs and the Capacitor CLI docs.
Update Auth Scheme#
Once the above is settled, the Android Manifest in your project needs a tweak. You will need to add the following intents next to the other intents in the main activity node:
<intent-filter>    <data android:scheme="$AUTH_URL_SCHEME"/>    <action android:name="android.intent.action.VIEW"/>    <category android:name="android.intent.category.DEFAULT"/>    <category android:name="android.intent.category.BROWSABLE"/></intent-filter>
<intent-filter> <action android:name="android.intent.action.SEND"/> <category android:name="android.intent.category.DEFAULT"/> <data android:mimeType="text/*"/></intent-filter>iOS will need a slight adjustment too. Go ahead and add and/or update the CFBundleURLTypes node in Info.plist with the following:
<key>CFBundleURLTypes</key><array> <dict> <key>CFBundleURLSchemes</key> <array> <string>$AUTH_URL_SCHEME</string> </array> </dict></array>$AUTH_URL_SCHEME can then be replaced by the bundle id of your app in both projects. If needed, you can find more information on this process in the Auth Connect Installation Guide.
Create an App on Auth0#
Alright, now it is time to get our auth provider set up to be used within our app. Head on over to auth0.com and create an account if you don not have one already. Once you are logged in, you can head to their Applications section where you can choose to Create Application. Give the app a name and choose the Native application type.
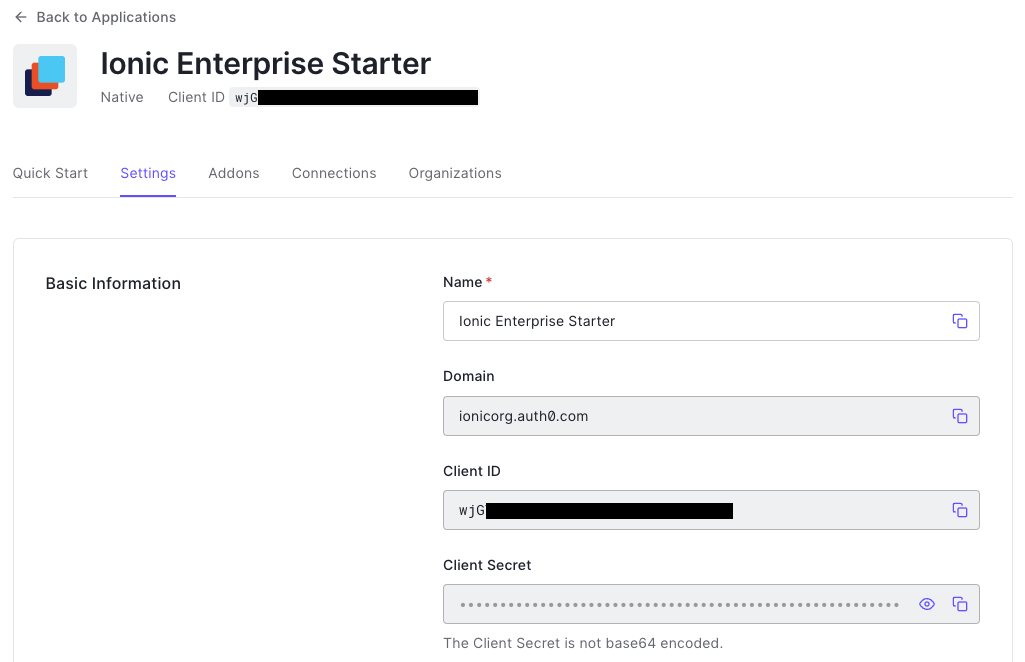
Next, you'll navigate to the Settings section and fill out the Allowed Callback URLs and Allowed Logout URLs. The Allowed Callback URLs are used after the user signs into Auth0 and needs to tell Auth Connect which page to redirect to in your app. The Allowed Logout URLs are therefore used after the user signs out of Auth0 and needs to tell Auth Connect where to go next.
Typically, the formula used for the Allowed Callback URLs is "uniqueId://page". "appName://callback" is a more concrete example. The same forumula is used for the Allowed Logout URLs as well. A more specific example would be "appName://login". Other configurations can work as well, so do not feel like those are the only options. Those examples are purely a recommendation.
Additionally, we need to create a user that can eventually log in to our app. Head on over to the Authentication section in Auth0 and click into Databases. You can then either update the default DB with your user or create an entirely separate DB just for your new app using the Create DB Connection button. If you do create a new DB, be sure to add it as a connection to your new app! Our example will utilize a new user added to a specific DB newly generated and connected just for this given app.
With Auth0 set up, we can bring the configuration properties over to our app.
Setup Auth Configs in the App#
To utilize our Auth0 configs, we need an Authentication Service and an update to Angular's environment files. To generate a new Authentication service we can run the following:
ionic g service services/authenticationThe newly created AuthenticationService class should be extended to utilize IonicAuth which handles much of the authentication logic behind the scenes. This new service will utilize our configs we will setup in the environment.ts file:
import { IonicAuth } from '@ionic-enterprise/auth';import { authOptions } from '../../environments/environment';
export class AuthenticationService extends IonicAuth { constructor() { super(authOptions); }}The authOptions inside of environments.ts will take a form similar to the following:
import { IonicAuthOptions } from '@ionic-enterprise/auth';
export const authOptions: IonicAuthOptions = { authConfig: 'FILL_IN', platform: 'FILL_IN', clientID: 'FILL_IN', discoveryUrl: 'FILL_IN', redirectUri: 'FILL_IN', scope: 'FILL_IN', logoutUrl: 'FILL_IN', iosWebView: 'FILL_IN',};However, the configuration that is used inside of AuthenticationService needs to be slightly different depending on the run-time platform. So we can make a few adjustments:
import { IonicAuthOptions } from "@ionic-enterprise/auth";
const authOptions = {  authConfig: "auth0" as "auth0",  clientID: "YOUR_AUTH0_CLIENT_ID",  discoveryUrl: "https://YOUR_AUTH0_DOMAIN/.well-known/openid-configuration",  scope: "openid offline_access email picture profile",  audience: "",};
export const nativeAuthOptions: IonicAuthOptions = {  ...authOptions,  redirectUri: "myEnterpriseApp://callback",  logoutUrl: "myEnterpriseApp://login",  platform: "capacitor",  iosWebView: "private",};
export const webAuthOptions: IonicAuthOptions = {  ...authOptions,  redirectUri: "http://app.enterprise.com/callback",  logoutUrl: "http://app.enterprise.com/login",  platform: "web",  implicitLogin: "CURRENT",};
...The above is purely for demonstration purposes and should be modified to meet your specific setup configuration. However, it is a good representation of reusing the properties that are the same across platforms, as well as giving unique values to those that are not.
Given our run-time dependent options, we can make the change to AuthenticationService to call the right ones utilizing Capacitor:
import { IonicAuth } from '@ionic-enterprise/auth';import { nativeAuthOptions, webAuthOptions } from '../../environments/environment';import { Capacitor } from '@capacitor/core';
export class AuthenticationService extends IonicAuth { constructor() { super(Capacitor.isNativePlatform() ? nativeAuthOptions : webAuthOptions); }}Next up#
With authentication configs setup, we're ready to create our LoginPage.