Add a Login Page
After the tabs-based foundation is created, we can start our journey by creating a login page. This login page will also be responsive so it will be presentable both on desktop and mobile viewports. Eventually, we will implement an authentication guard around the main application, so a user must be logged-in to see the rest of the application.
Generate a Login Page#
From the Terminal pane of VSCode we can create our login page by executing the following command:
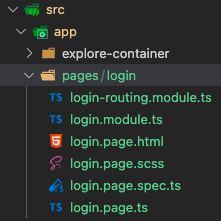
ionic g page pages/loginNow we have pages directory, inside the main src app directory, which houses all of our pages. All of the necessary files pertaining to the login page have been created within the login directory within the pages directory.

Create Responsive Layout#
Having a responsive layout of the login page will ensure that users have an easy experience when it comes to accessing the app, regardless of the platform they are actively on.
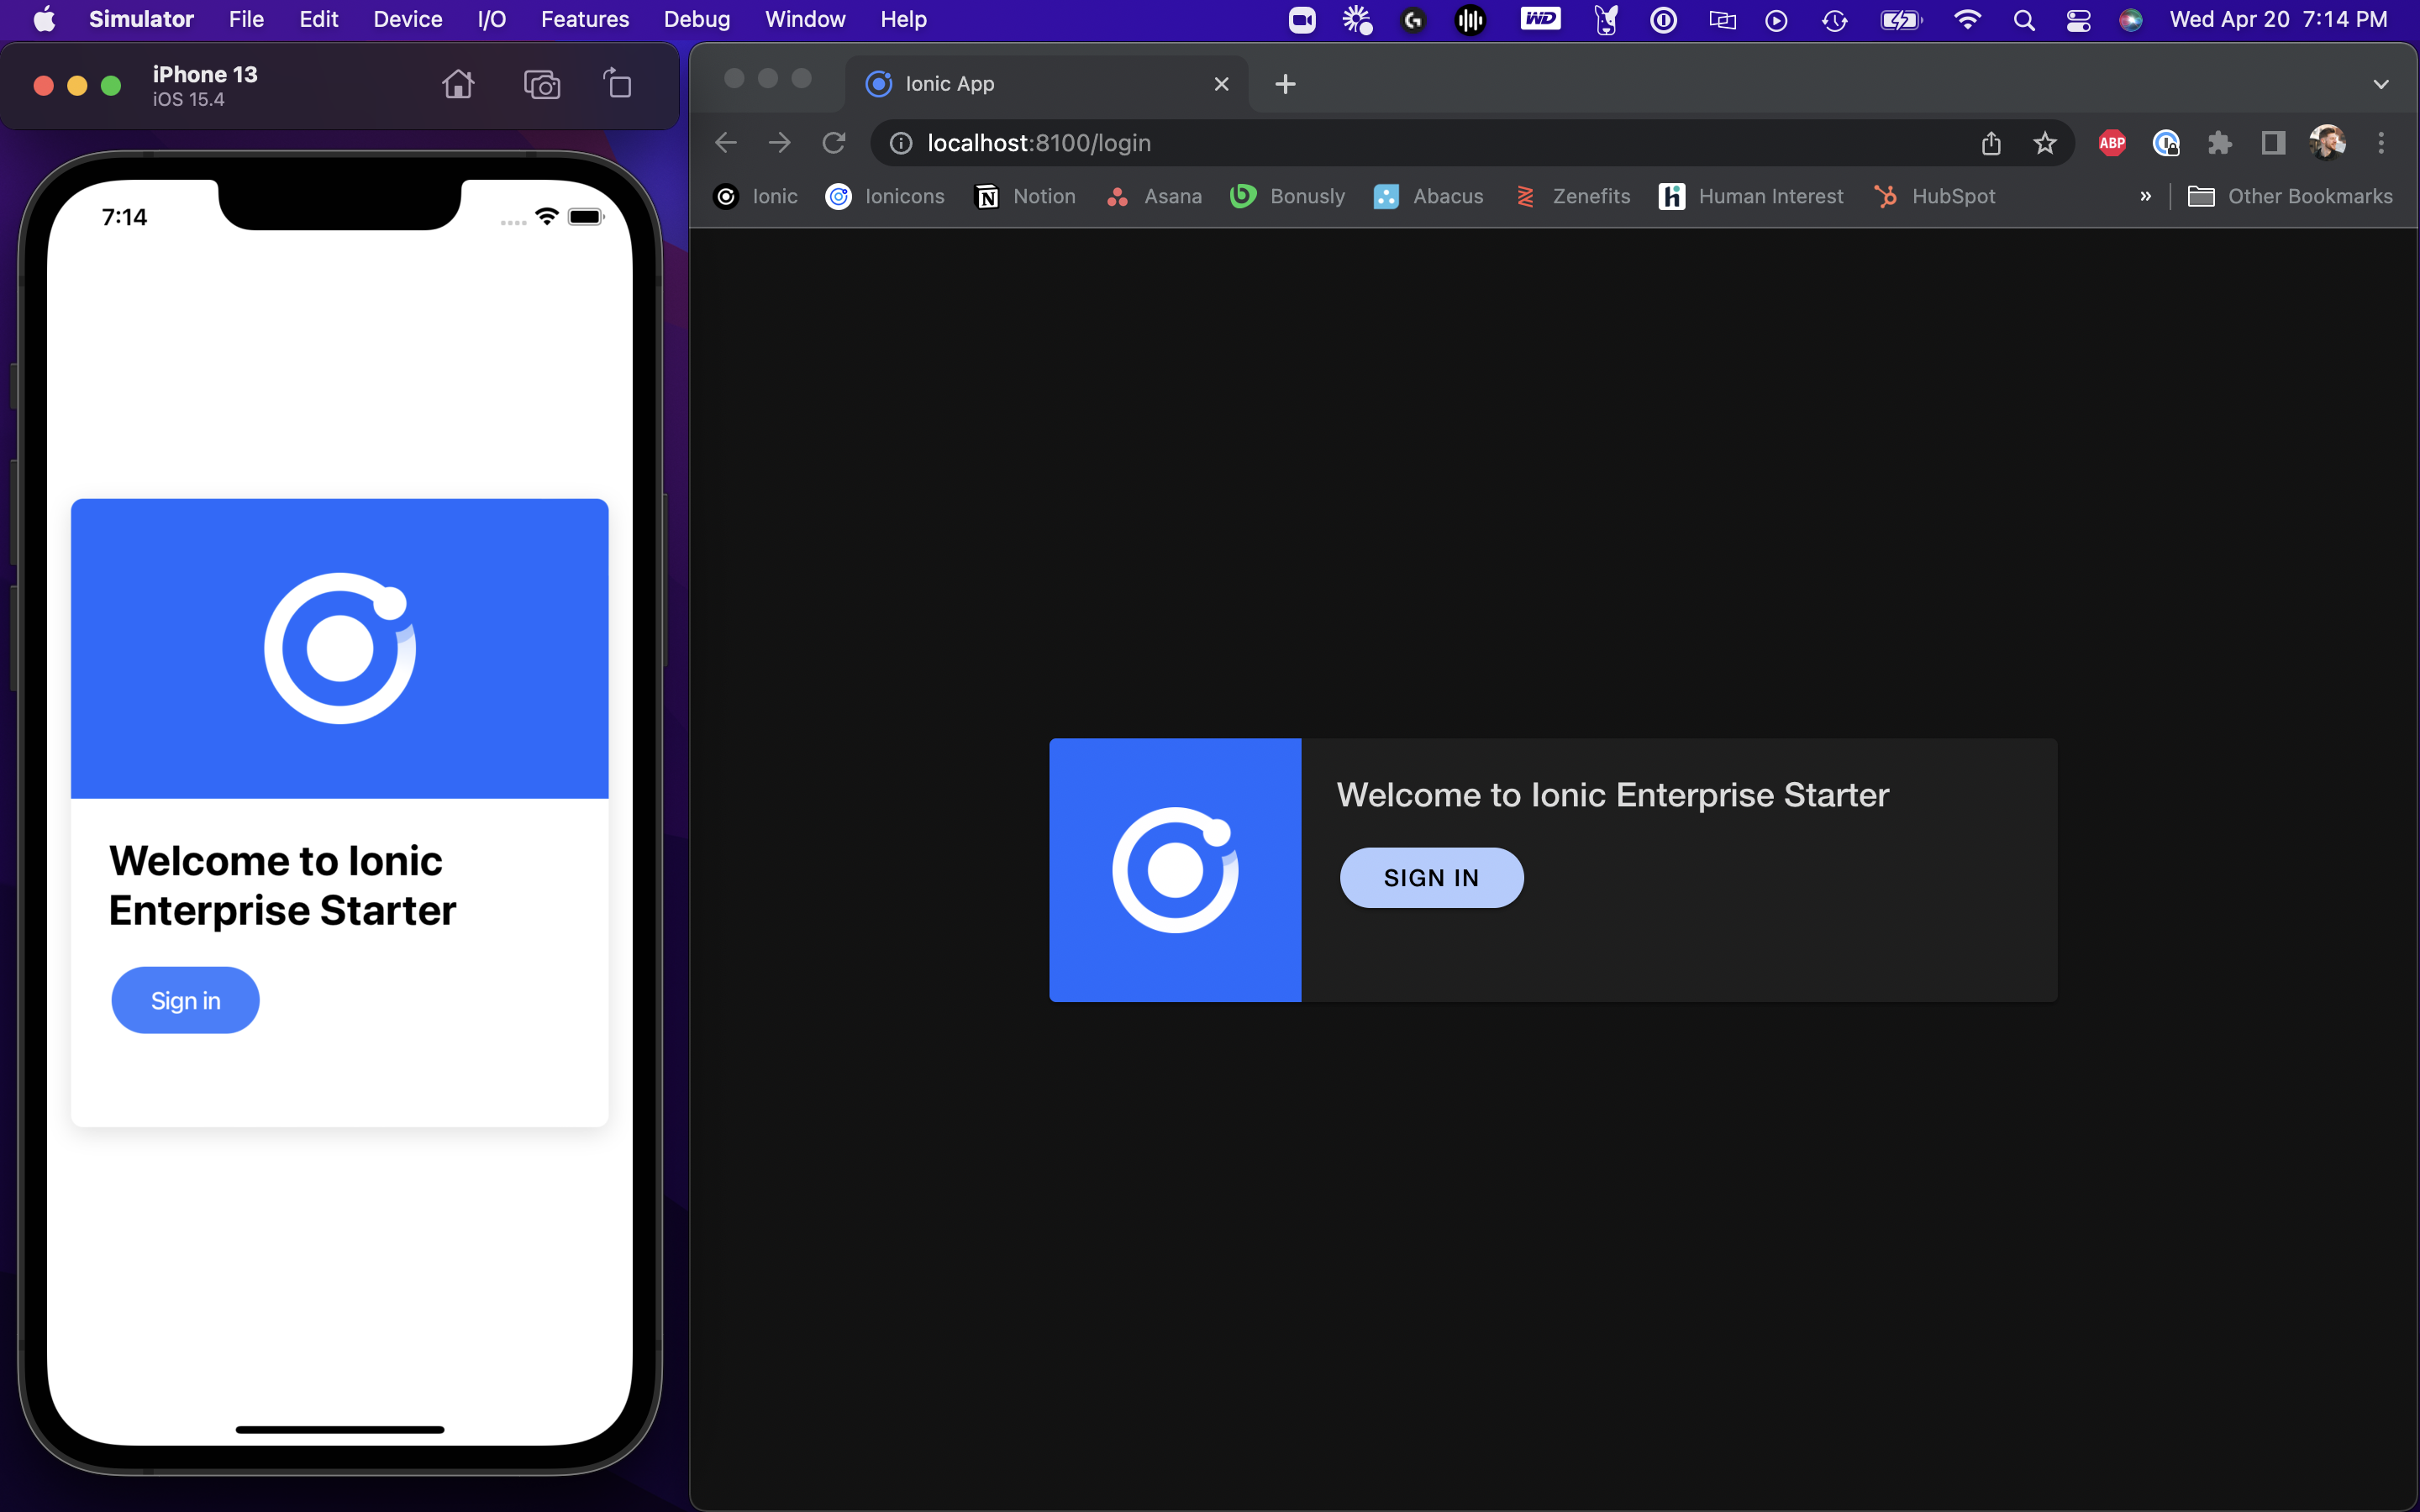
This is done by using a grid-type structure where the columns stack when the screensize hits a certain breakpoint. This would look as follows:
<ion-content>  <div class="card-container">    <ion-card>      <ion-row>        <ion-col size-md="3" size="12" class="ion-padding ion-blue-bkg">          <img            src="https://images.prismic.io/ionicframeworkcom/ac68e1d9-9887-4e5a-9820-9290d06638de_ionic+logo+white+on+blue.png"            alt="Ionic logo"            loading="lazy"          />        </ion-col>        <ion-col size-md="9" size="12" class="welcome">          <ion-card-header>            <ion-card-title> Welcome to Ionic Secure Solutions Starter </ion-card-title>          </ion-card-header>
<ion-card-content> <ion-button (click)="login()" shape="round" color="primary"> Sign in </ion-button> </ion-card-content> </ion-col> </ion-row> </ion-card> </div></ion-content>Since the /login route isn't where your app's router navigates to from the beginning, you'll have to navigate to it manually to start in order to verify your changes. Once there, we can see that given the combination of some styling and logic, the login page will look great whether the user is on the web app or the native app!

Plumb up the Login button#
With the start of our AuthenticationService, we can put the "plumbing" in place to get the sign-in button to work:
...import { LoadingController } from '@ionic/angular';import { AuthenticationService } from '../../services/authentication.service';
...export class LoginPage implements OnInit {  public errorMessage: string;
  constructor(    private authService: AuthenticationService,    private loadingController: LoadingController  ) {}
  async ngOnInit() {    // If coming back after logging into Auth0,    // and using CURRENT Implicit (web) Login    if (window.location.hash) {      const loadingIndicator = await this.showLoadingIndictator();      try {        await this.authService.handleLoginCallback(window.location.href);      } catch (e) {        this.errorMessage = e.message;      } finally {        loadingIndicator.dismiss();      }    }  }
  async login() {    // Display loading indicator while Auth Connect login window is open    const loadingIndicator = await this.showLoadingIndictator();    try {      await this.authService.login();    } catch (e) {      console.error(e.message);    } finally {      loadingIndicator.dismiss();    }  }
private async showLoadingIndictator() { const loadingIndicator = await this.loadingController.create({ message: 'Opening login window...', }); await loadingIndicator.present(); return loadingIndicator; }}You will notice that we do not have an explicit login() function defined within the AuthenticationService, yet we are still making that call. This is because by extending IonicAuth, we get access to that function without any additional work.
For additional safety measures we have added a try/catch, ensuring any errors that occur along the login flow are caught. A loading indicator is shown to assist in the user understanding of exactly what is happening.
Rounding out the login flow, we can update the ngOnInit() to include instructions for when our app user gets pushed back to the app from the implicit web login flow. When they successfully authenticate, the callback parameters are passed on the URL after a hash (#). Thus, we can look for this hash and tell our AuthenticationService what we want to do next. In the next section, we'll show this using the onLoginSuccess() function.
Update Authentication Service#
When the user successfully authenticates with the auth provider, we need to navigate them to the appropriate landing spot within the application. To do this, we will update the AuthenticationService to include routing logic within the onLoginSuccess() function, which is inherited through the parent class and be implemented.
Since we will be routing the user elsewhere, the constructor needs to be updated to inject the Angular Router:
...import { Router } from '@angular/router';
...export class AuthenticationService extends IonicAuth { constructor(private router: Router) { super(Capacitor.isNativePlatform() ? nativeAuthOptions : webAuthOptions); }}With the Router injected, the onLoginSuccess() function can be implemented to push the successfully logged in user to the main route of the app. In this case, we'll push them to '/' which redirects to the tabs routing workflow:
async onLoginSuccess() { await this.router.navigate(['/']);}Next up#
The above layout and styling of the LoginPage are purely just an example. The options are really endless. Have some fun with it, bring your brand to life, and welcome your users with a simple, but effective login process.
Next, we will tackle creating the pages of our application!