Create a Tab-based App
With a bit of background on the solutions we will be using from the Ionic Platform for Enterprise, we will start by creating a tab-based application.
Step-by-step instructions#
note
The below instructions utilize the Ionic extension for Visual Studio Code. If you have not installed the Ionic extension already, you can do so here.
Follow these steps along with the video above:
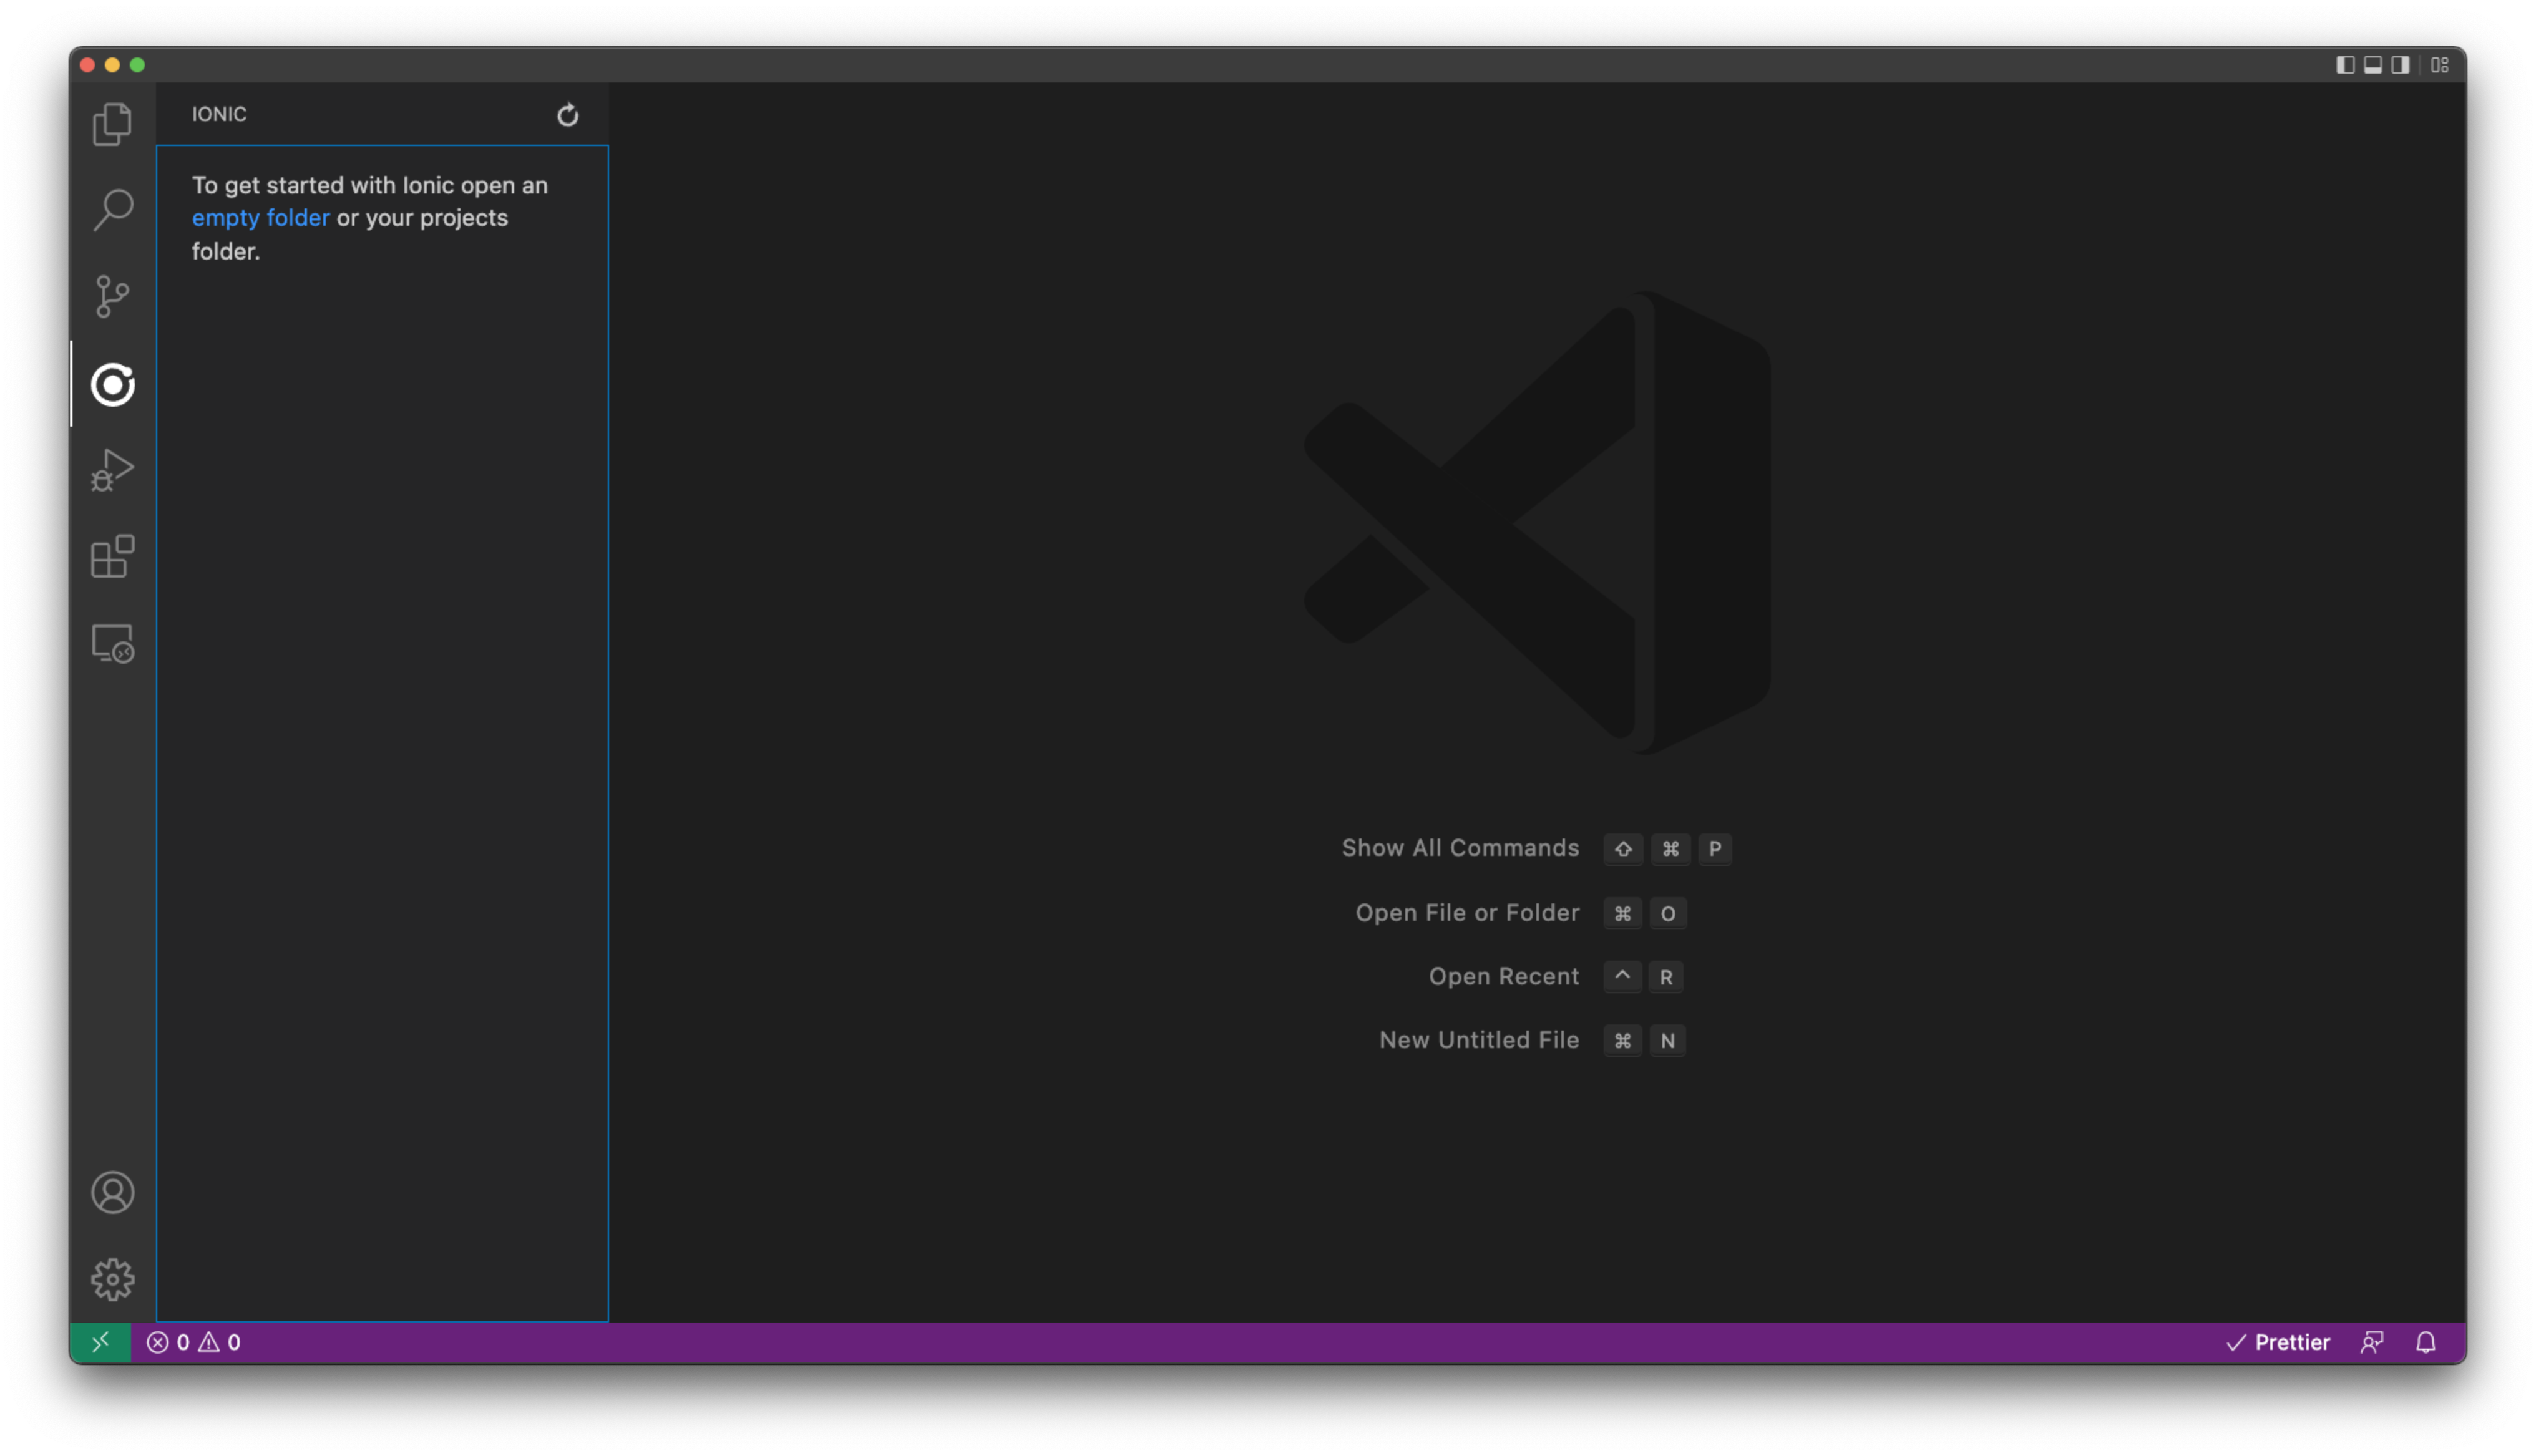
- Open Visual Studio Code (VSCode) and click on the Ionic extension.
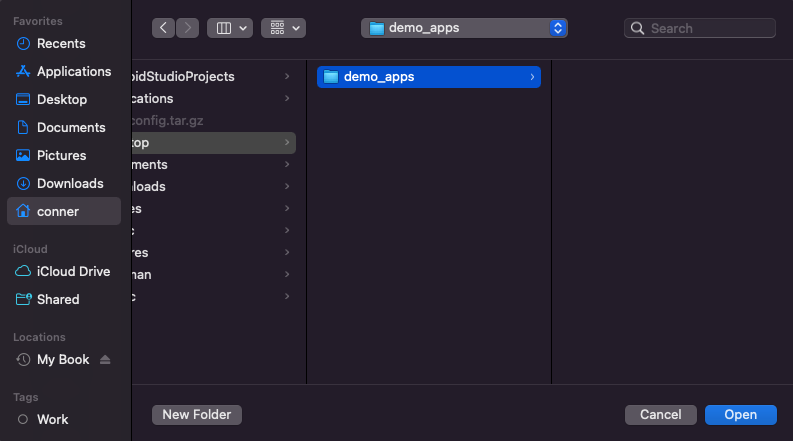
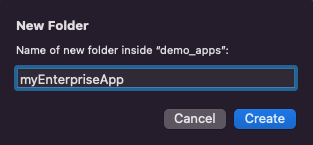
- This will prompt you to create an empty folder within your file system to house the new app.
- Choose a location for your application, then create and name the folder.
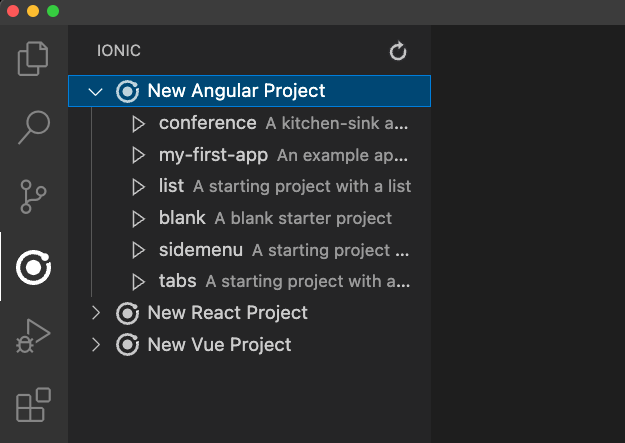
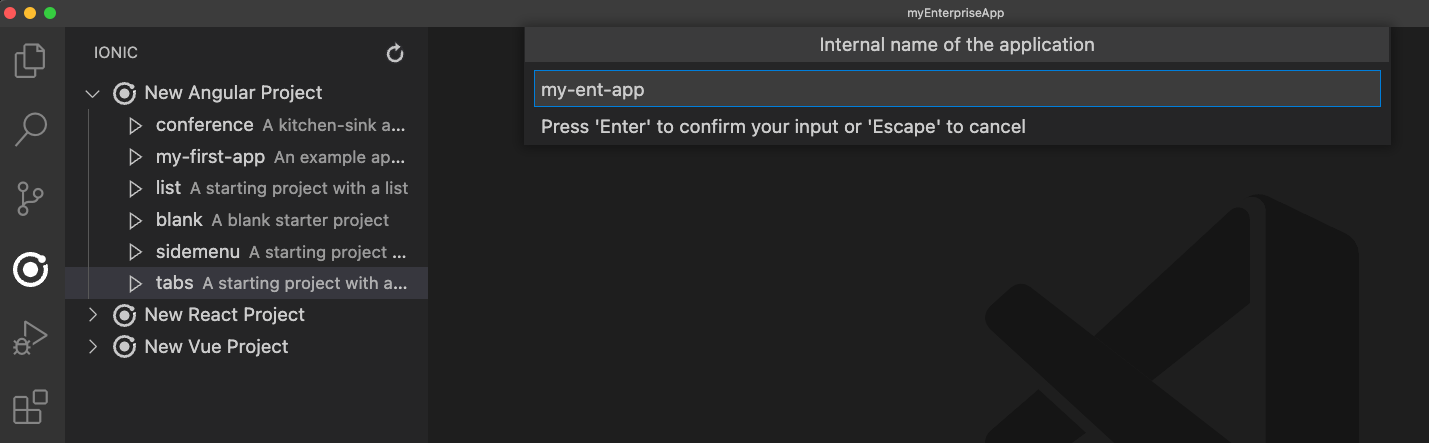
- With the folder created, you can open up the Ionic extension in VSCode once more. It will prompt you to create an Angular, React, or Vue application using one of the starter templates.
- In this demo we will choose the
tabsstarter under theNew Angular Projectsection.
- After choosing your app template, you will then give the app a name and confirm.
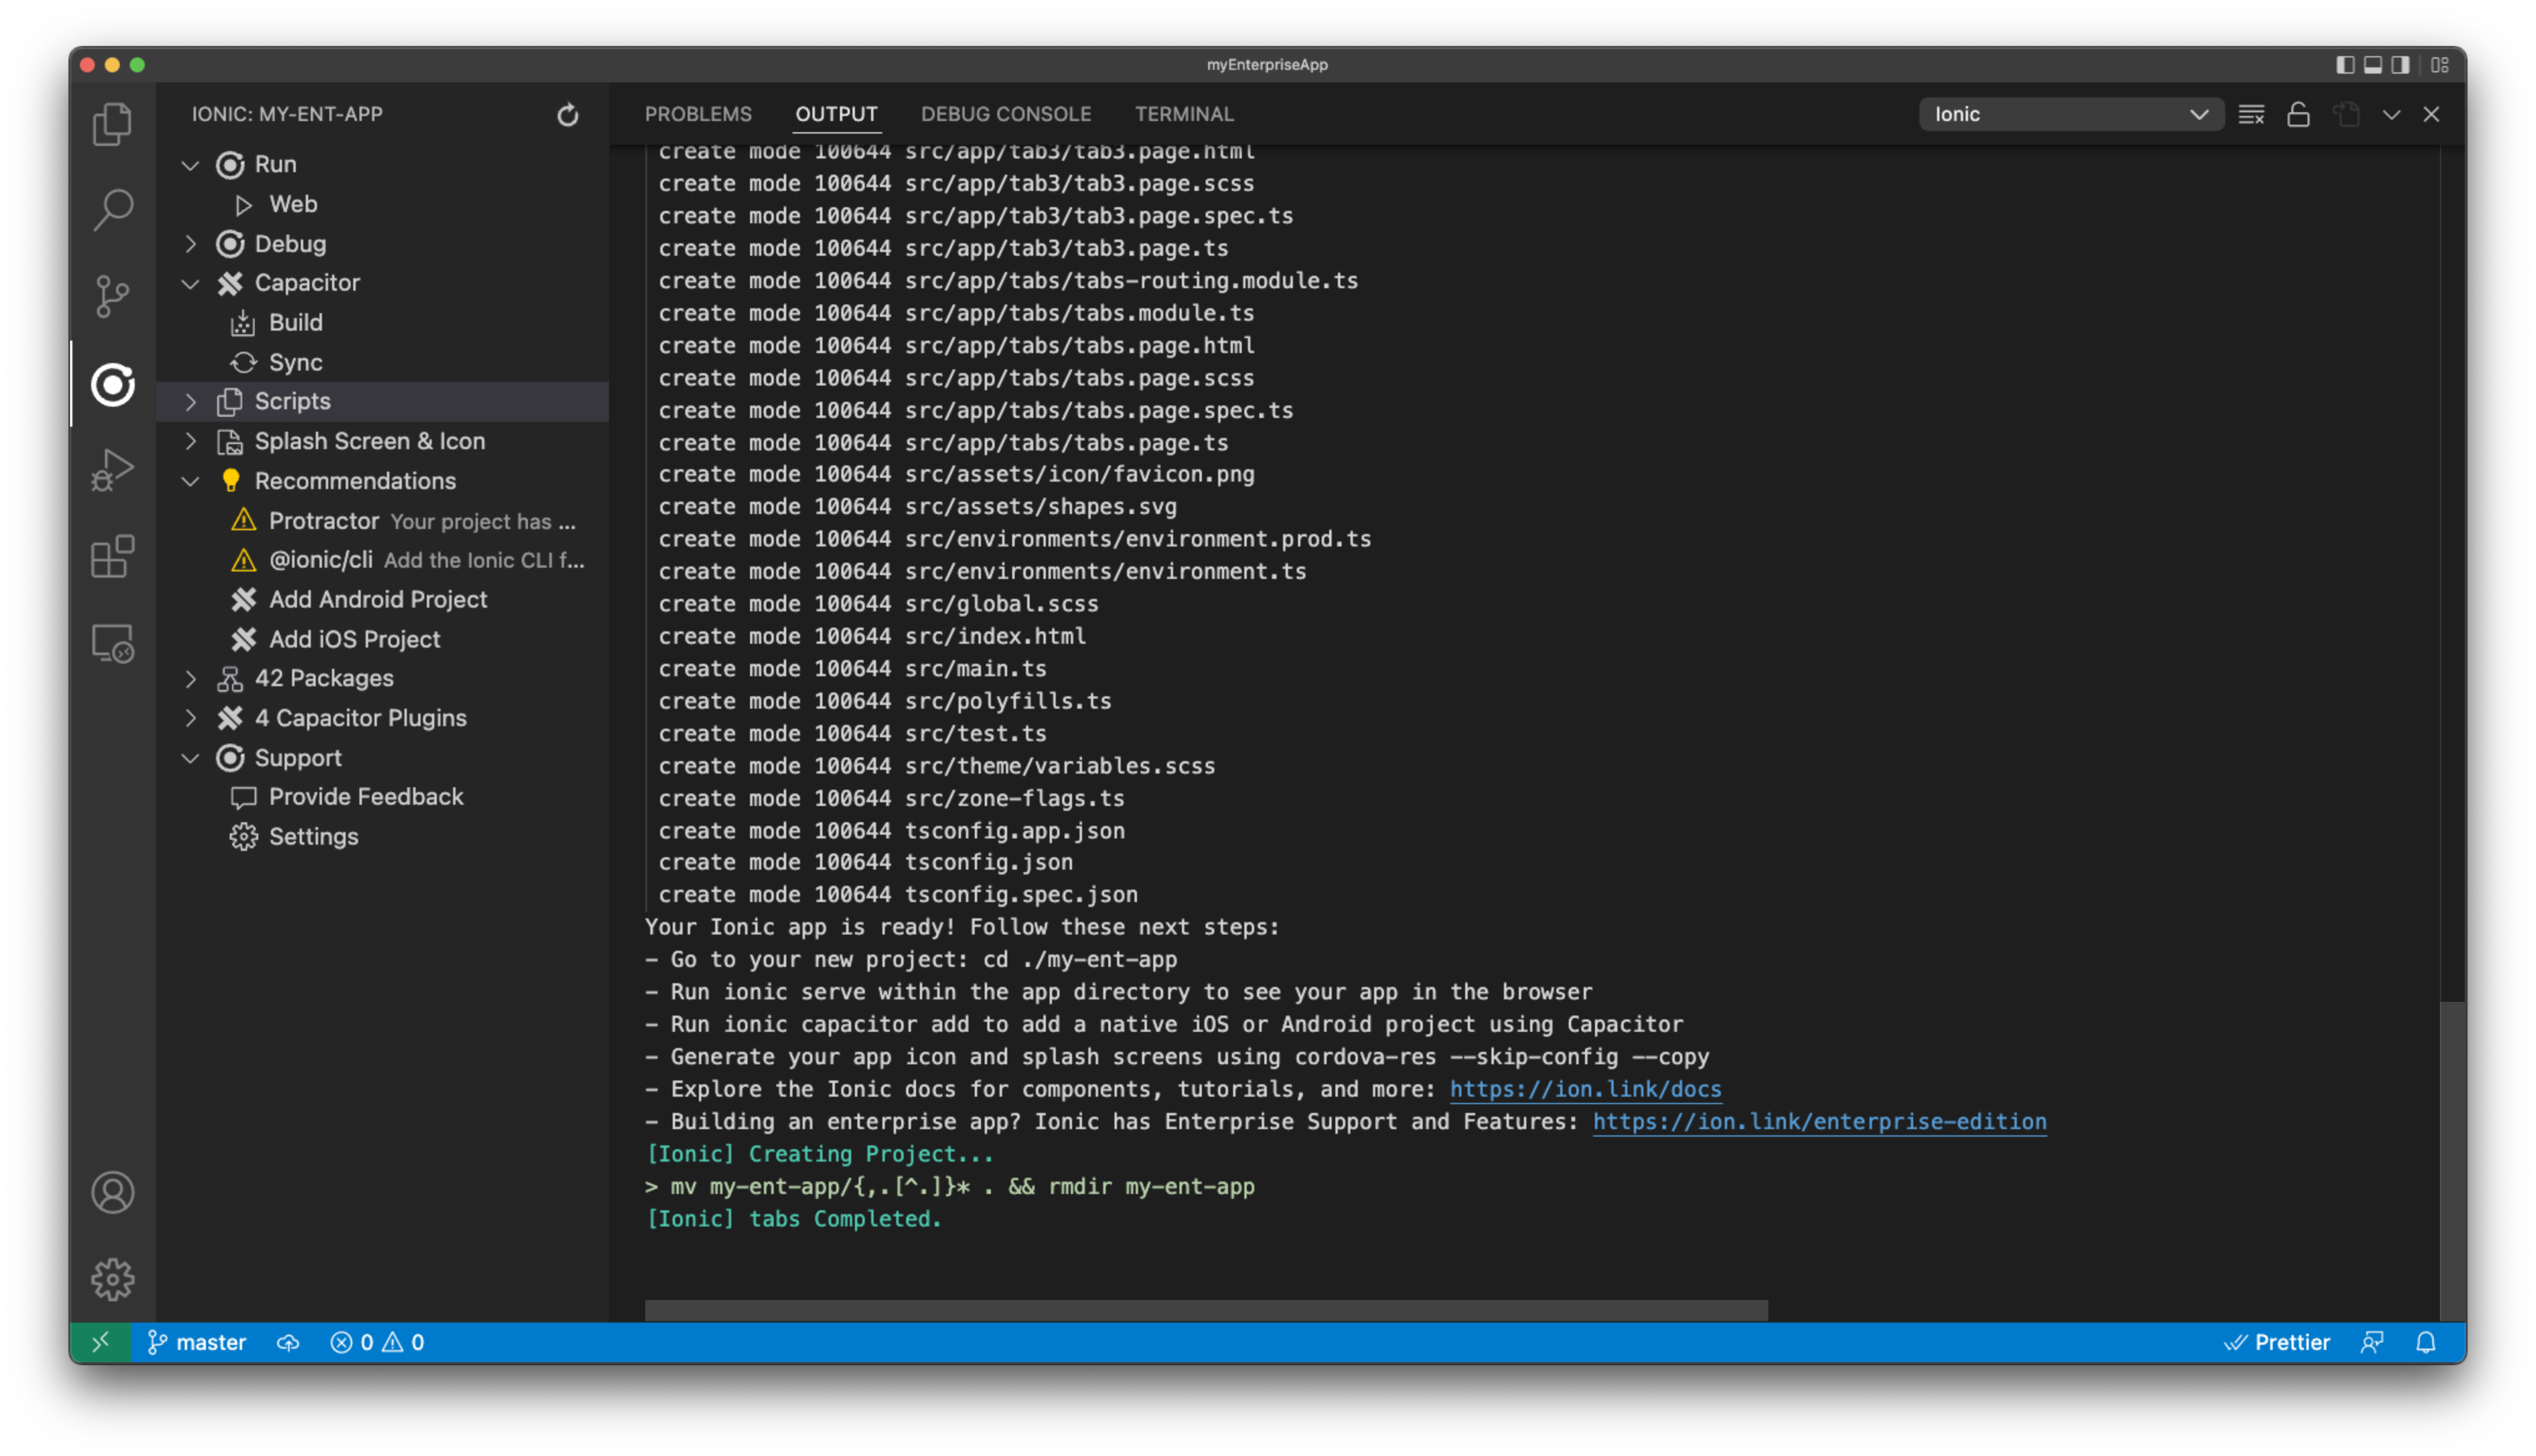
- Once confirming the name of the app, the Ionic VSCode extension will take over to create your tab-based application!
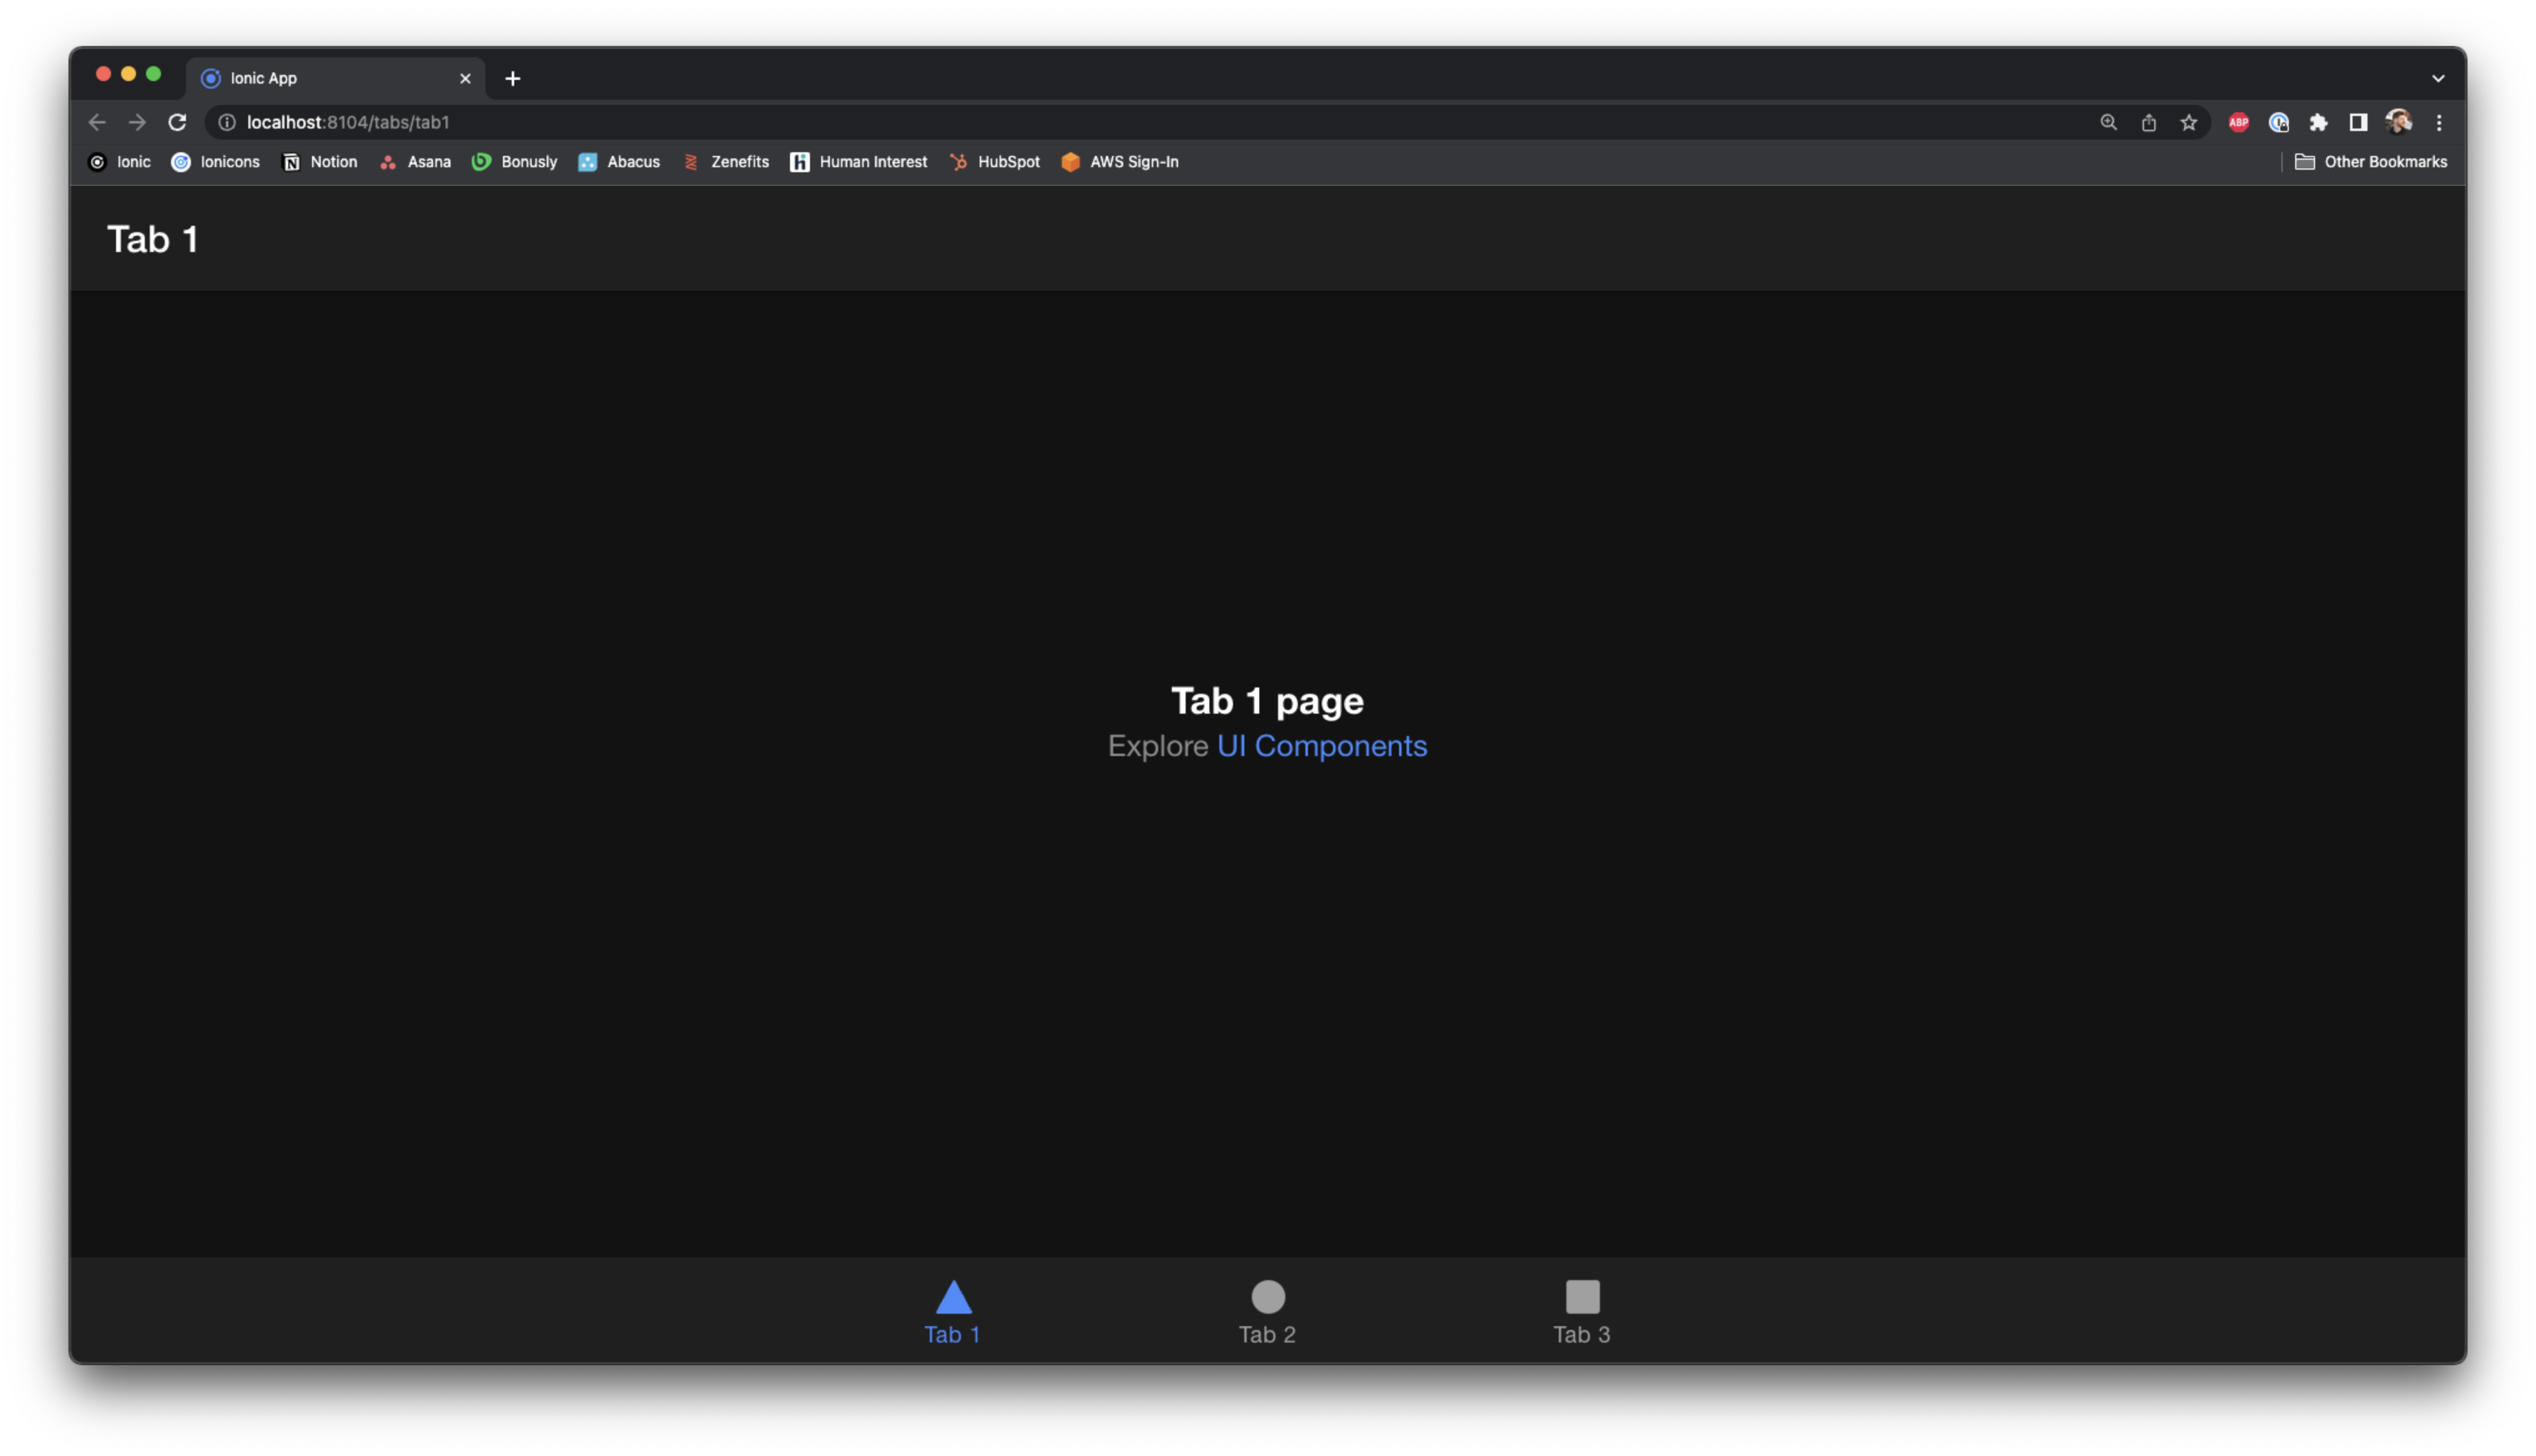
- After the app is created, you can immediately run in on the web by clicking the
Weboption underneath theRunsection.
- The result will be a fresh new tabs-based application running in your browser.
Connect to Version Control#
Now that we have an app created, it is important we manage the source code. In any Enterprise, this is common practice and you are likely familiar with the options at your disposal. Throughout the tutorial we will make reference to our version control, such as in the next step and when we reach the deployment step in our app development process. We utilize GitHub in this specific example. Before moving on to the next step, quickly connect your app's source code to your version control provider of choice.
Next up#
With the project created and connected to version control, now it is time to register your enterprise key.