Build a Native App on Appflow using the Ionic CLI
Following previous deprecation announcements, Appflow functionality has been removed from the Ionic CLI. Please visit our migration guide for further details on migrating to Ionic Cloud CLI.
It is possible to trigger Package builds on Appflow directly from the CLI. This is extremely useful if you need to integrate the Package build step as part of an existing external CI/CD process.
Prerequisites
Upgrade the Ionic CLI to at least version 4.7.0.
To trigger Package builds on Appflow from the Ionic CLI, a proper subscription to run Package builds is needed.
To use Environments, a proper subscription that allows the usage of Automations is needed.
Authentication
The Ionic CLI has to be authenticated on Appflow to be able to trigger a Package build.
To log in, create a Personal Access Token on the Appflow Dashboard.
then type:
$ export IONIC_TOKEN=<your personal access token>
Link the app
Your app must be linked to the remote app on Appflow. If the app is not linked yet, run:
$ ionic link <app id>
and commit the changes to ionic.config.json.
Trigger a package build
Currently, Package builds can only be triggered from the root project directory:
$ cd /path/to/your/app
Assuming the CLI is authenticated, to trigger a Package build, run:
$ ionic package build
This will prompt for the desired platform (ios/android) and build type for the platform.
For iOS or Android release builds, a valid signing certificate is required and can be specified using the --signing-cert=<name> option.
For information on setting up signing certificates, see here.
The previous commands can be executed in a single step:
$ ionic package build ios development --signing-cert="My Signing Certificate"
Once the build is successfully triggered, the CLI will automatically start tailing the logs from Appflow and, if the build is successful, download the apk/ipa file in the current directory.
Customize the package build with Options
The Options available to customize the build include:
--environment=<name>to specify the group of environment variables to be exposed to the build (more info about environments are available here)--native-config=<name>to specify the group of native config variables to be exposed to your build (more info about native configs are available here)
Customize the package build with Advanced Options
The Advanced Options available to customize the build include:
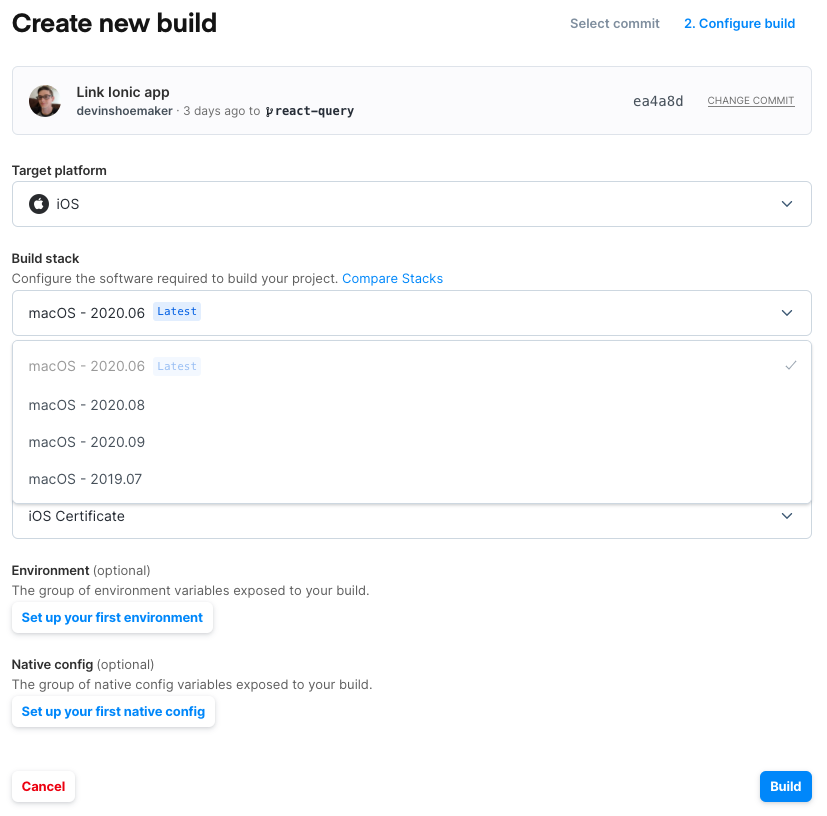
--commit=<sha1>The commit defaults to HEAD; to use a different commit you can use this option with the full SHA1 of the commit--build-stack=<name>This option is mostly useful for iOS builds if for any reason a package build with a specific version of Xcode is needed. If this is omitted the preferred version is used.--artifact-typeSpecify which artifacts to download after a successful build. Options areapk,ipa,aabanddsym. Note: If this option is specified, unavailable artifacts will trigger an error code from the CLI.--build-file-name=<name>(Deprecated v6.13) To override the downloaded file name use this option. This might be useful, for instance, in a CI build to have a consistent name for the produced artifact. Note: This will override onlyapkoripaon Android and iOS respectively.--apk-name=<name>To override the Android apk downloaded file name--aab-name=<name>To override the Android aab downloaded file--ipa-name=<name>To override the iOS ipa downloaded file--dsym-name=<name>To override the iOS dsym downloaded file
Note about referencing Options values by name
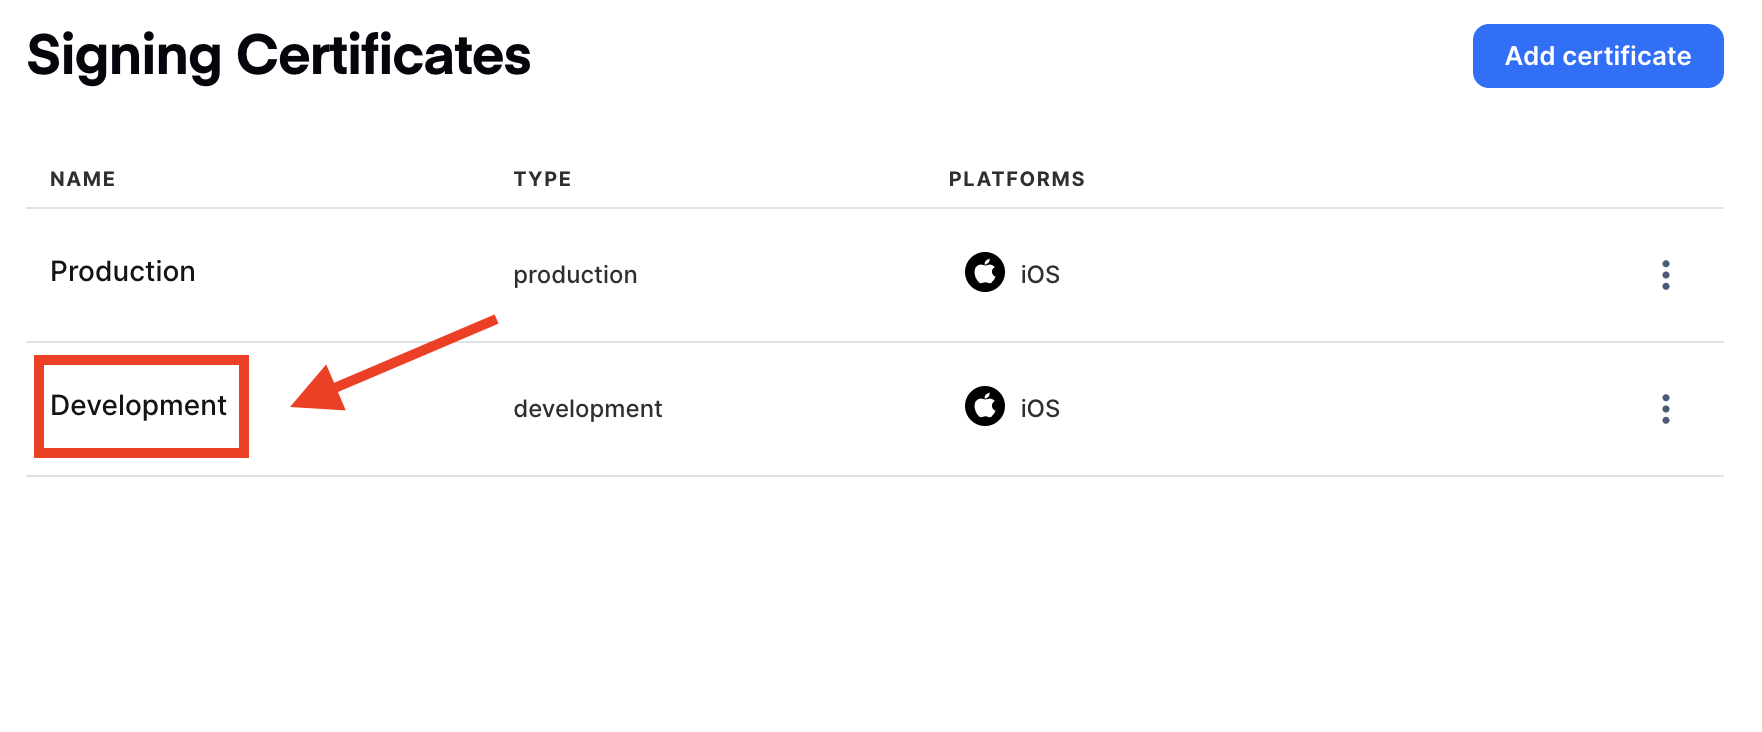
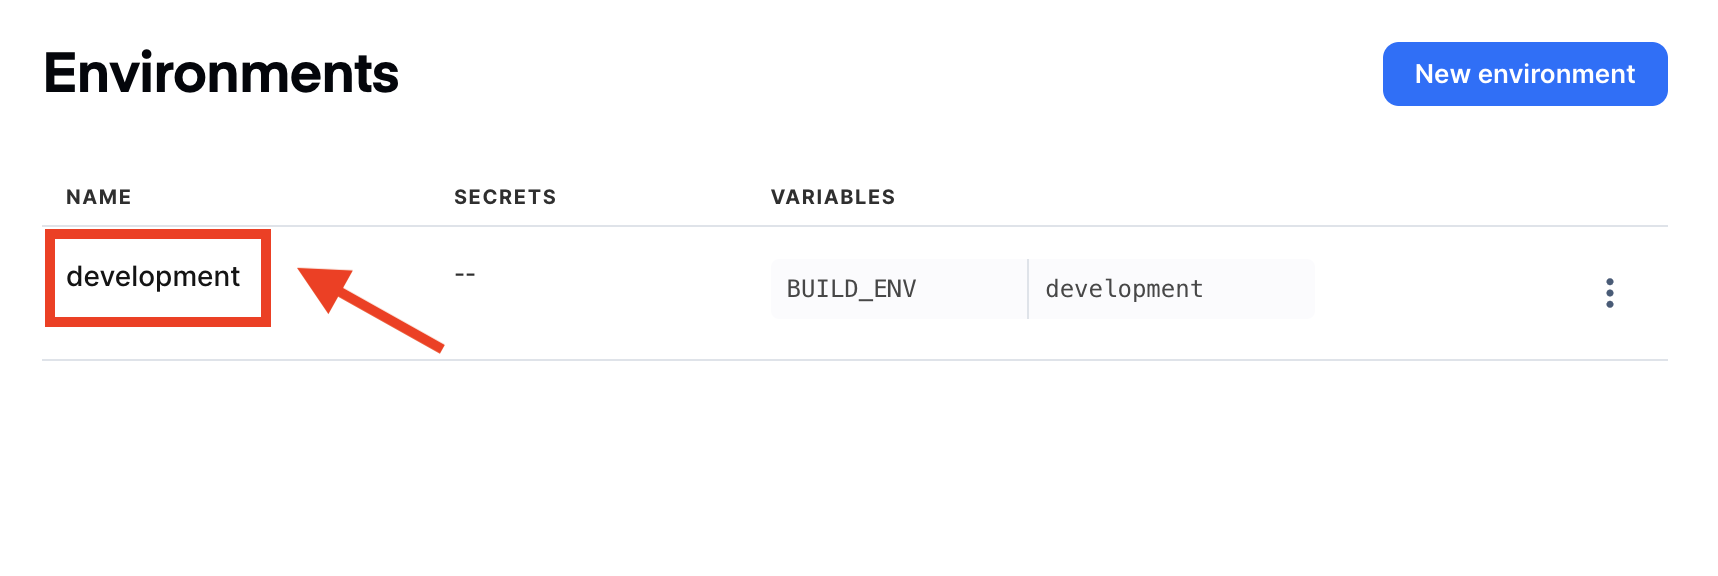
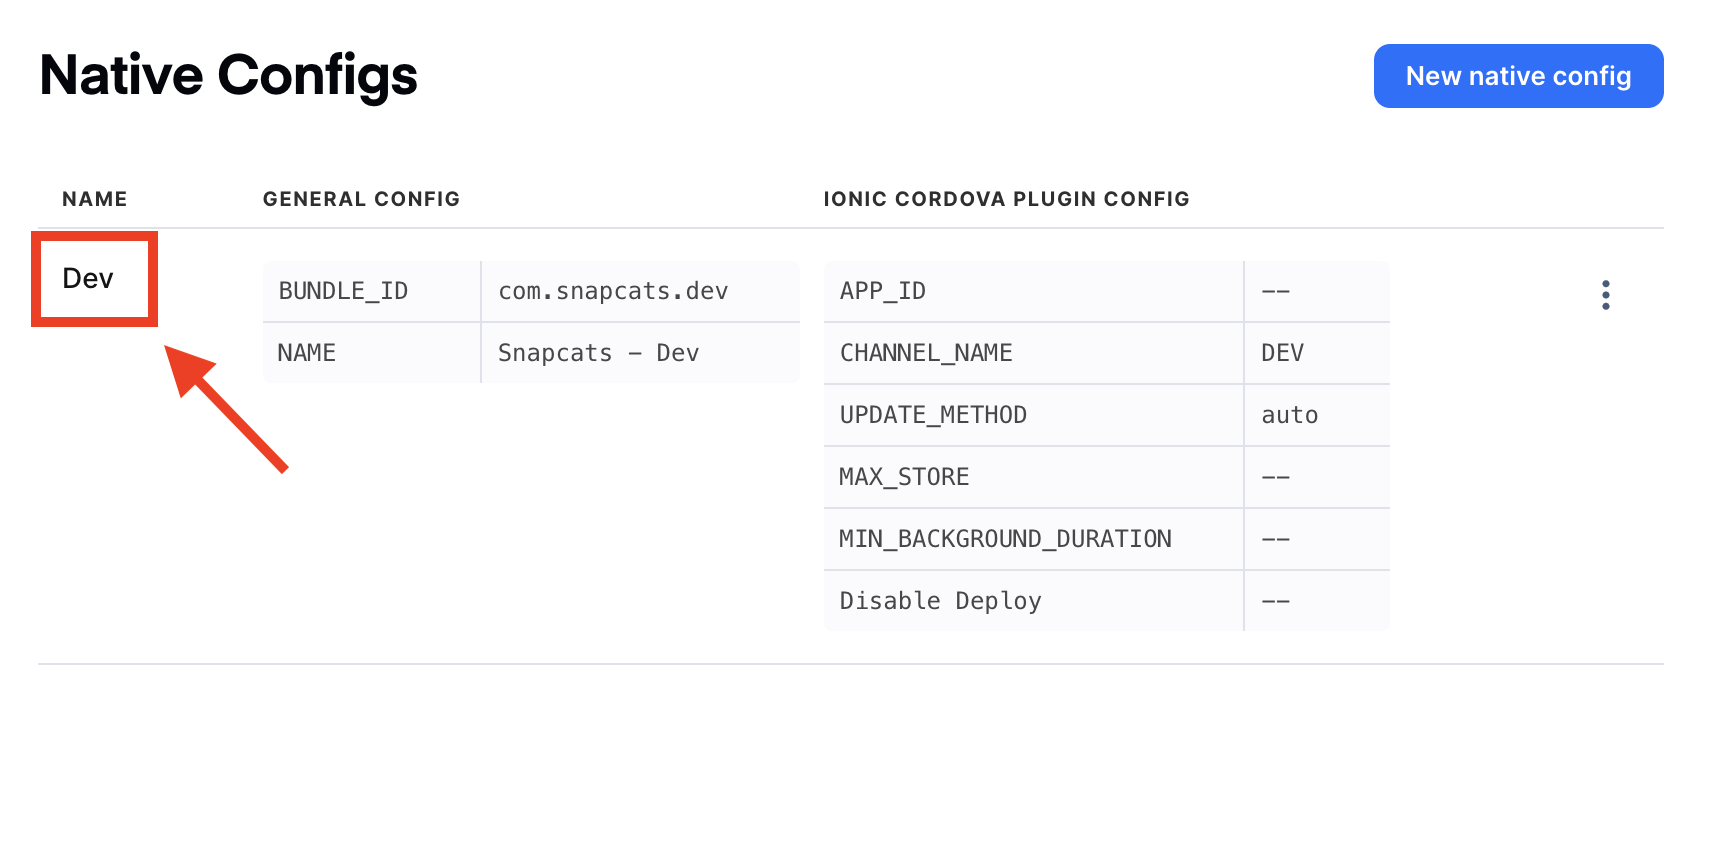
Names are case-sensitive and need to be specified including spaces, for instance:
$ ionic package build ios development --signing-cert="iOS Dev"
Apart from the --commit option, all others require the full name setup within the Appflow Dashboard.
Look for the name on the signing certificate, Environments and Native Configs pages in Appflow:


For the build stack, use one of the strings identifying the platform in the Appflow Package Build form:
