Create an Environment
Environments are a powerful way to customize your native builds and live update builds in order create different configurations based on the environment variables passed in at build time. When combined with the Automation feature, development teams can easily configure development, staging, and production build configurations, allowing them to embrace DevOps best practices and ship better quality updates faster than ever.
Create an Environment
To create an environment, simply go to the Build > Environments tab in the sidebar of the Appflow Dashboard and
click the New Environment button in the top right.
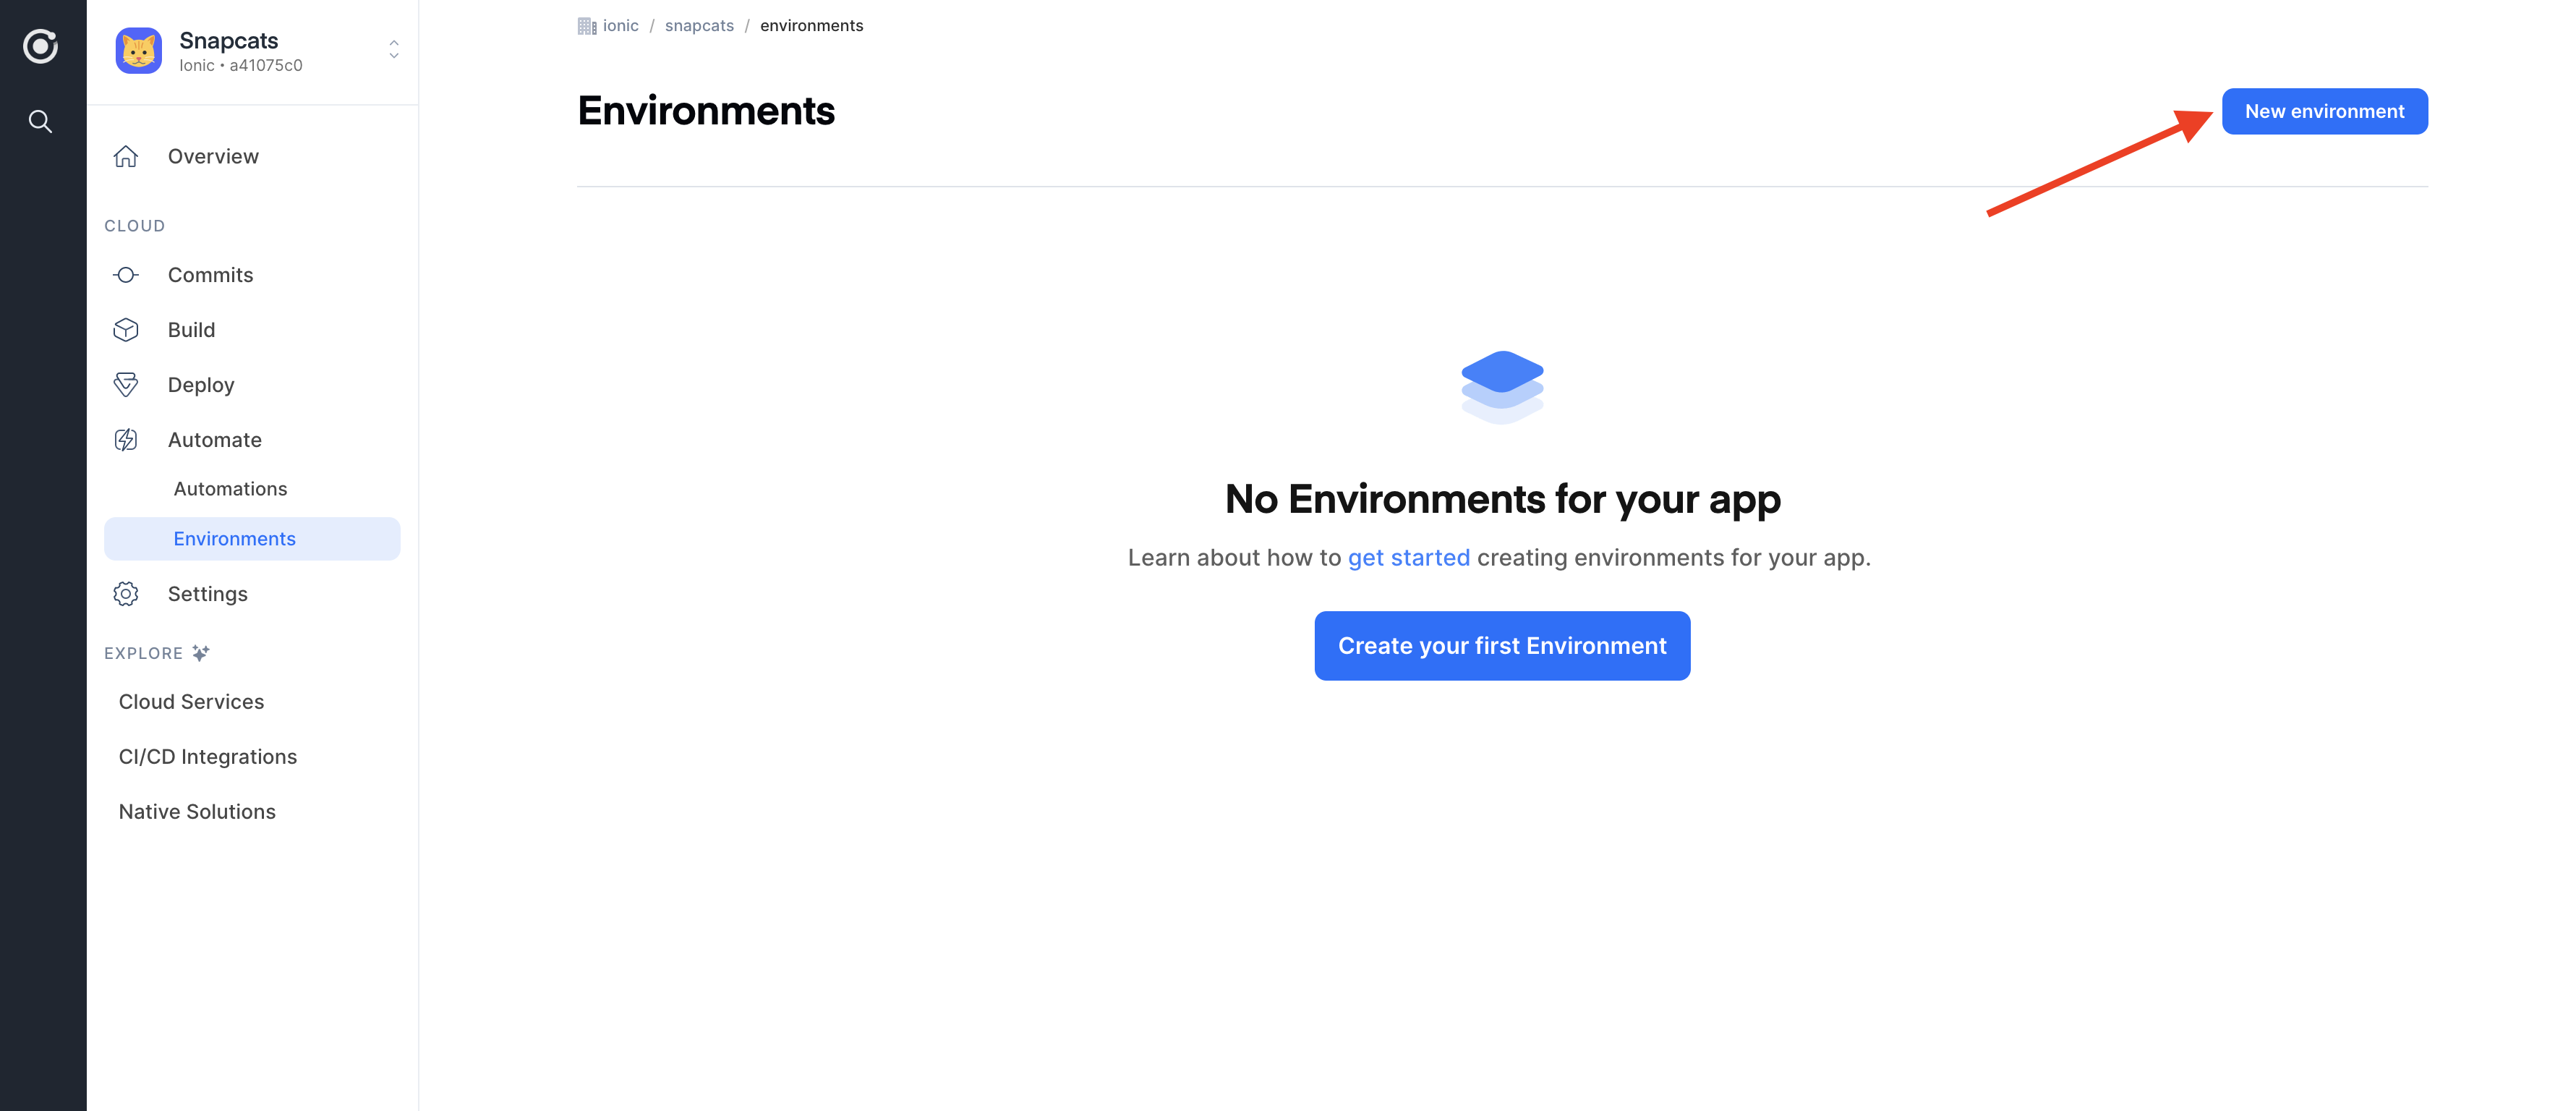
You'll then see a form that allows you to create two types of environment variables:
- Secrets - These values are encrypted and only available at build time. Once you save a secret, you will be unable to edit or see it again.
- Variables - These values are available at build time. Variables are visible and editable.
Let's create a new Environment called "Development". For this environment, create a variable named BUILD_ENV with the value development. This variable will allow us to customize the way our builds are configured.
Add the Environment to an Automation
To take full advantage of automating your development environment, you'll want to add the environment to the automation we created earlier.
In your Automations tab, click Edit from the Options icon on the right of your automation, select the environment from
the Environment dropdown and click Save.
Example: Customizing the Build Script
Getting the variable into your builds is one thing, but using them to customize the way your build is configured is just as important.
Here is an example of how to customize an Angular app using the BUILD_ENV
variable to connect to a different API url when developing locally vs. in your development environment.
- Modify the
buildscript in yourpackage.jsonto use theBUILD_ENVvariable if it exists or to default it tolocalif not. - Modify the
angular.jsonconfigurations section to choose the environment file that matches the value ofBUILD_ENV. In this example, we useenvironment.tslocally andenvironment.development.tsfor thedevelopmentenvironment. - Set the corresponding API url in each environment file.
Here is the example build script in your package.json:
...
"scripts": {
  ...
  "build": "BUILD_ENV=${BUILD_ENV:-local} ng build --configuration=$BUILD_ENV"
  ...
}
...
Here's what your angular.json configurations section might look like:
...
"configurations": {
  ... // other environment configurations
  "development": {
    "fileReplacements": [ // replace default environment.ts file with the environment.development.ts file
      {
        "replace": "src/environments/environment.ts",
        "with": "src/environments/environment.development.ts"
      }
    ],
  },
  "local": {}, // leave this blank to use the default src/environments/environment.ts file
  ...
}
Here's what the environment.ts and environment.development.ts files might look like:
export const environment = {
  apiUrl: 'https://api.development.com',
};
export const environment = {
  apiUrl: 'http://localhost:8000',
};
Now your apps will automatically use a different API to fetch data locally vs. in your development builds! 💪
Further Customization
Now that you know how environments can be used to customize your build process, we will now explore how native configs can be used to customize the native layer of your app!