Automations
Now that you are well versed in triggering different build types in Appflow, it's time to automate builds.
Automations enable you and your team to utilize Appflow's full CI/CD powers. You can create automations that trigger native builds and web builds each time your team checks in new code to a given branch. You can even configure them to use different environments and native configurations so that you can build different versions of your app for development, staging, and production.
Creating an Automation
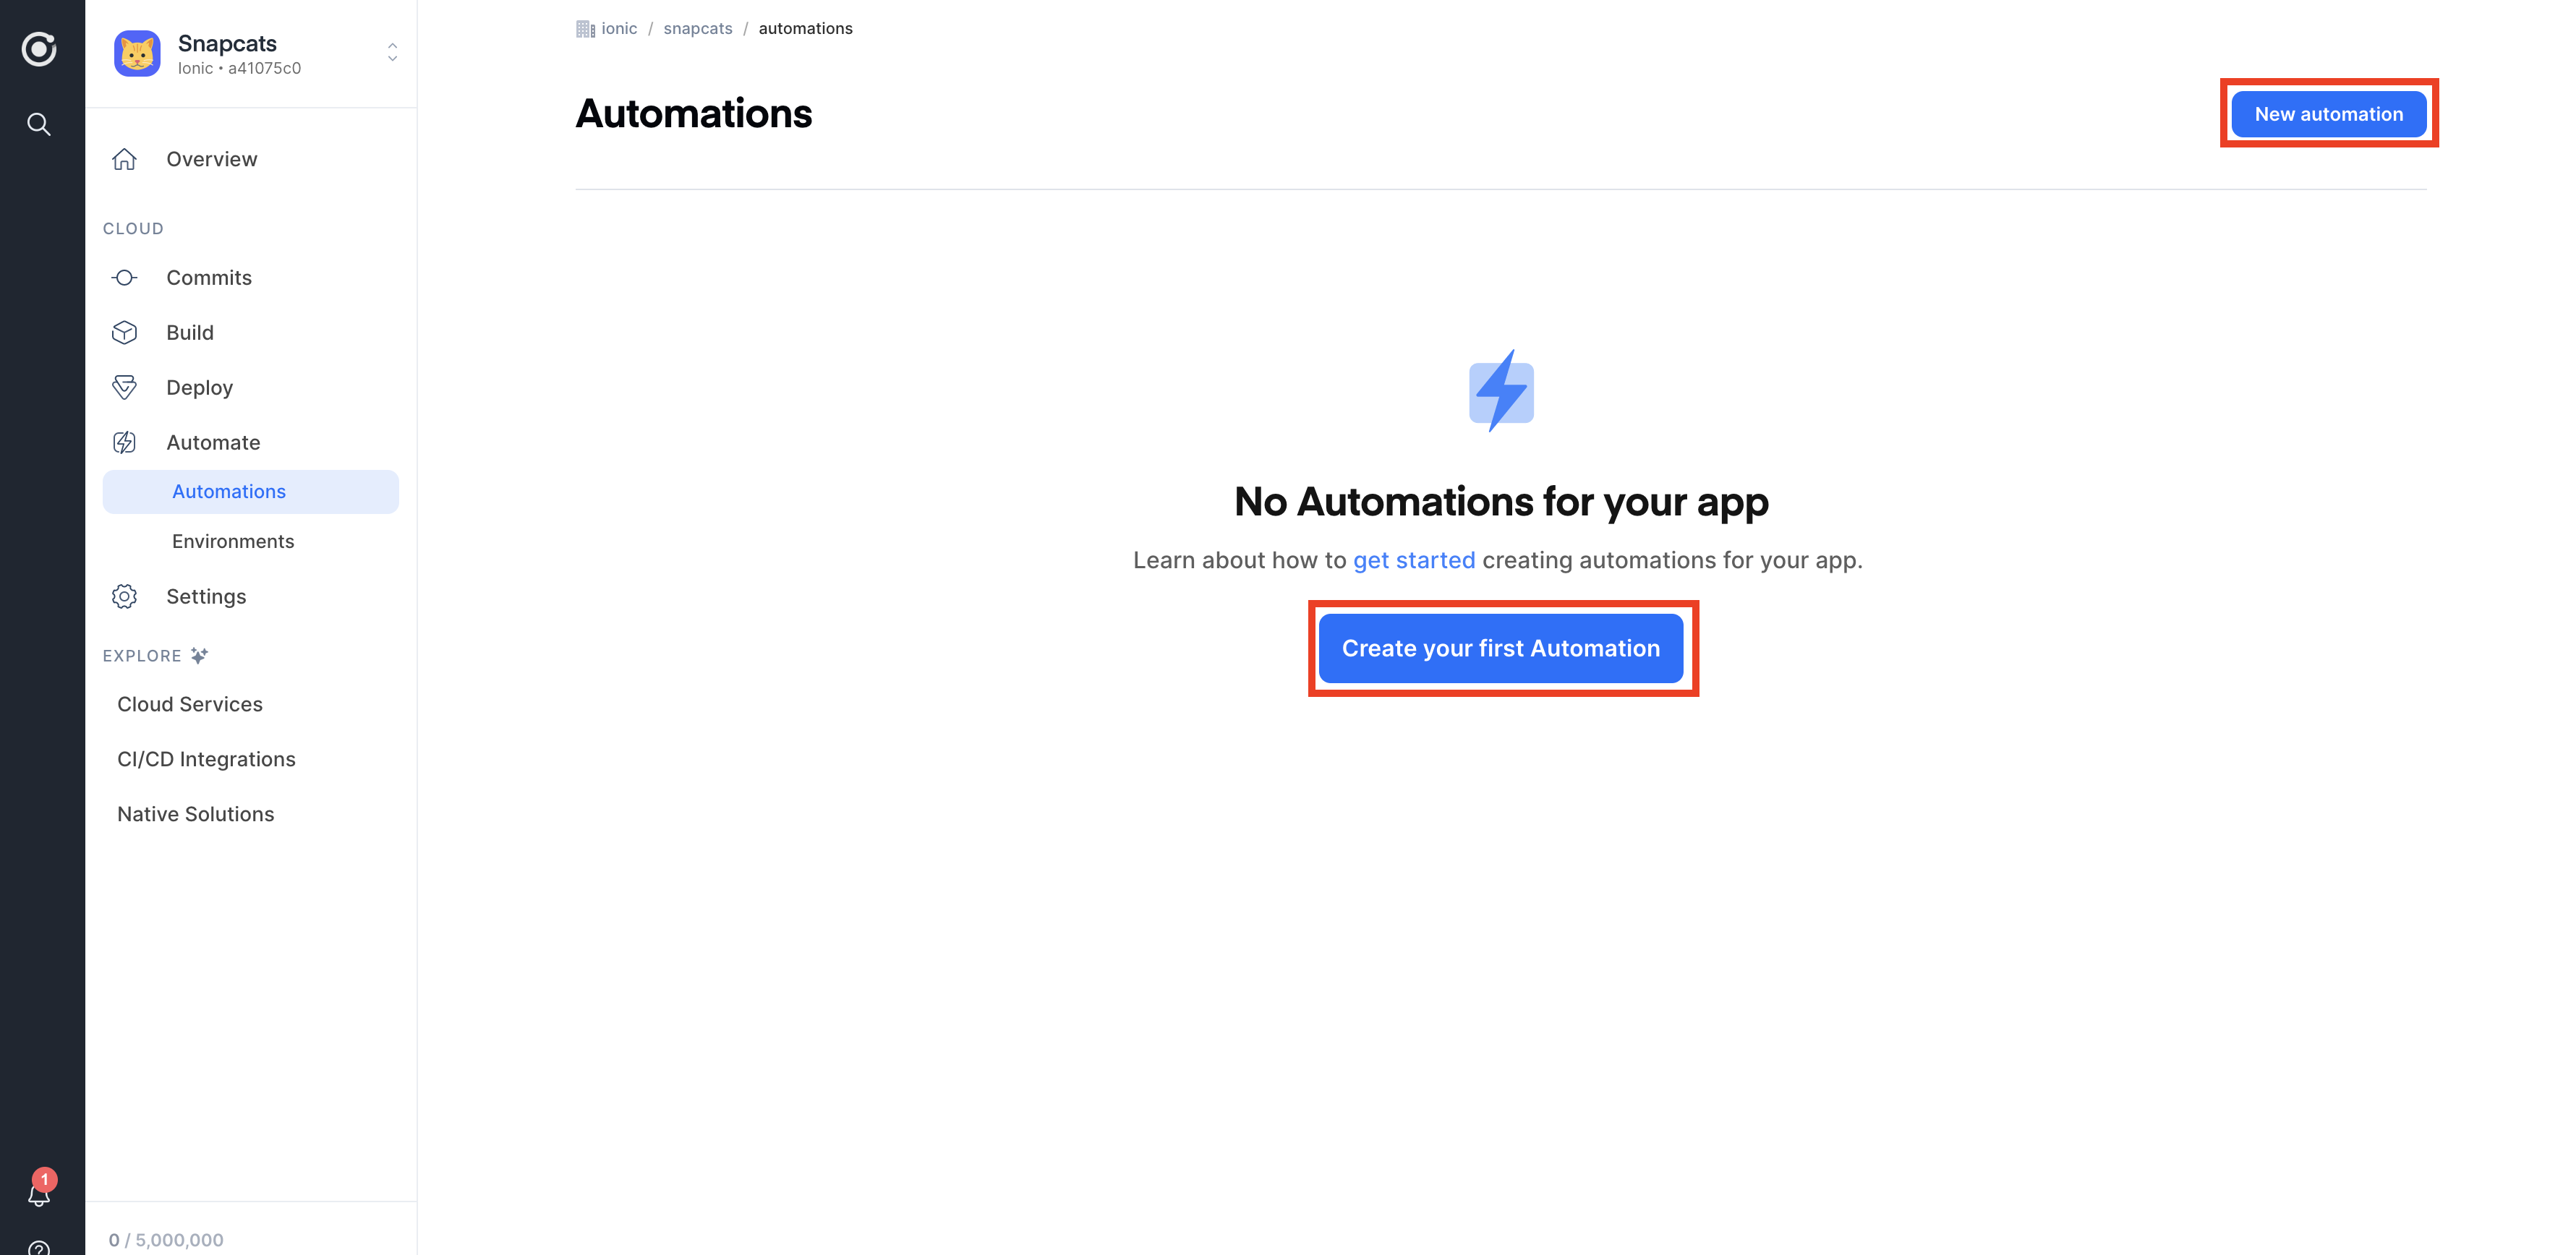
Let's create an automation that triggers an Android debug build each time you push code to the main git branch. To get started, navigate to the Automate tab within the starter app and click the New Automation button in the top right.

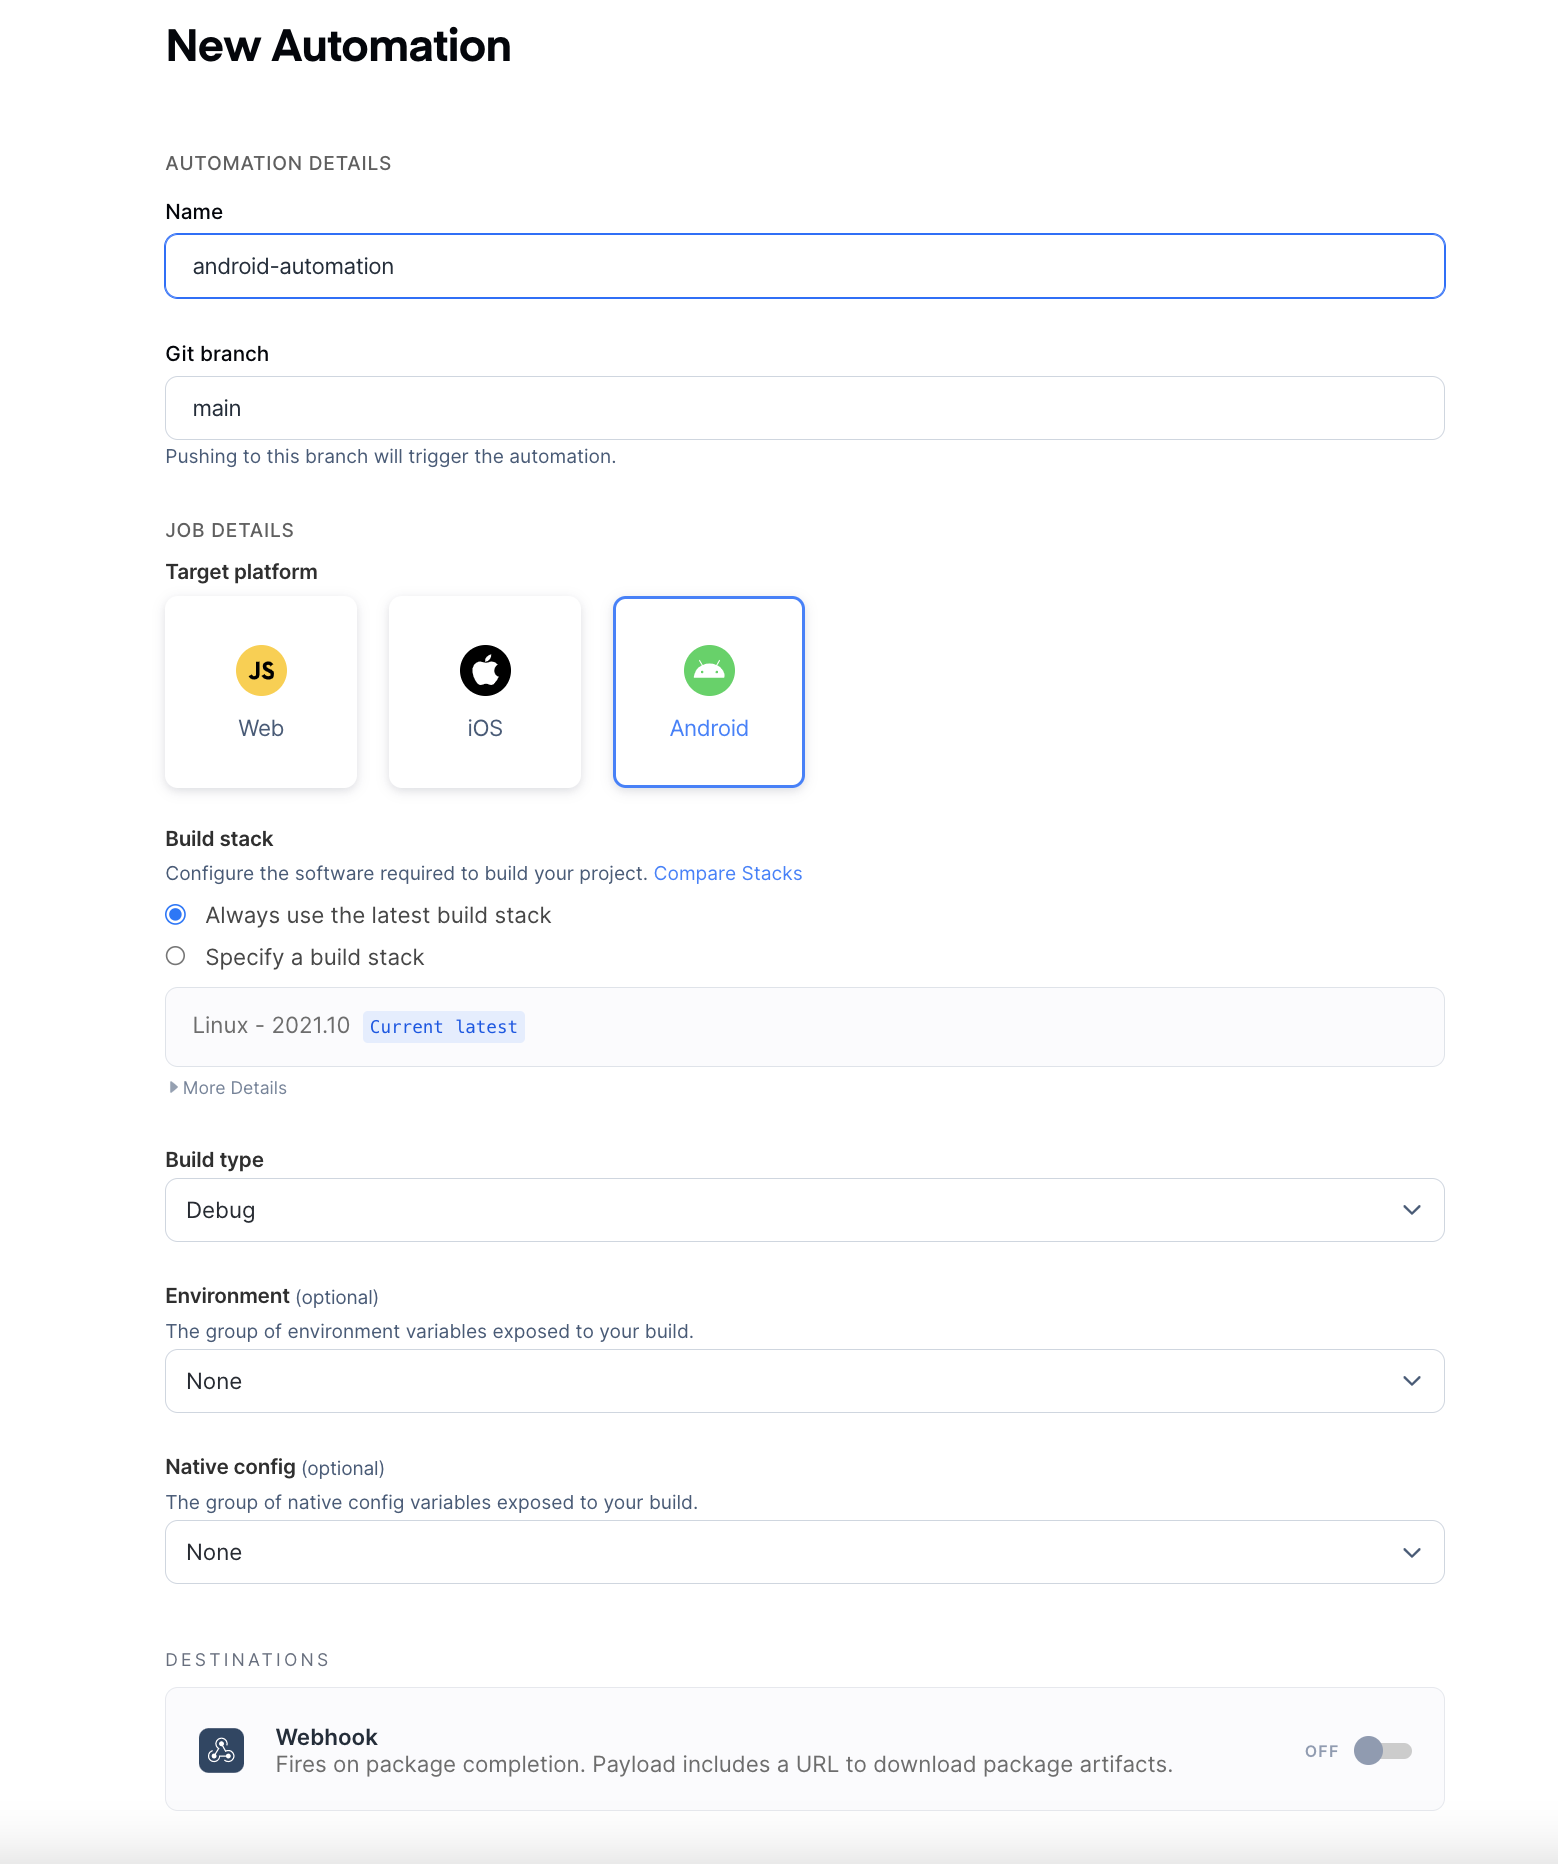
Next, you can customize the automation using the fields below:
- Name: A unique name for the automation.
- Git Branch: The branch you'd like to trigger the automation from (ex: main). See more here.
- Automation Type: Since we are automating an Android app, select native build.
- Build Stack: You can configure your automations to always use the latest stack or a specific stack. See more here.
- Environments: You can include any previously created environments.
- Native configuration: You can include any previously created native configuration (for example, the previously created QA config).

Triggering an Automation
Now that the automation is active, anytime a developer pushes to the main branch, a new Android debug build will automatically start.
Try making a trivial change and pushing the changes to your git repository. The automation should trigger a new build.
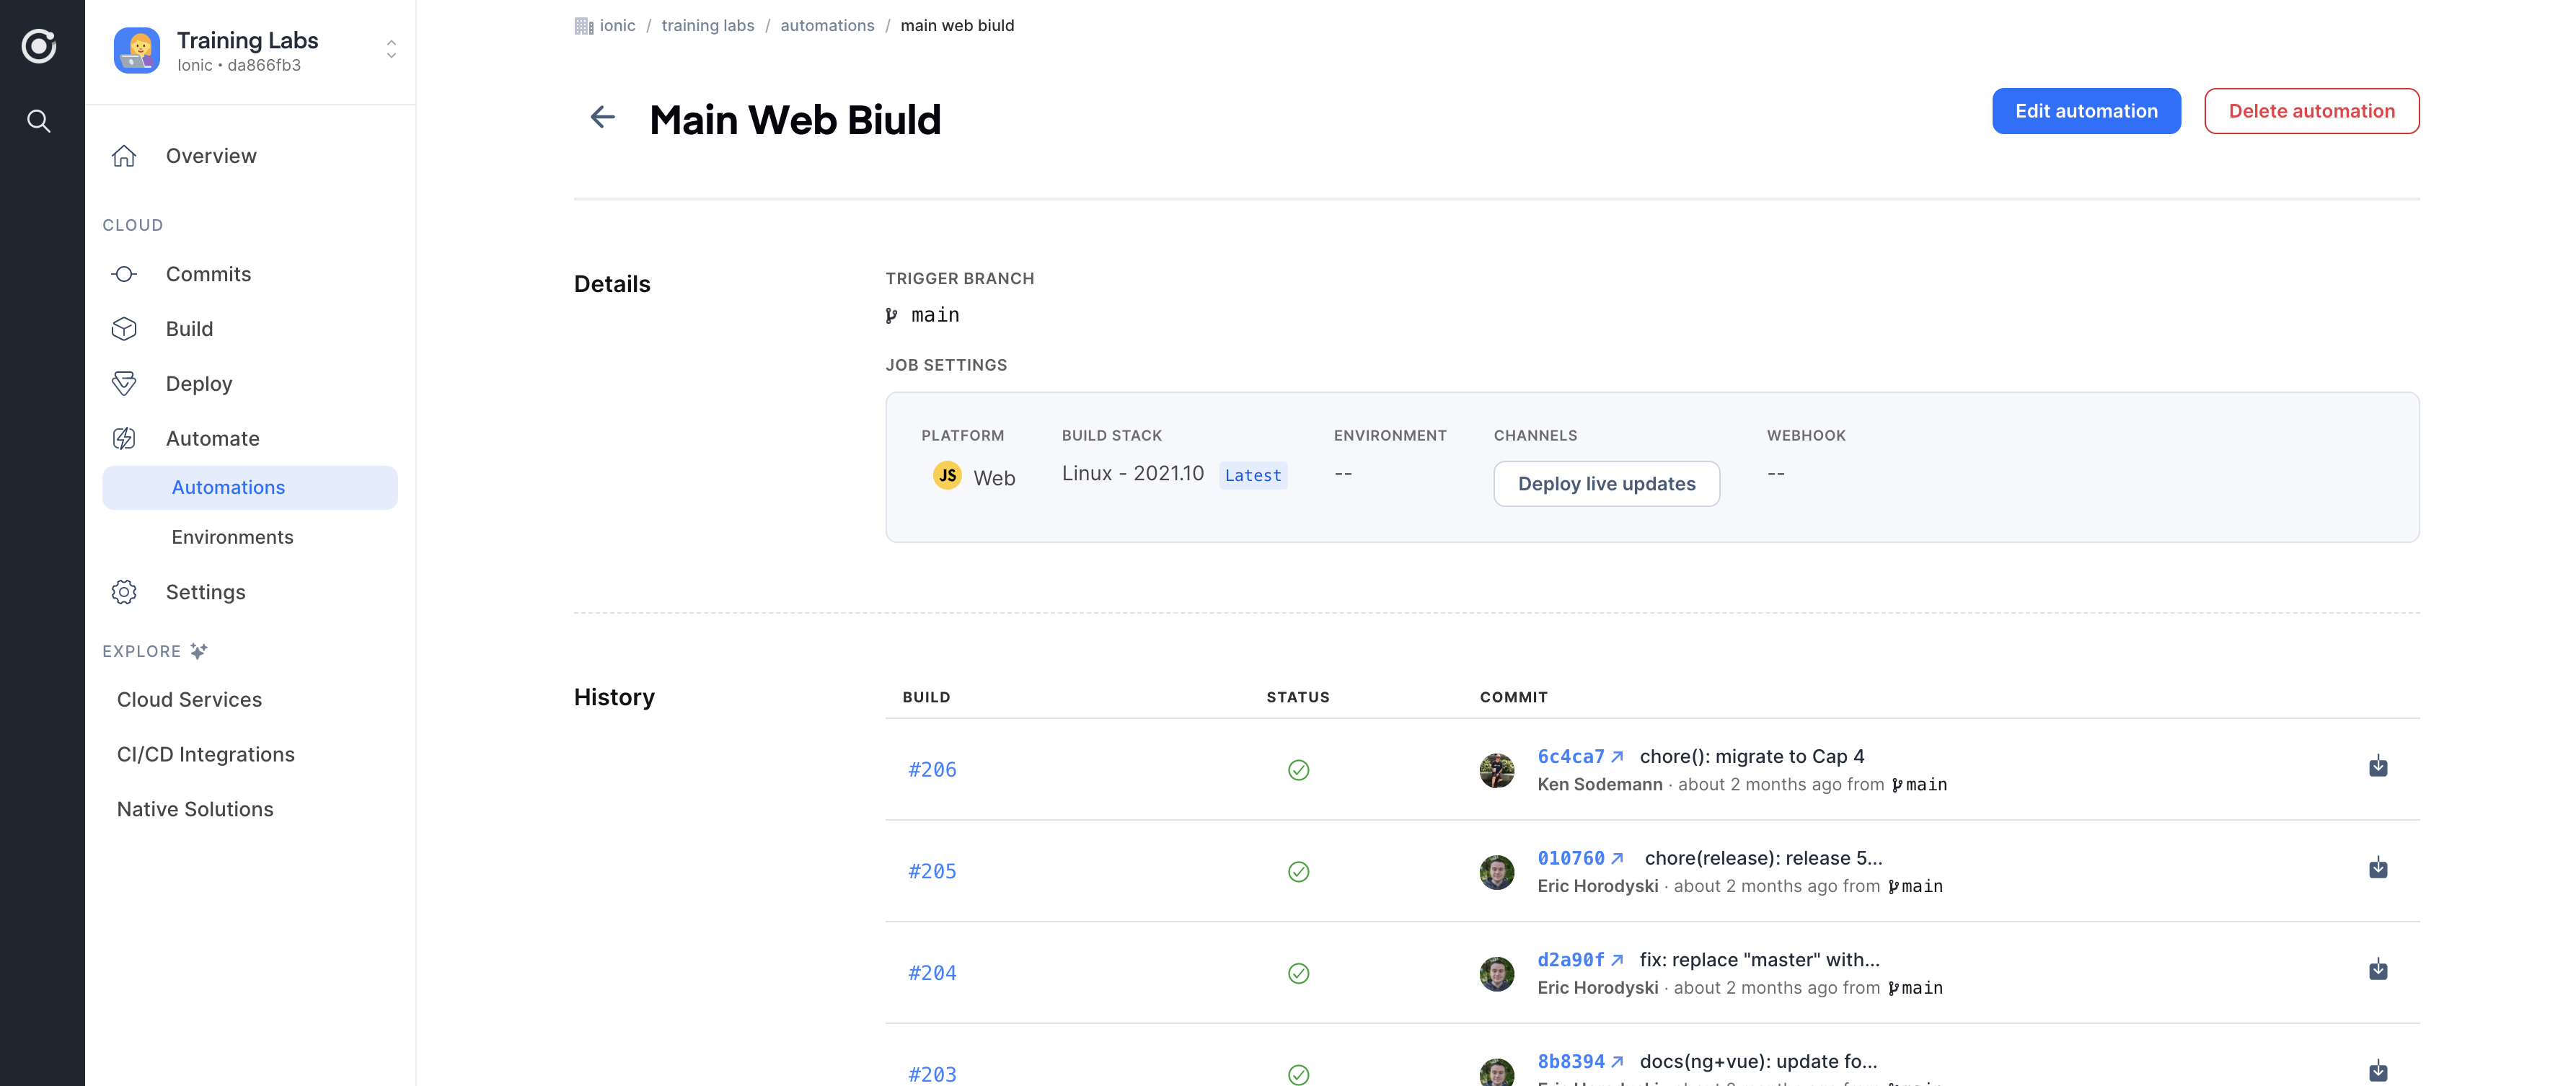
You can also view all the builds associated with a particular automation by navigating to the Automations page in the Appflow dashboard and clicking the appropriate automation from the list.

Deployments
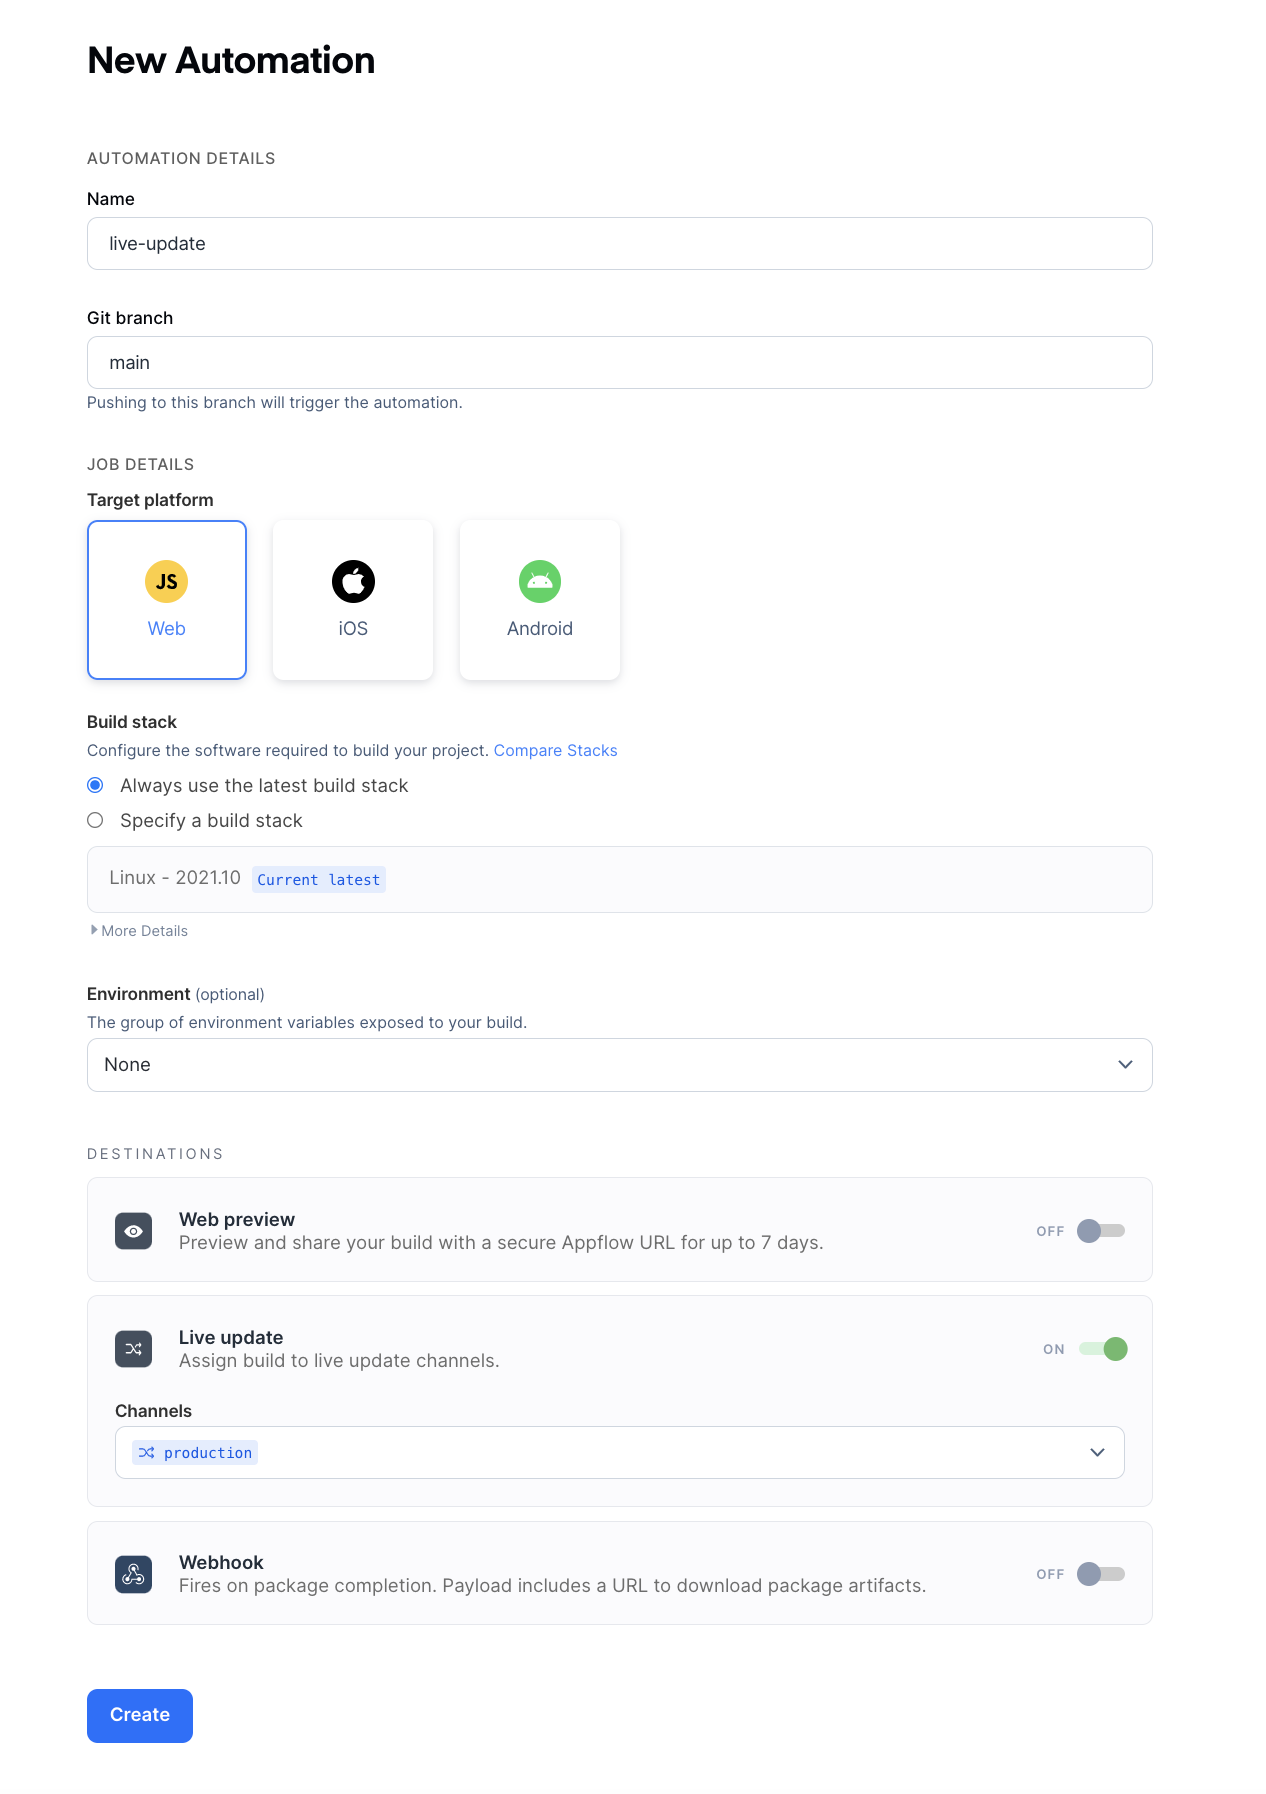
Automations can also be leveraged to build and deploy Live Updates (covered in the next section) and ship binaries to the appropriate destinations.
