Adding AWS Amplify to an Ionic 4 App

AWS Amplify is a JavaScript library that brings their backend services to web and mobile apps. At first glance, it appears to be a simple wrapper for their cloud services. In reality, it’s so much more: a curated set of backend features that make getting started with AWS much easier than ever before.
With a few simple CLI commands, you can easily supercharge your app with:
- Messaging
- Analytics
- User sign-in, sign-out, forgot password
- Databases
- Static website hosting (PWAs, anyone?!)
- File storage
Getting Started
The Amplify team recently published a guide on how to build an Ionic 4 app with AWS Amplify. By following along, you’ll build a complete ToDo app. It’s not just any ordinary ToDo app though: the user must sign into the app before creating todos. Also, the todos are saved in the cloud using services such as Amazon Cognito, DynamoDB, Lambda.
I won’t rehash the guide here; instead, let’s take a look at what I liked and disliked about my initial experience, as well as the impact that adding AWS Amplify to your Ionic 4 app can have.
The first part of the guide involves the creation of an Ionic 4 app that uses Ionic’s tabs starter project. Three pages are provided: “Home”, “About”, and “Contact.” The ToDo model and UI TypeScript classes are created next, with full Angular code samples provided for reference. The ability to add and remove items in the list are added as well. The interesting twist here is the inclusion of an authentication-based route guard service, which essentially blocks the user from viewing the ToDo list until after they have signed into the app via AWS. The purpose for doing so becomes clearer as you go through the guide – you’ll eventually add a user sign-in experience. The resulting ToDo list page looks very nice:

To add the sign-in experience and store ToDo items in the cloud, there’s more work to be done. This is where the magic of AWS starts to shine!
Working with the AWS Mobile CLI
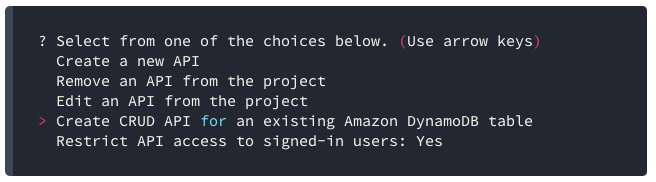
Similar to Ionic, AWS Amplify puts heavy emphasis on their command line interface tool (CLI), used to create and manage all AWS backend resources. Available commands are mostly intuitive, such as “init”, which walks you through creating a backend project. I was a bit confused at first about some of the prompts regarding what to provide for source and distribution directories, but fortunately the guide provides suggested answers:

Another concern arose quickly at the start of using the CLI. In order to provision AWS resources, you must configure an Identity Access Management (IAM) user. IAM is still a source of confusion for me. Given the dozens of policies available, I’m always worried that I won’t select the correct permissions. Fortunately, the steps are quite clear and connecting the user to the CLI is a one-time step.
With the CLI installed and after running a couple of npm install commands, it’s easy to add Amplify to an Ionic 4 app. We simply import Amplify into the project in src/main.ts:
import { enableProdMode } from '@angular/core';
import { platformBrowserDynamic } from '@angular/platform-browser-dynamic';
import { AppModule } from './app/app.module';
import { environment } from './environments/environment';


// Add AWS Amplify
import Amplify, { Analytics } from 'aws-amplify';
import aws_exports from './aws-exports';
Amplify.configure(aws_exports);

if (environment.production) {
  enableProdMode();
}

platformBrowserDynamic().bootstrapModule(AppModule)
  .catch(err => console.log(err));
Adding Authorization/User Sign-in
With the boilerplate configuration in place, it’s time for the best part: adding Amplify-specific features to our ToDo app such as a user sign-in experience. The first feature, authorization, uses Amazon Cognito behind-the-scenes. To enable it is quite straightforward:
awsmobile user-signin enable
awsmobile push
There’s a lot to unpack in those two lines that isn’t necessarily obvious. For one, there’s no mention of the underlying services. Rather, a friendly name is used instead: “user-signin.” This is a common pattern among all Amplify services: the AWS technology that powers the feature is abstracted away from the developer. This is certainly great for the beginner, but more advanced users may be put off as they try to figure out how to perform advanced configurations.
The second command, referencing “push”, seems a bit strange. What are we pushing? As it turns out, when you run “awsmobile feature enable”, changes are only made to your local project – the aws-exports.js file. It’s only after you “push” that this file is synced to the AWS cloud, in effect enabling the feature on the backend. This makes sense once you understand how it works, but I initially assumed that enabling features from the CLI immediately enabled them on the backend.
This confusion led me to log into the AWS Mobile Hub, a section of the AWS console that allows you to view and configure the enabled backend features. I love the simplicity and clarity it provides:
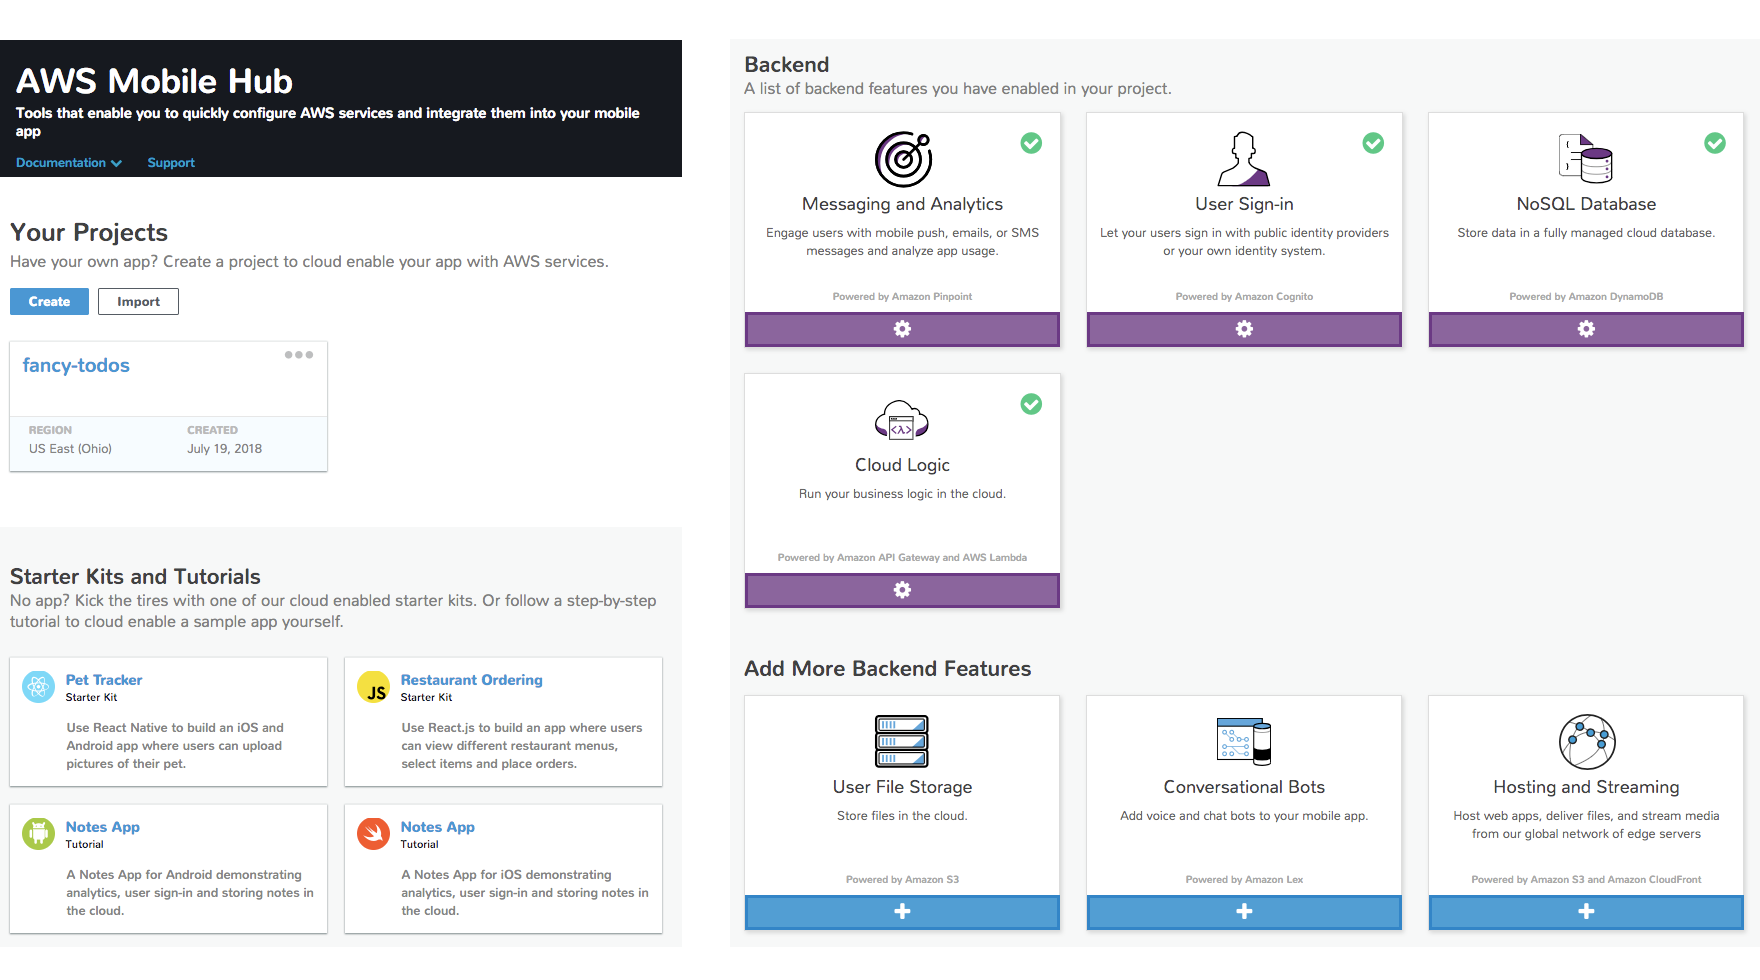
Once your backend feature is enabled, you can also use the AWS console for the related service to customize your backend, e.g., using Amazon Cognito for the User Sign-in feature.
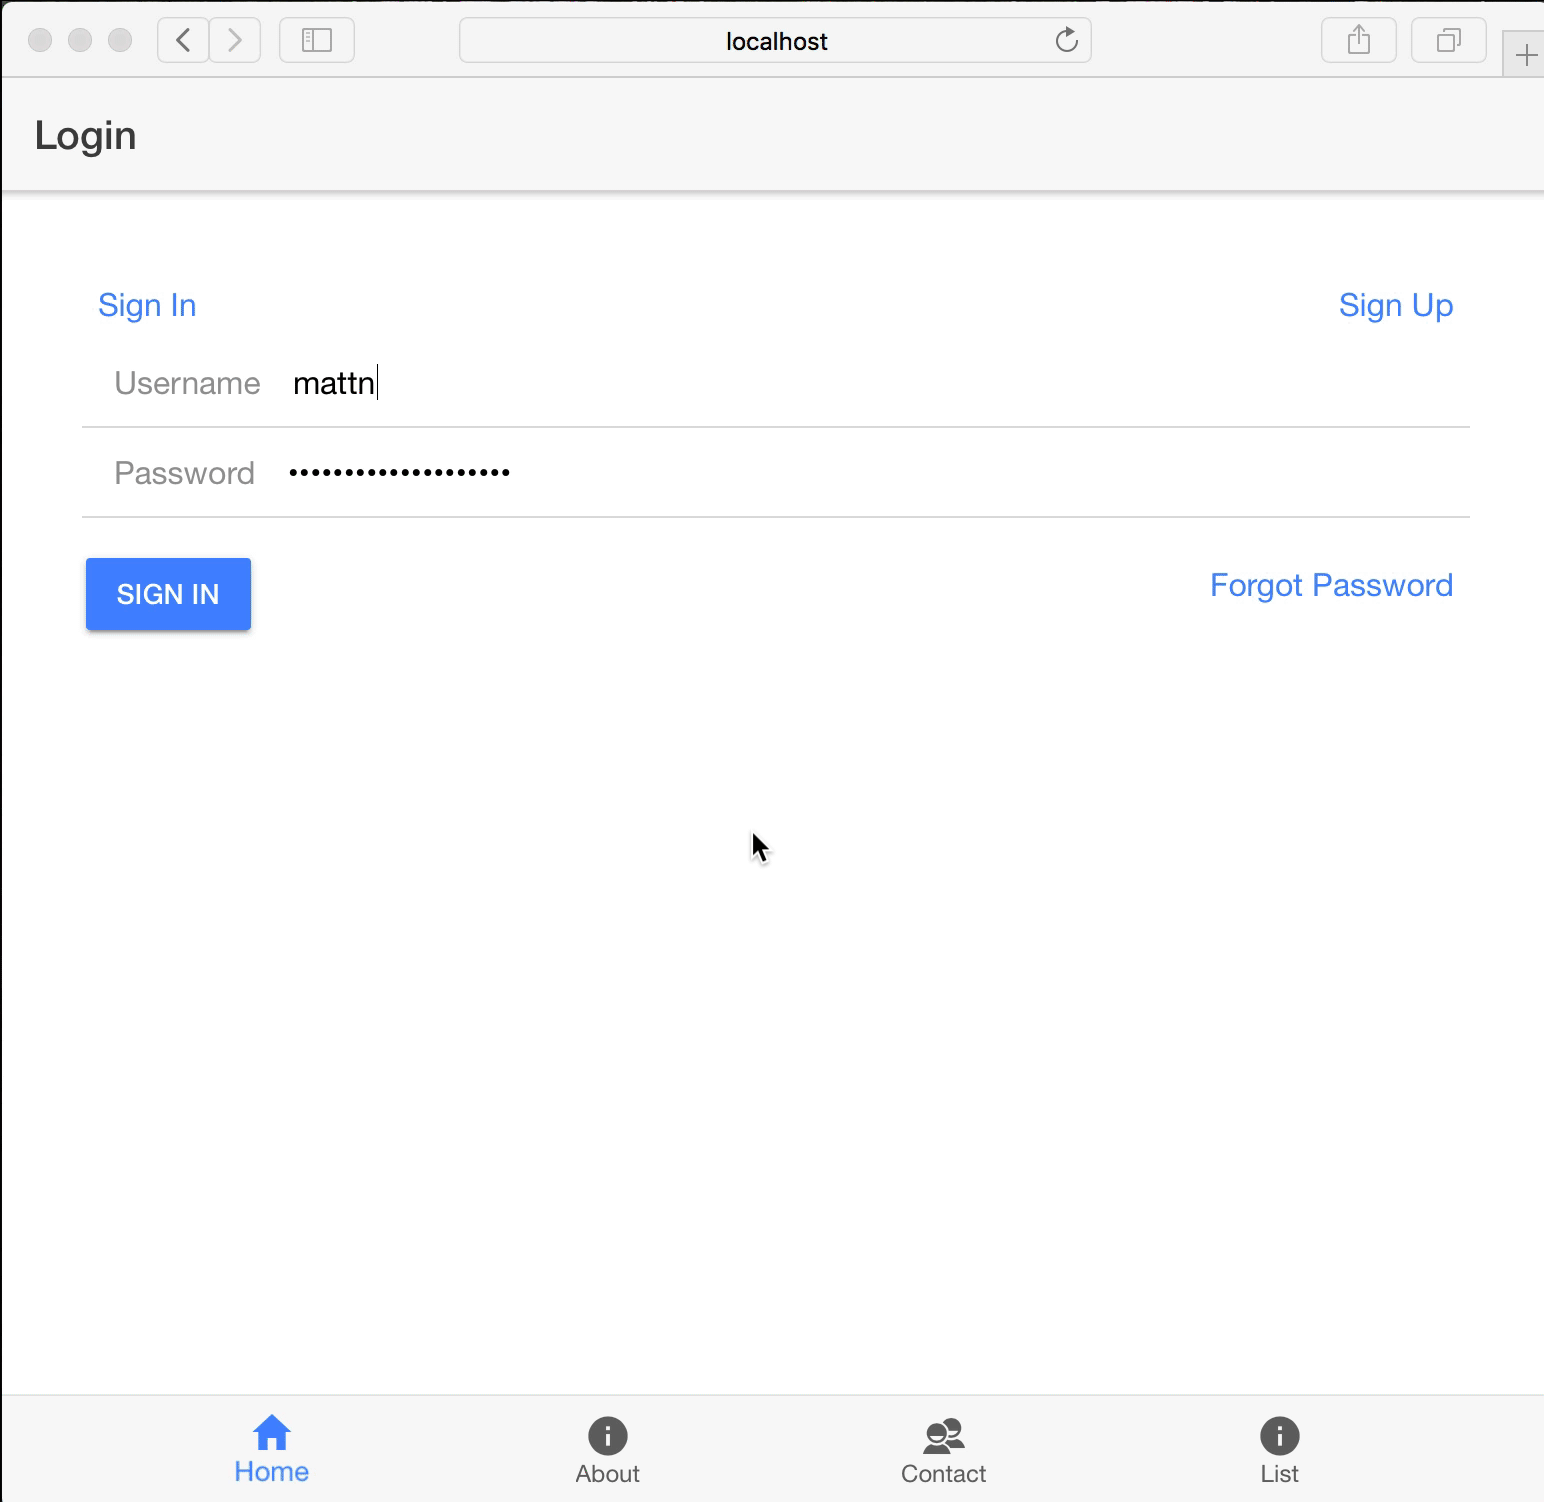
After adding a couple more bits of Angular code to our app, authentication is available on the Home tab:

Now this is wicked cool! AWS Amplify provides several Angular UI components, including the full sign-in experience above. Adding a simple one-liner to this page, optionally styled with Ionic UI components, results in a ton of development time saved!
<amplify-authenticator framework="ionic"></amplify-authenticator>
The default UI looks pretty good out-of-the-box and is fully responsive. As briefly mentioned in the guide, you can change the look and feel of the UI rather easily.
Storing ToDo Items via Amazon DynamoDB
At this point in the guide, we’ve got a ToDo list that users must sign-in to access, but the items aren’t saved anywhere – they’ll disappear after the app is closed. As it turns out, storing them in a cloud database is easy enough. With just a handful of awsmobile CLI commands, a DynamoDB NoSQL database is created and available immediately.
We have a cloud database now, but we need to somehow add the ability to add, update, and remove todos from within our app. The next step in the guide is perhaps the most impressive:
Automatic creation of a CRUD (create/read/update/delete) API for the ToDoItems database is a huge time saver. Behind the scenes, AWS hosts the backend API in AWS Lambda, their “serverless” service that runs code on-demand, without a provisioned server. Over in the Ionic 4 app, boilerplate JavaScript code is added to the project that exposes simple API endpoints. Here’s the Save method, for example:
save(list){
    // Use AWS Amplify to save the list...
    this.amplifyService.api().post('ToDoItemsCRUD', '/ToDoItems', {body: list})
      .then((i) => {
        // and to get the list after you save it.
        this.getItems();
      })
      .catch((err) => {
        console.log(`Error saving list: ${err}`);
      });
  }
With that final touch, the ToDo app is complete. Todo items are now saved in the cloud under each unique users’ account. Check out the full app experience:
Final Thoughts
AWS Amplify is a killer service that allows you to quickly add backend cloud features to your mobile app. Overall, I think it is a solid solution for Ionic developers looking to incorporate a cloud backend into their app. There are some improvements that could be made, mostly around providing better visibility into the costs of enabling each Amplify service.
If my experience piqued your interest, check out Amazon’s complete guide to building Ionic 4 apps with AWS Amplify. When you pair the Amplify backend with an Ionic starter app, you’ll have a working full stack solution in no time.
We 💙 great cloud backends at Ionic. We’re continuing to work with the AWS team to provide feedback on making the Ionic + AWS experience better.
What cloud features and integrations would you like to hear more about?


