Building And Releasing Your Capacitor iOS App

This is a guest post from Simon Grimm, Ionic Developer Expert and educator at the Ionic Academy, an online school with 70+ video courses focused entirely on building awesome mobile apps with Ionic!
Have you just built your first Ionic App, but you have no idea how to submit it to the App Store? Then you’ve come to the right place.
In this guide, you will learn all the steps required to go from an Ionic app to a released iOS app. You don’t need to have any previous experience with building native mobile apps to follow along. All you need is basic knowledge of how to build modern web applications!
Prerequisite
What is Capacitor?
Capacitor is a native runtime that gives modern web application access to native APIs such as Camera, File System, Notifications, Network, GPS, and more using JavaScript. In a nutshell, Ionic is for building UIs, and Capacitor makes it possible to build and run your app on a native device. It comes with a very slim API, so a lot of the build and deploy process we cover is actually just using the native iOS and Android tools!
Install Native Tools
To later build our app, we rely on the tools that native developers use as well. This means on a Mac, you should install Xcode which you can download from the App Store.
After downloading Xcode, please also make sure to install the command line tools with the following command:
xcode-select --installYou will also need to be enrolled in the Apple Developer Program which costs $99/year in order to submit your app to the store.
App Preparation
For simplicity, I will explain all steps based on a sample Ionic React app.
Your Capacitor Configuration
Your project already comes with a capacitor.config.ts in which you can define some general settings.
First, you should make sure that you replace the default appId with an actual bundle ID that matches your company/app name. This is a unique identifier that we will later use for Android (and I have a whole other blog post dedicated just to creating and shipping an Android app), so change it to something specific to your company or project.
Adding Native Platforms with Capacitor
To build your Ionic app with Capacitor, we need to create a native project for iOS.
Make sure you also run the build command before, because Capacitor will sync your web build to the native platform folder – which is part of the magic of Capacitor.
Later on, you will simply update your code and sync the changes again. Get started by running:
ionic build
ionic cap add ios
At this point, you can open your native projects and deploy the app to a device or simulator:
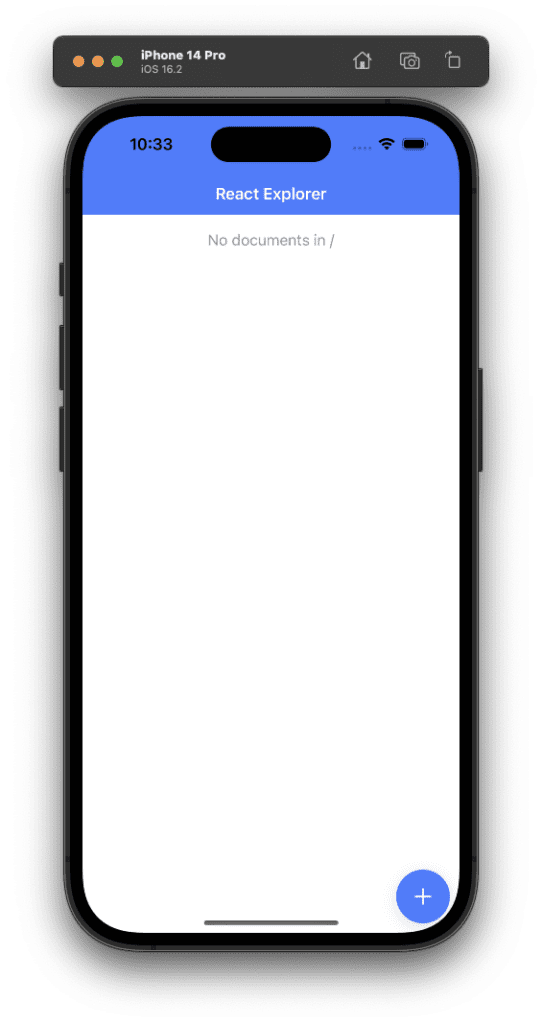
ionic cap open iosYou will be asked which device you want to use, and once it’s done you can see your app on a device – and it’s automatically updated when you change the code of your Ionic app!
Generating Splash Screen and App Icon
Every app needs a cool icon and splash screen, which is the first screen users see when starting your app later. For this task, we can use the Capacitor assets plugin, and to get started you should add an icon to a new assets folder at the root of your project:
assets/
├── icon.png
└── splash.png
Make sure you are using the right dimensions for those files:
- assets/icon.(png|jpg) must be at least 1024×1024px
- assets/splash.(png|jpg) must be at least 2732×2732px
Now we can install the Capacitor assets plugin and run the generate command in our project:
npm install @capacitor/assets
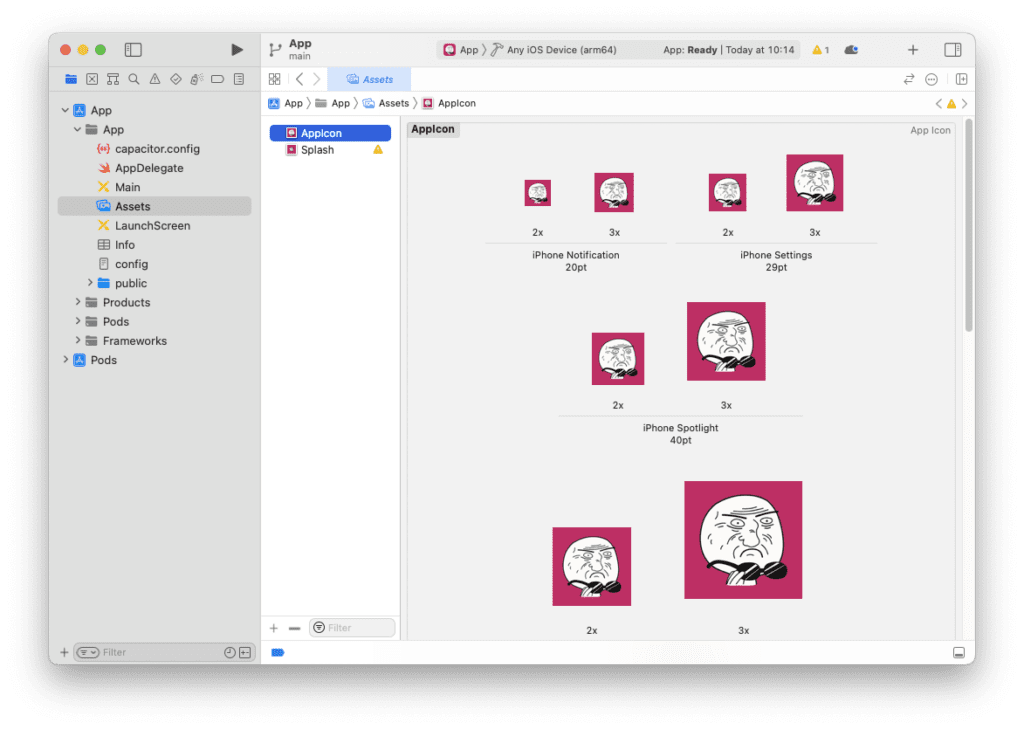
npx capacitor-assets generateThis will generate the icon and splash in different dimensions, and if you get a success message, you can see that the images were updated in your native projects:
Now let’s get that app released!
iOS App Store Deployment
To publish your app on the Apple App Store, you also need to sign your application with a specific key and profile that’s bound to your App Store account.
To create those assets and be allowed to release apps, you need to be enrolled in the Apple Developer Program and you need an actual Mac to build the native package, unless you are using a cloud build which Appflow offers.
Build your App with Xcode
To upload our app we first need to create an Archive from our app using Xcode, so let’s begin by creating our web build, syncing it to the iOS platform, and then opening Xcode:
ionic cap build ios --prod
ionic cap open ios
Within Xcode we now need to set up the app signing, which requires you to be part of a development team that’s enrolled in the Apple Developer Program.
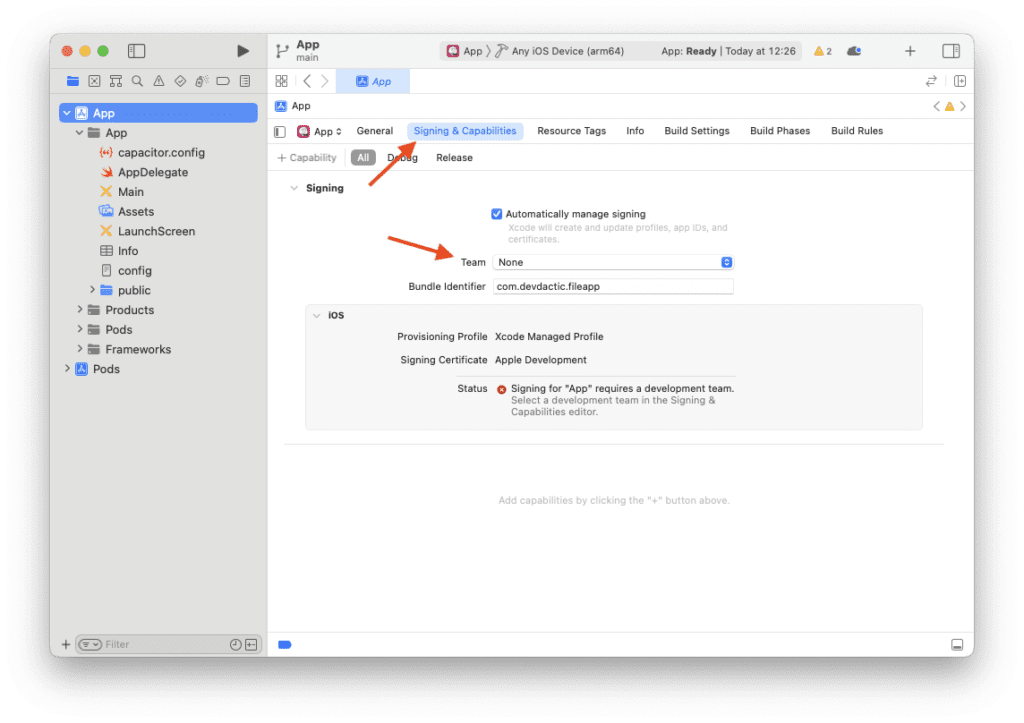
For this, you need to select the Signing & Capabilities tab, from where you can first log in with your Apple ID and then select the team from your account.
It’s usually recommended to check ‘Automatically Manage Signing’ unless you have reasons to change it, like running Xcode in a CI/CD environment or having custom profiles.
Now we need to select Product → Archive from the top menu, which will bundle all the assets of the iOS app and open a new window with all the previous archives we have built.
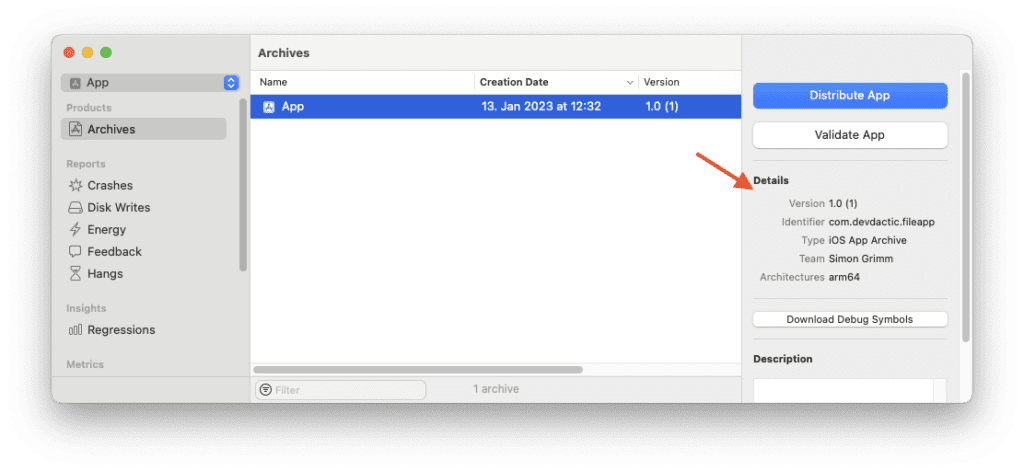
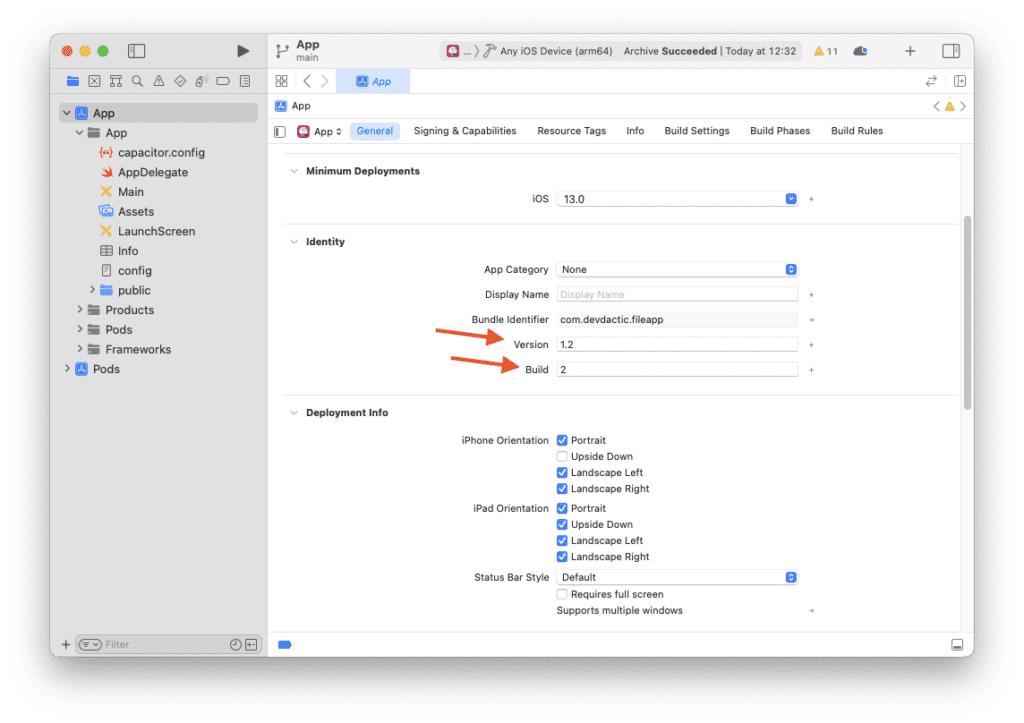
Make sure to check your details again on this page, which shows the bundle identifier and version of your app – you don’t want to submit an old build of your app!
If everything looks good, proceed by clicking Distribute App.
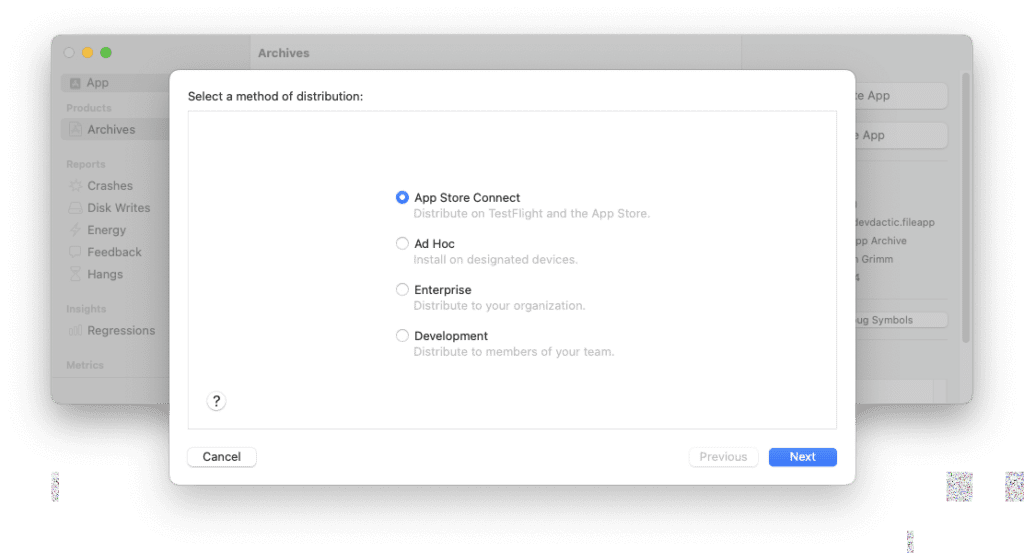
Keep the settings at App Store Connect if you simply want to release a standard iOS app. Other settings cover enterprise profiles and distribution through other channels, but nothing we need for a regular app.
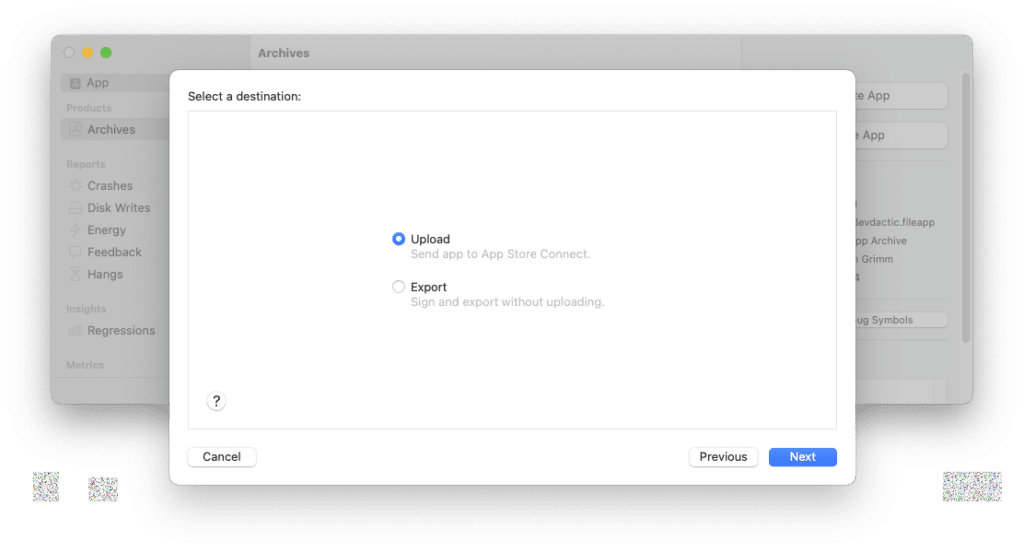
In the next step, keep the settings at Upload, as you don’t want to manually upload the bundle later. This can only be helpful if you want to distribute the bundle by using the command line tools directly or using a different uploader.
The next step takes a moment to load as we are getting closer to the actual upload. Now we need to connect the app we want to upload to an app in the App Store Connect portal.
App Store Connect is a suite of tools to manage your apps, check their statistics, or use the TestFlight testing program.
You can set up an app in App Store Connect manually, but we can also let Xcode handle this task for us now.
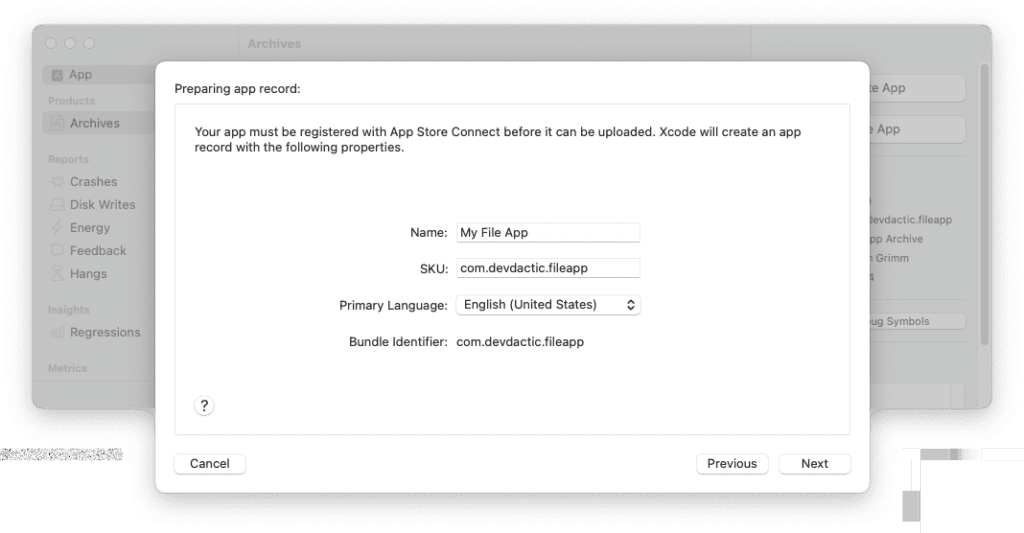
Simply give your app a name and use the bundle identifier you choose for it.
Be aware that this stage can be tricky. A few issues to look out for (and how you can fix them):
- Failed to register bundle identifier – If you get this error cancel the upload and go back to the general settings in Xcode, rename your bundle identifier, then re-archive the app from Product → Archive
- App name trademark error – Someone has already trademarked the name you’re trying to use, so pick a different name
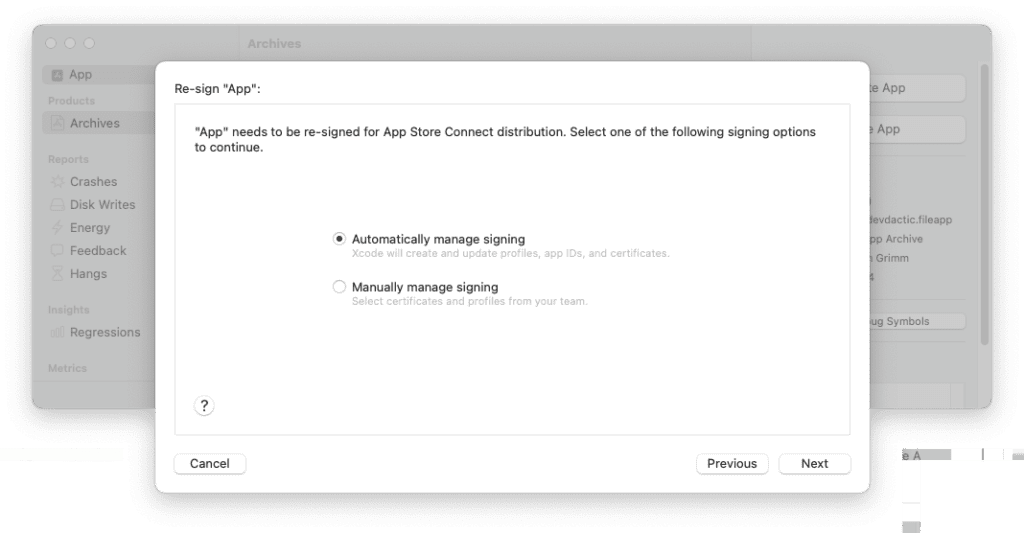
Leave all the defaults checked in the App Store Connect distribution options screen, and also keep Automatically manage signing selected unless you have a reason to change it.
When the next screen comes up, you are just one step away from uploading. This screen presents a summary of your app’s information and the content of the ipa file – the file extension of an iOS bundle.

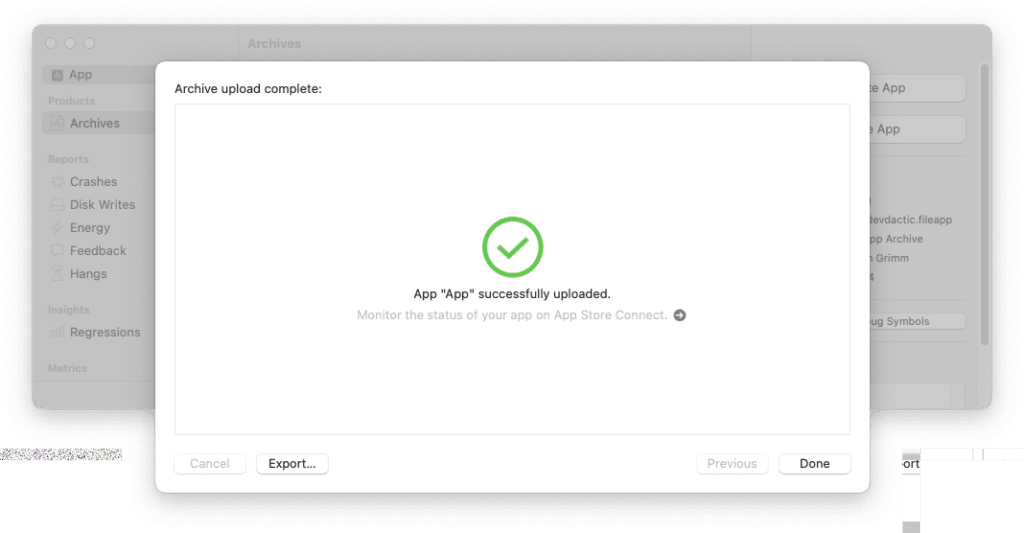
Click that upload button, wait a few minutes, and you should see a green checkmark on the screen and a link to monitor the status of your app on App Store Connect.
The link will take you to App Store Connect, where we now need to add some general information about our app before it can be released.
If you’ve come this far, the rest is just working off some tasks, and you can close Xcode for now.
Submitting your iOS App
Within App Store Connect, you should now find a new box in the Apps dashboard with the name of the app you just uploaded.
I do have a bunch of unsuccessful apps in there already, but the most important one is the My File App that I uploaded from Xcode.
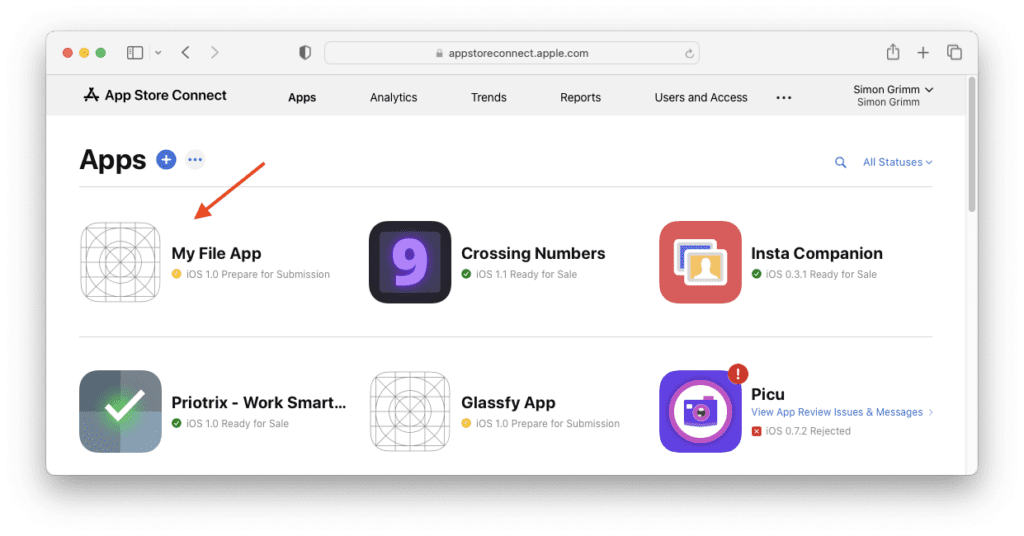
Most likely, your app shows no icon as well, which indicates that we have some more work to do!
Select your app, and you will come to the details of that app.
At this point the status of your app is ‘Prepare for Submission,’ which means you need to add a bunch of information on that page like description, keywords, and URLs but most importantly also a minimum of 3 app screenshots in the right format!
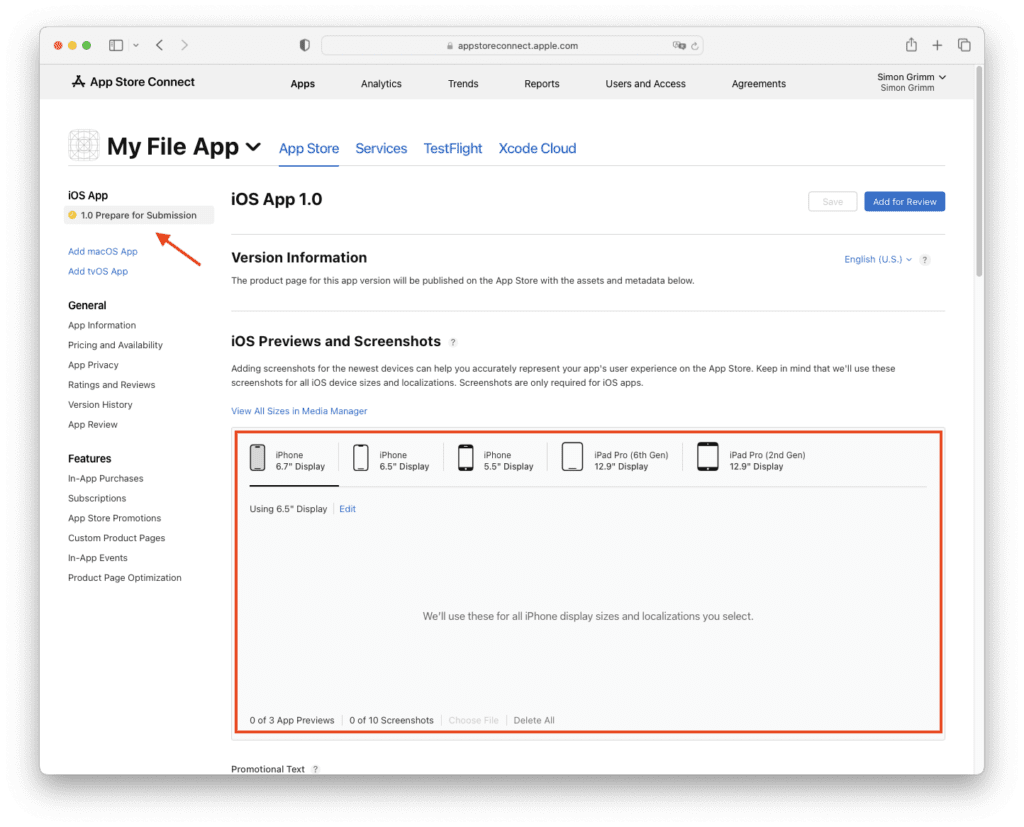
There are tools to help you with this (I even created a service called AppstoreKit for that in the past), just make sure you create the screenshots following the Apple screenshot specifications.
Now we also need to attach the build we uploaded from Xcode to the submission.
Simply scroll down to the Build section on the same page and click on ‘Add Build.’
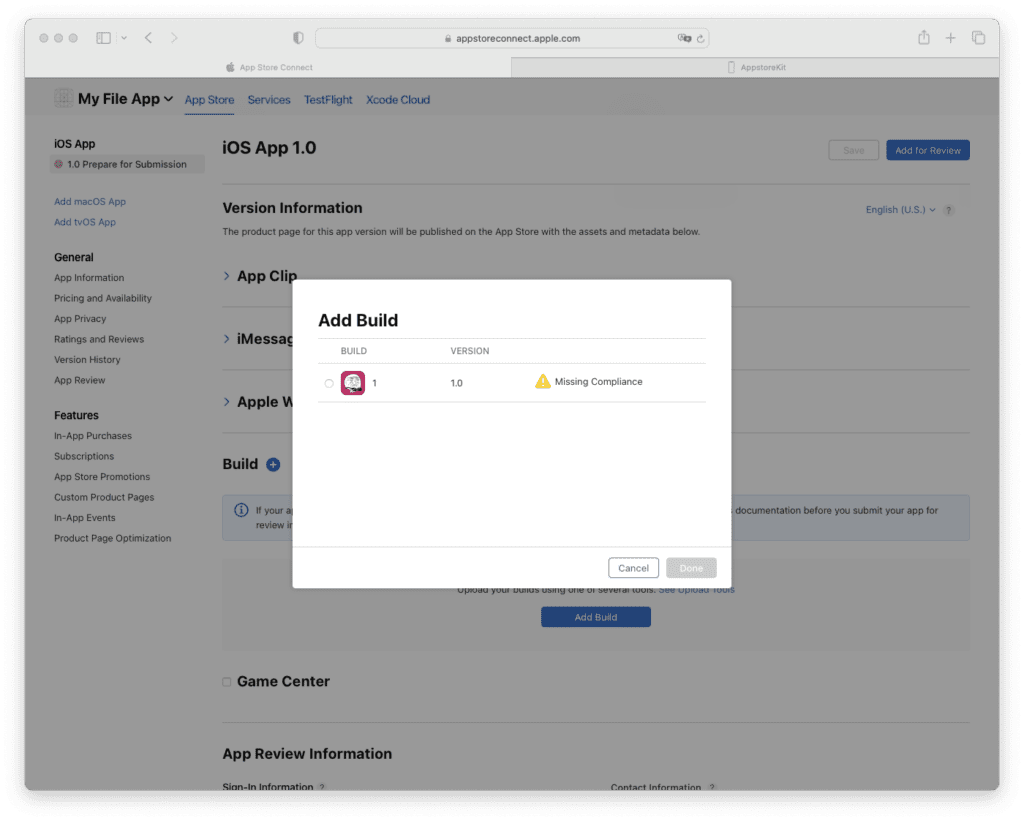
If your build is not yet showing up, you can check the TestFlight tab, where you find the status of your uploads. It takes a few minutes after upload until your app is ready, and you usually also receive an email once it has completed processing.
Right now it looks like the build has Missing Compliance, but you can select it despite the warning and click ‘Done’ to add it.
You can get rid of the warning by clicking on ‘Manage’ next to the warning and answering the questions about the compliance of your app.
Note: You can get rid of this warning upfront by adding the ITSAppUsesNonExemptEncryption to your plist in case your app is not using any kind of special encryption.
Fill out all the other fields and pages about pricing and availability of your app, and then proceed by clicking ‘Add for Review’ at the top of the page.
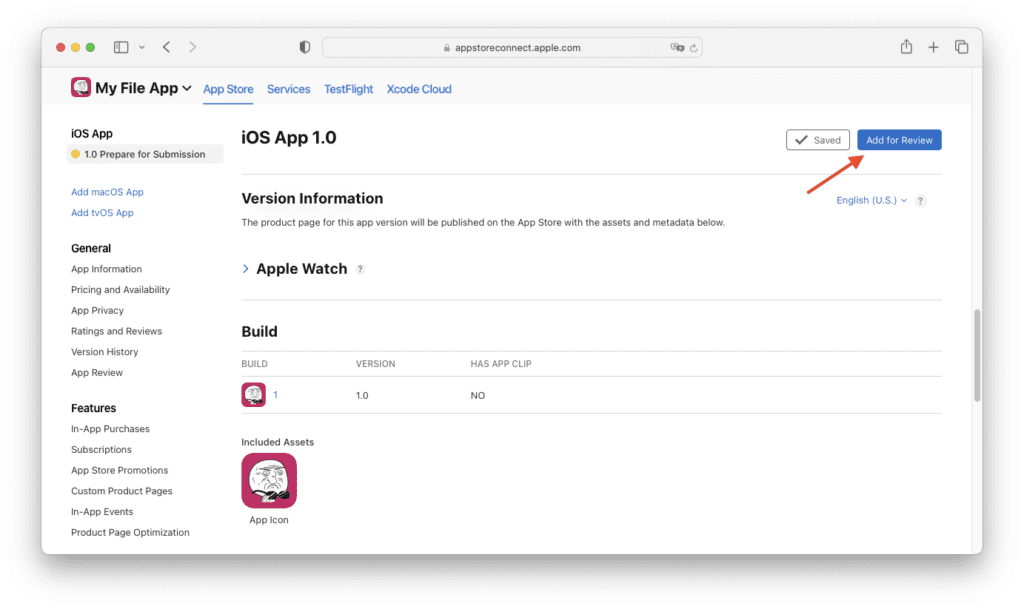
If some errors arise, make sure to fix the tasks before you try the submission again.
Otherwise, it’s time to wait – congratulations on submitting your first Ionic React app to the iOS App Store! 🎉
Updating your App
Let’s jump forward in time a few weeks (honestly, sometimes it’s just a minute until the next release) when you want to update your Ionic app. This process is the same in many aspects, but a lot faster because you don’t have to fill out all the general information of your app again.
iOS App Update Process
To update your iOS version, you need to change the version or if you just want to upload another build (because the previous build didn’t work for some reason), you can also only update the Build number inside Xcode.
What follows next is the same procedure as when you released the first version of your Ionic app:
- Create an Archive through Xcode
- Upload it to App Store Connect
- Fill out update notes / changed information
- Submit for review
Keep in mind that updates also go through the review process, so any update through the store will take some time between hours and days, which can be pretty long if there is a major bug in your app.
There’s actually a feature called live updates within Appflow that makes your life a lot easier, but more on that in a second.
Managing Settings with Trapeze
Although Capacitor will never magically overwrite your native projects (like Cordova did!), there is now a handy package called Trapeze which allows applying changes to your projects based on a YAML file.
Especially if you run your builds on a server, Trapeze can automate the task of updating native project settings with a single command based on your configuration.
You can also check out my video if you want to see Trapeze in action, if all of this sounds theoretical!
Live Updates with Appflow
Now wouldn’t it be nice if you didn’t have to worry about builds, signing, upload, or even app store review times anymore? Well, all of that is actually possible with Appflow, a paid cloud platform for teams building any kind of mobile applications – yes, Appflow can build Cordova, Capacitor, and even React Native and traditional iOS and Android apps!
Appflow can manage your signing keys, connect to your repository and automatically build your native iOS or Android app after pushing to a specific branch. By defining different pipelines, you can set up powerful automations, like automatically uploading a new build to Google or Apple after it’s been built in the cloud.
On top of that, you get access to a feature called live updates:
With live updates, you can actually skip the app store review process because apps connected with Appflow can load their web sources from a remote server.
There’s also an in-depth look at Appflow inside the Ionic Academy, so if you want to learn how to use it or build even better Ionic React apps, become a member and get immediate access to 70+ video courses, app templates and our private community of Ionic developers.
Parting Thoughts
While it can seem like a complex process, building, signing, and releasing your app is actually a lot more approachable than you might think. Missed the guide on how to release your Android app? Check it out here!
Looking to take your Ionic knowledge ever further? Check out Ionic Academy, which has helped hundreds of developers build and release beautiful, performant apps.


