How to build an Ionic Barcode Scanner with Capacitor

This is a guest post from Robin Genz, an Ionic Developer Expert and Capacitor Plugin author at CapAwesome.
Capacitor makes building a cross-platform app with one codebase easier than ever. Especially with the release of Capacitor 5.0, creating a plugin with Capacitor is simple and developer-friendly. In combination with the Ionic Framework, we also have a modern open source mobile UI toolkit. We will use these technologies to create a complete barcode scanner app for Android and iOS in just 15 minutes.
Highlights include:
- One Angular codebase that runs on Android and iOS using Capacitor.
- Barcode scanning functionality powered by ML Kit, Google’s machine learning SDK for Android and iOS.
You can find the complete app code referenced in this guide on GitHub.


Download Required Tools
Download and install the following tools to ensure an optimal developer experience:
- Node.js to install the required dependencies
- A code editor for… writing code! Tip: Visual Studio Code supports the new Ionic VS Code Extension
- Android Studio to build the Android app
- XCode to build the iOS app (only available on macOS)
Create a new App
To create a new project, we simply use the Ionic CLI. For this, first install the CLI globally:
npm i -g @ionic/cliThen you can create a new project with the ionic start command:
npx ionic start barcode-scanner blank --type=angular --capacitorIn this case, the app is called barcode-scanner, the starter template is blank and the project type for the purposes of this guide is Angular. You can also choose Vue or React, for example. Additionally, we enable the Capacitor integration with --capacitor.
Once everything is ready, you should see this output:
Your Ionic app is ready! Follow these next steps:

- Go to your new project: cd .\\barcode-scanner
- Run ionic serve within the app directory to see your app in the browser
- Run ionic capacitor add to add a native iOS or Android project using Capacitor
- Generate your app icon and splash screens using cordova-res --skip-config --copy
- Explore the Ionic docs for components, tutorials, and more: <https://ion.link/docs>
- Building an enterprise app? Ionic has Enterprise Support and Features: <https://ion.link/enterprise-edition>
Add the Android Platform
Now let’s add the Android platform.
For this, first install the @capacitor/android package:
npm install @capacitor/androidAfter that you add the platform:
npx cap add androidAdd the iOS Platform
Install the @capacitor/ios package:
npm install @capacitor/iosAfter that you add the platform:
npx cap add iosAdd the Barcode Scanner
Install the Plugin
To use the ML Kit Barcode Scanning SDK in Capacitor, we need the Capacitor ML Kit Barcode Scanning Plugin:
npm install @capacitor-mlkit/barcode-scanning
npx ionic cap sync
On Android, the SDKs also require the following permissions in the AndroidManifest.xml before or after the application tag:
<!-- To get access to the camera. -->
<uses-permission android:name="android.permission.CAMERA" />
<!-- To get access to the flashlight. -->
<uses-permission android:name="android.permission.FLASHLIGHT"/>
You also need to add the following metadata in the application tag in your AndroidManifest.xml:
<meta-data android:name="com.google.mlkit.vision.DEPENDENCIES" android:value="barcode_ui"/>On iOS, add the NSCameraUsageDescription key to the ios/App/App/Info.plist file, which tells the user why the app needs to use the camera:
<key>NSCameraUsageDescription</key>
<string>The app enables the scanning of various barcodes.</string>
The plugin is now ready to use.
Build the UI
Scanning a barcode is as simple as it gets: You just have to call the scan(...) method of the plugin and receive the scanned barcode as a result. To request the necessary permissions and to show the user a dialog in case of missing permissions, we will also use the requestPermissions() method.
The following code goes to your src/app/home/home.page.ts:
import { Component, OnInit } from '@angular/core';
import { Barcode, BarcodeScanner } from '@capacitor-mlkit/barcode-scanning';
import { AlertController } from '@ionic/angular';

@Component({
  selector: 'app-home',
  templateUrl: 'home.page.html',
  styleUrls: ['home.page.scss'],
})
export class HomePage implements OnInit {
  isSupported = false;
  barcodes: Barcode[] = [];

  constructor(private alertController: AlertController) {}

  ngOnInit() {
    BarcodeScanner.isSupported().then((result) => {
      this.isSupported = result.supported;
    });
  }

  async scan(): Promise<void> {
    const granted = await this.requestPermissions();
    if (!granted) {
      this.presentAlert();
      return;
    }
    const { barcodes } = await BarcodeScanner.scan();
    this.barcodes.push(...barcodes);
  }

  async requestPermissions(): Promise<boolean> {
    const { camera } = await BarcodeScanner.requestPermissions();
    return camera === 'granted' || camera === 'limited';
  }

  async presentAlert(): Promise<void> {
    const alert = await this.alertController.create({
      header: 'Permission denied',
      message: 'Please grant camera permission to use the barcode scanner.',
      buttons: ['OK'],
    });
    await alert.present();
  }
}
To make the scanning process even faster and to reduce the error rate even further, you could filter on the formats you are looking for (e.g. QR codes) using the formats option.
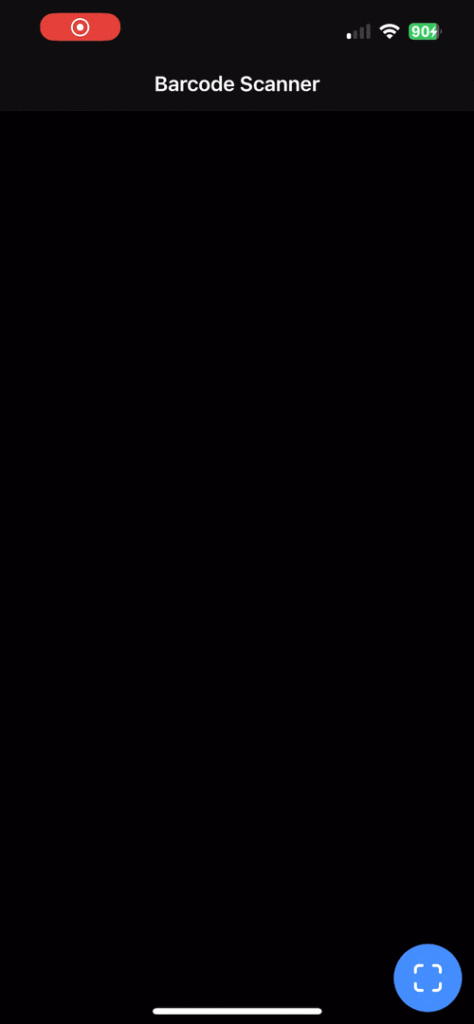
Last but not least, the only thing missing is the template. To keep the app simple, we just list all scanned barcodes with ion-list. The scanning process is started via a floating action button in the bottom right corner.
For this, change your src/app/home/home.page.html to:
<ion-header>
  <ion-toolbar>
    <ion-title>Barcode Scanner</ion-title>
  </ion-toolbar>
</ion-header>

<ion-content>
  <ion-list>
    <ion-item *ngFor="let barcode of barcodes">
      <ion-label position="stacked">{{ barcode.format }}</ion-label>
      <ion-input type="text" [value]="barcode.rawValue"></ion-input>
    </ion-item>
  </ion-list>
  <ion-fab slot="fixed" vertical="bottom" horizontal="end">
    <ion-fab-button (click)="scan()" [disabled]="!isSupported">
      <ion-icon name="scan"></ion-icon>
    </ion-fab-button>
  </ion-fab>
</ion-content>
Now everything is ready for the first launch! 🎉
Run the App
Run the app and scan your first barcode or QR code:
# Run the Android platform
npx ionic cap run android

# Run the iOS platform
npx ionic cap run ios
That was easy, wasn’t it?
Conclusion
Implementing a barcode scanner across multiple platforms can be challenging. However, the Capacitor ML Kit barcode scanning plugin does most of the work for you, and the performance of the ML Kit SDK is quite impressive. Only the Web platform is not supported by Google’s machine learning SDK. If you also want to support the Web platform, you can just combine this plugin with other libraries like zxing-js/library or the Barcode Detection API (still experimental).
Be sure to check out the API Reference to see what else you can do with this plugin. If you have any questions, just create a discussion in the GitHub repository. Make sure you follow Capawesome on Twitter, so you don’t miss any future updates.


