Advanced Workflows for Building Rock-Solid Ionic Apps, Part 1
Jonathan Grupp is a software engineer at M-Way Solutions, the owner and maintainer of Generator-M-Ionic, and a frequent contributor to Ionic. He has written a three-part series on advanced workflows for building rock-solid Ionic apps. This is Part 1.

At M-Way Solutions, we’ve been building large-scale, enterprise-level apps with Ionic for the past two years. To aid our development process, we created Generator-M-Ionic, an open-source collection of development tools alongside the Ionic CLI. This tool allows developers to quickly create prototypes that later scale with complex project requirements, like testing, quality assurance, and continuous integration.
Who We Are
We’ve been developing mobile apps for years–long before Ionic and Angular made it into our development stack. We consistently explored different combinations of MV* frameworks and mobile frameworks throughout the years, and we even developed our own mobile framework, but Angular & Ionic kept consistently impressing us. Focusing on Angular and Ionic allowed us to tackle many of the other challenges posed by app development, our business, and enterprise customers.
These challenges led to the genesis of Generator-M-Ionic, which is now a valuable part of our development process and addresses the following aspects of mobile app development:
- Provides useful workflows
- for development, testing, quality assurance, building, continuous integration
- for complex project requirements, like managing different sets and versions of APIs, app icons, and splash screens
- Embeds nicely into the ecosystem
- Standardizes project setup
- tames and wires together an ever-changing and complex frontend technology stack
- gives a default project & file structure
- comes with sensible default configurations for development tools like Git, ESLint, and others
- is still easily modified to suit different project requirements
- makes app development more approachable for newcomers
- simplifies project handovers
Whether we’re throwing together a proof of concept for a customer or a prototype for a presentation, the project is able to seamlessly transition into a full-fledged powerful enterprise app, no matter which platforms or sets of devices we’re developing for.
About this Series
This post is part of a series on kick-starting your development with Ionic and Generator-M-Ionic. Here, we’ll explain how to set things up, generate your first app, structure files, and integrate with Git. Let’s have some fun!
In Part 2, we’ll cover quality assurance and testing; adding Angular components, Sass, Cordova Plugins and bower packages; how to run your app in your browser and on a device using livereload; and how to integrate into different ecosystems like the Ionic Platform, using the Ionic CLI.
Part 3 will teach you how to ease through backend issues with environments and a CORS proxy, how to use powerful build tools like resource sets and build vars, and how to handle continuous integration and delivering your app.

Getting Your System Ready
The first thing you need to install is Node and the Platform SDKs for the platforms you want to develop for. The latter is only needed if you want to run your app on a real device during development. If you’ve already built apps using the Ionic CLI, you probably already have those installed and don’t need to do it again. If not, you can follow our Installation and Prerequisites Guide.
After you’ve set up everything properly, launch your terminal and run:
npm install --global generator-m-ionic bower yo gulp
This will install Generator-M-Ionic using the node package manager, along with the popular web development tools Bower (manage and install client packages like Angular), Yeoman (runs the generator and scaffolds your app), and Gulp (runs all post-setup tasks). If you don’t know what these are, the What’s in the box Guide can help shed some light on the technologies Generator-M-Ionic uses.
Create your project
Once all of this is done, you probably want to create a new folder to generate your project in and launch the generator:
# create new directory and change into it
mkdir adventure-island && cd $_
# launch generator
yo m-ionic
You’ll be asked a series of questions regarding the project you’re creating, like this one:

If you’re not sure what some of these mean, they are explained in the Questions document. For the rest of this series, I’m going with tabs as a starter template. When you’ve answered all the questions, all the node and bower dependencies will be installed for your project. This might take a while, but luckily, you’ll only have to do this once for each project.

After everything’s done, run:
gulp watch
Your default browser will open up automatically. If you don’t want that, adding the --no-open flag will prevent opening your browser or a new window. Now, activating your developer tools (cmd+alt+i in Chrome on OS X) will let you see your app as below.
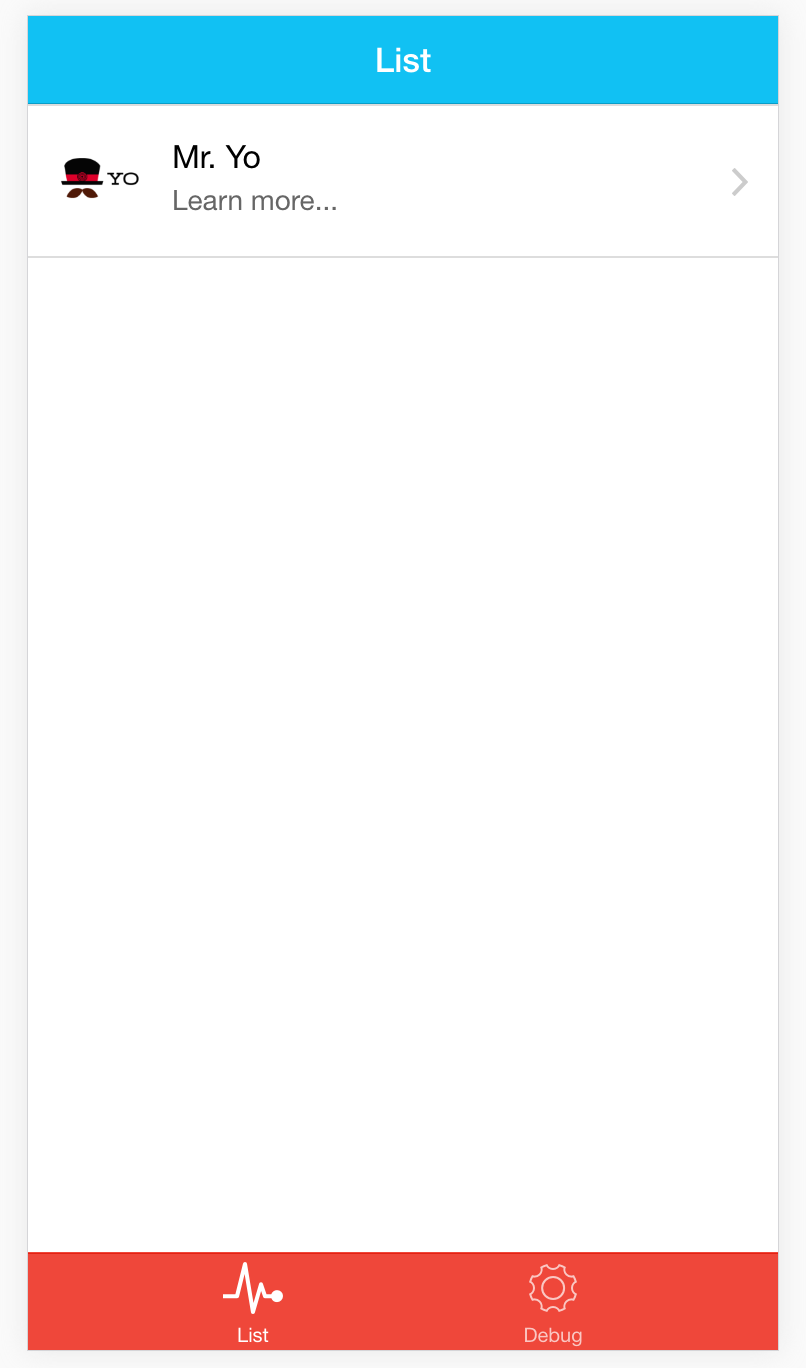
Congratulations; you’ve built your first app! This might not look like much now, but the generator has done A LOT of work for you already. Let’s have a closer look:
File structure
Your project folder now contains a lot of files that were generated for you. In order to give you a first general orientation, the most important of these files are:
Cordova related files and folders
config.xml  # configuration of your Cordova project
platforms/  # platforms you installed
plugins/    # plugins you installed
www/        # will contain the build of your web app, before Cordova is added
Gulp tasks and dependencies
bower.json    # dependencies like Angular & Ionic installed to app/bower_components/
gulpfile.js   # configuration of all the Gulp tasks
gulp/         # more Gulp tasks
package.json  # dependencies like Gulp plugins installed to node_modules/
Application files
app/
  └── index.html # single most important file, everything is wired together here
  └── app.js     # include modules YOU create, for now only 'main'
  └── main/      # all other app files, angular files, styles, assets, ...
    └── main.js  # routing, angular module dependencies
    └── ...
index.html
Everything that makes up your app comes together in this file: Cordova, Ionic, Angular, Angular modules, your own application logic, styles and assets. I’ll give some more details here, without going into the particulars too much:
When you ran gulp watch, it did this to your index.html:
– inject all bower javascript and css files (Angular, Ionic, …)
– inject all of your app files (compiled css, angular files, …)
And whenever you make changes to your application files or if you create new ones, gulp watch will update all necessary files and reload your browser. Additionally, -besides the necessary HTML and angular bootstrapping we just discussed, the index.html contains:
– the link to the cordova.js file that Cordova provides upon build
– basic ionic directives used by the routing in your main.js
Git integration
Now that you have created your first app with Generator-M-Ionic and wired it all together with gulp watch, it might be a good time to secure your progress! Good thing your project comes with a fine-tuned Git integration already! So simply type the following in your project folder:
git init    # initialize git
git status  # show all files that git can track
You’ll notice that we have already talked about most of the files that Git finds. Worry not; we will discover the rest of them step by step throughout this series. However, you might also notice that Git ignores all the third party code of Bower, Node, and Cordova, namely the app/bower_components/, node_modules/, platforms/ and plugins/ folders. This is done using the .gitignore and .gitattributes files, which got accordingly configured during project setup. Thus, Git ignores all files that aren’t source files or in any other way specific to your project, keeping your repository nice and small and your commits clutter-free. For the curious, there’s a Git integration Guide in the documentation with more particulars.
To create your first commit, all you have to do is:
git add . # add all relevant files
# create commit
git commit -m "project setup with yo m-ionic and gulp watch"
Side note: I’m using double quotes on any terminal related strings, because they’re safe on all systems. On OS X or Linux, using single quotes is just fine.
Nice!
You’ve taken your first steps with Generator-M-Ionic and learned about file structure, gulp watch, and Git integration! Take your development to the next level in Part 2 of our series, which will cover quality assurance, adding a variety of ingredients to your app, and integrating into different ecosystems like Ionic Platform.
Get in touch
Feedback, ideas, comments regarding this blog post or any of the features discussed here are very welcome in either the comments section below, at our Generator-M-Ionic’s Github repository, or in the Generator-M-Ionic Gitter Chat.
Credits
Author: Jonathan Grupp
Headline illustrations: Christian Kahl
Special thanks to Volker Hahn, Mathias Maier, and Tim Lancina


