Announcing Ionic React Hooks

Ionic React Hooks has been renamed and moved to the Capacitor Community org: @capacitor-community/react-hooks
Last month we announced Ionic React, and have been blown away by the reception from both the Ionic community as well as the React community. Today, we are excited to launch a companion project to Ionic React that makes tying into device hardware and APIs a breeze in an Ionic React project.
You may have heard of Capacitor, our native app management layer that lets you leverage APIs that work across iOS, Android, Electron, and the web, all with one code base and JS. You can use Capacitor to access various device features, such as the camera, GPS, network status, and more. The SDK for Capacitor is vanilla JavaScript, which any web framework can use. However, we wanted to take the experience of accessing Capacitor APIs to the next level by making them feel like a natural extension to the React experience.
So today, we are launching Ionic React Hooks, a collection of React hooks that act as wrappers around the Capacitor APIs, as well as some other Ionic platform-specific features. With Ionic React Hooks, you can start accessing device hardware in just a few lines of code, all while coding in a familiar React paradigm.
What’s the Hook for Hooks?
Hooks were introduced in React v16.8 and allow a way to access certain React features in a simple and clean manner while using functional components.
Before hooks, you pretty much needed to use class-based components to have local state, make web API calls, use React’s context, or tie into a component’s lifecycle events. While class-based components are great, developers often prefer to use the functional approach, which consists of a simple function that takes in a props object and returns a React element. Functional components are often smaller and easier to understand than their class-based counterparts.
Hooks make it possible to do more complex tasks in a functional component.
For more information about React Hooks and a primer on how they work, head over to React’s guide to hooks here.
At Ionic, we are fans of functional components and hooks, so it was natural to want a way to consume the APIs we build using a hooks based approach. And that’s where Ionic React Hooks comes in! Let’s see how to get started.
A Quick Example
Hooks are great because they abstract away the messy details of accessing Capacitor APIs and setting/clearing listeners. For example, to track Geolocation position in realtime, we just need to call one hook in our component:
import { useWatchPosition } from '@ionic/react-hooks/geolocation';

const { currentPosition, startWatch, clearWatch } = useWatchPosition();
And currentPosition will be available in our component to access. The return type of the hook follows the Geolocation API in Capacitor, but all the events and handlers are managed for you!
Adding Ionic React Hooks to an existing Ionic React Project
For those using Ionic React today, adding Ionic React Hooks to your project is simple. First, enable Capacitor in your project:
ionic integrations enable capacitor
Next, install Ionic React Hooks and PWA Elements.
npm i @ionic/pwa-elements @capacitor-community/react-hooks
Ionic React Hooks Tutorial
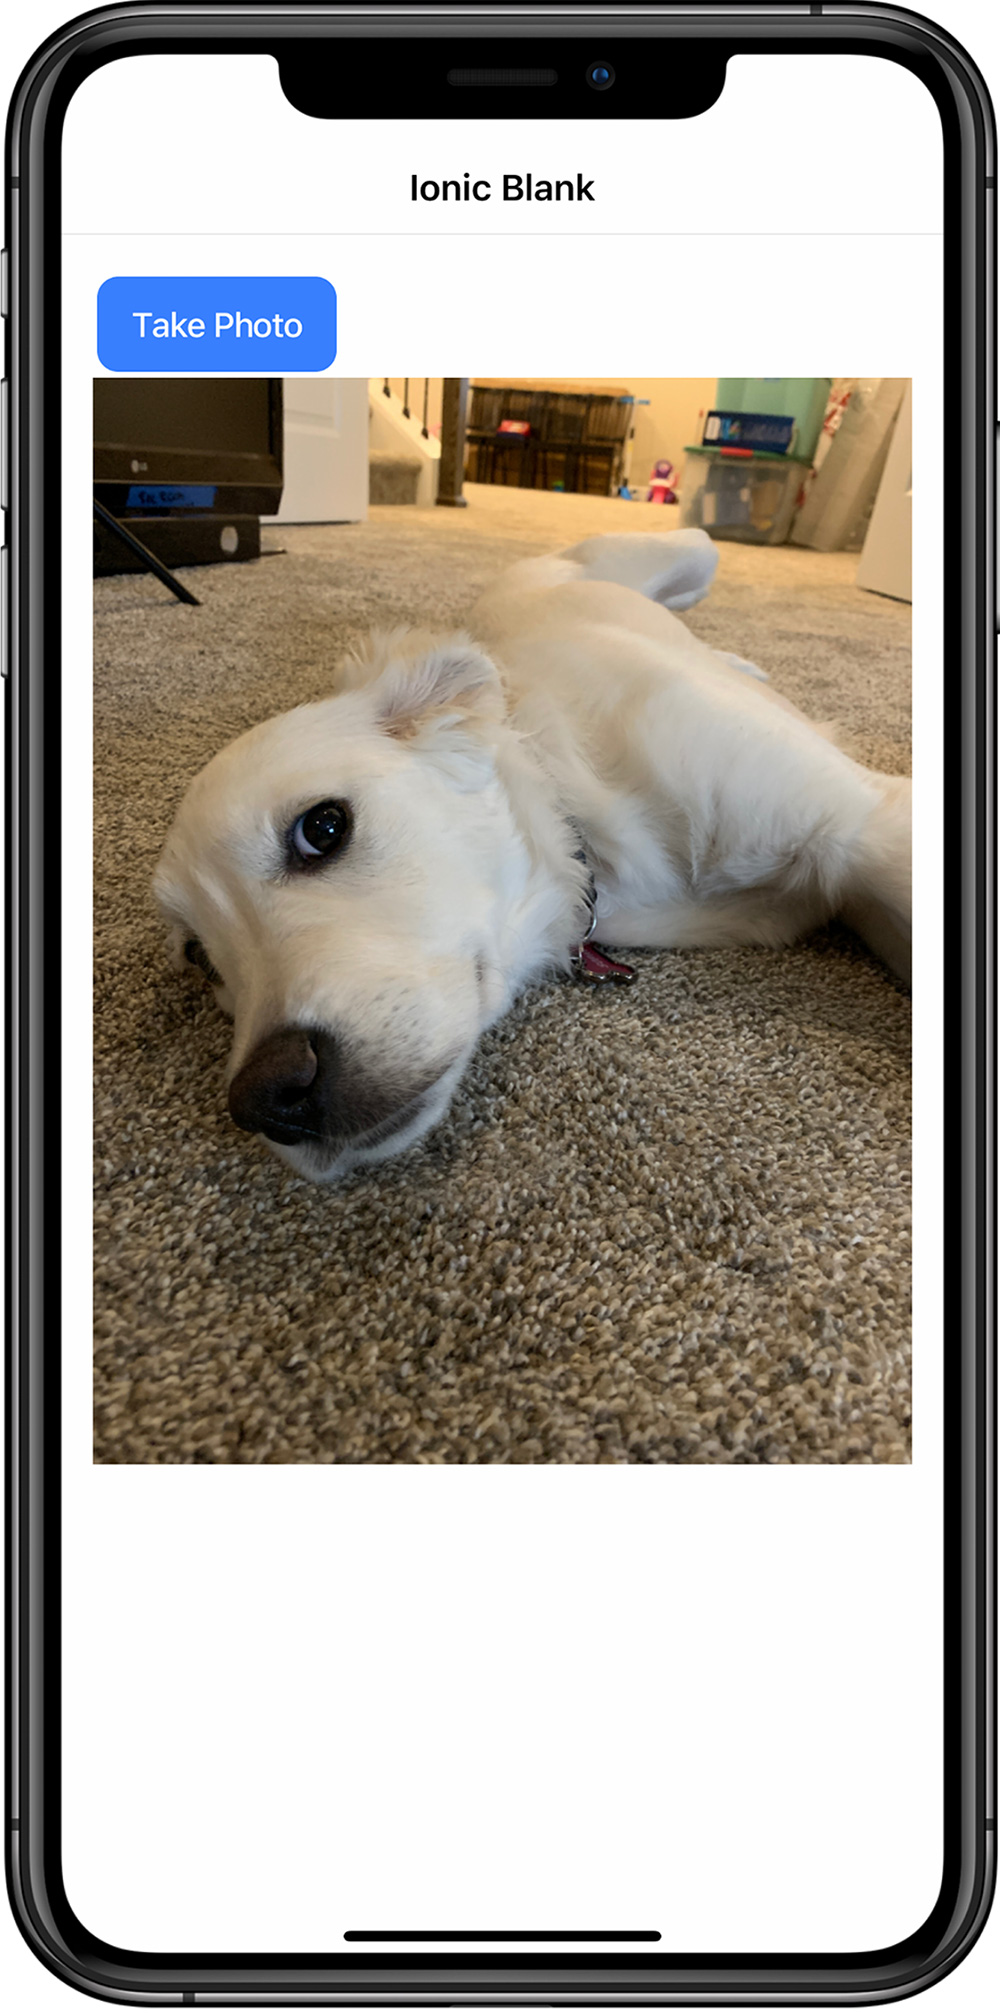
Let’s build a simple camera app that takes a picture and displays it on the user’s device. The best part? It will run on the web or as a native mobile app – with no code changes – thanks to Capacitor.
First, let’s kick off a new Ionic React application through the CLI:
ionic start my-react-app blank --type react
If you are new to Ionic or need to get the CLI installed, visit here for info on how to get started with the Ionic CLI.
Next, enable Capacitor in the project by running:
ionic integrations enable capacitor
This will prepare the project by installing the necessary Capacitor dependencies and setting up some configuration for us.
Now install the Ionic PWA Elements and Ionic React Hooks packages:
npm i @ionic/pwa-elements @capacitor-community/react-hooks
PWA elements is a set of Stencil web components that display UI elements when not running natively on a device. These elements are lazy-loaded as needed, so including them will not increase your initial bundle size. In our demo app, the camera interface displayed is from PWA Elements.
Note: PWA Elements is optional, the hooks will work without it but provide a simpler UI experience on the web.
Now that we have the project created and all our dependencies set up, open the project in your favorite code editor.
In index.tsx, we need to register the PWA Elements library. Update the file to import defineCustomElements and call that method at the bottom:
import { defineCustomElements } from '@ionic/pwa-elements/loader';

ReactDOM.render(<App />, document.getElementById('root'));

defineCustomElements(window);
Next, open up Home.tsx, and add the following code right below the imports:
import { useCamera, availableFeatures } from '@capacitor-community/react-hooks/camera';
You import each of the hooks for a specific Capacitor plugin by importing them from their specific path.
Each of the plugins also has an availableFeatures object. While Capacitor allows you to write to one API across several platforms, not all features are supported on all platforms. It is recommended to check if the feature you intend to use is available before using it to avoid any runtime errors.
Inside the functional component, add the following code:
const { photo, getPhoto} = useCamera();

const handleTakePhoto = () => {
    if(availableFeatures.getPhoto) {
      getPhoto({
        quality: 100,
        allowEditing: false,
        resultType: CameraResultType.DataUrl
      })
    }
}
CameraResultType is imported from “@capacitor/core”
From the useCamera hook, we get back two values. The first is the photo value, a CameraPhoto object which contains meta-data around the result of the method call. It will be undefined at first. However, it will be updated with the result of getPhoto when that method is called (similar to how the state variable from useState works). The getPhoto method, when invoked, will launch the camera plugin to take a photo.
The handleTakePhoto method will be invoked from a button click later, but here we are simply checking if the platform the app is currently running on can get a photo, and then calling into the getPhoto method with some options.
Next, replace the content of IonContent with:
{availableFeatures.getPhoto ? (
  <div>
    <div><IonButton onClick={handleTakePhoto}>Take Photo</IonButton></div>
    <div>{photo && <img alt="" src={photo.dataUrl} />}</div>
  </div>
) : <div>Camera not available on this platform</div>}
Here, we check if the feature is once again available (so we don’t show a button that can’t be used), and if so, display the UI to take the picture and view the photo.
In the options we send to getPhoto, we specify dataUrl as the result type. This type gives us back a base64 encoded string of the photo that can be directly set as the image’s src attribute.
With all that in place, we can now run ionic serve, and from within the web browser, take a photo and display it!
For more info about how to use the Capacitor Camera API, go to the docs here.
Running on a Native iOS App
We currently have our app running on one platform – the web – which could be deployed as a PWA and function as is. Now, let’s take this app and make a native iOS app and have it run on an iPhone as well.
First, we need to build our app:
npm run build
This creates a production build of our React app in the build folder.
Next, add the iOS platform via the Capacitor CLI. This command will create an iOS project for us and copy our build folder into the native project:
npx cap add ios
If this is your first time creating a native Capacitor app, you might need to install some additional software. Visit our getting started guide for more info.
Once finished, open up the iOS app in Xcode:
npx cap open ios
Now, you can build your app and run it on an actual device!

For more info on the development workflow in Capacitor, view this doc.
Notice that when the button is clicked, you get presented with a native iOS UI to either choose a photo from an album or use the camera to take a new photo. Capacitor is automatically detecting you are on an actual device and using that device’s capability to offer a better, more natural experience for the user.
What’s Next for Ionic React Hooks?
This first release of Ionic React Hooks is very much a beta release, with only a few of the Capacitor APIs covered so far.
We are releasing this project as a community-based project and would love to get your feedback and have you help contribute to its future.
To contribute, head over to the GitHub Repo, file an issue with your idea and then submit a PR.
Ideas on what to contribute could be bug fixes, new hooks for Capacitor APIs, documentation updates to the readme, or new hooks that would benefit Ionic React developers in general.
Wrapping up
Ionic React Hooks aims to make accessing device hardware in Ionic React projects using Capacitor as straightforward as possible for React developers. In the process, they make it easier than using Capacitor by itself or through another framework!
Here are a few resources to get you up and running:
- Demo app with example usages of all the hooks we have so far.
- Ionic React Hooks Repo with docs in the readme.
Thank you for your time today, and we hope you check it out and let us know how it goes.
Happy Coding!


