Create Powerful Native Mobile Apps with Capacitor & VanillaJS

This is a guest post from Simon Grimm, Ionic Developer Expert and educator at the Ionic Academy, an online school with 70+ video courses focused entirely on building awesome mobile apps with Ionic.
CapacitorJS is an open-source framework that allows developers to build cross-platform mobile apps using web technologies. It provides a set of APIs and plugins to access native functionality and device features that are not typically available in web applications, such as the camera or File system.
With Capacitor, every web developer can create high-performance native mobile apps for iOS and Android using familiar web development tools and workflows, without having to learn a completely new language.
While Capacitor can be used with popular JavaScript frameworks like Angular and React, it is also possible to use it with VanillaJS. In this tutorial, we will learn how to use Capacitor with VanillaJS to create powerful native iOS and Android apps.
By using VanillaJS, we can keep our codebase lightweight and avoid the complexity that comes with larger frameworks. This makes it easier to maintain, update and scale our application over time – and you don’t need to fear the release of the next trendy JavaScript framework.
By the end of this tutorial, you’ll be able to get a simple photo storage app up and running – no native skills required. Thanks to Capacitor’s integration with device features and VanillaJS’s simple learning curve, you can create a fully functional, clean looking app in just minutes.
You can also take a look at the Capacitor VanillaJS app on Github!
Getting Started
Before we dive into creating a simple Capacitor app with VanillaJS, I highly recommend you check out this great guide containing everything you’ve ever wanted to know about Capacitor.
Creating a Capacitor App
Since we are not using any framework in this tutorial, we can directly scaffold a basic Capacitor app like this:
npm init @capacitor/appFollow the prompts, give your app a name, and once you are done you can install all dependencies and immediately run your app on the browser:
npm install
npm run start
This should start a Vite development server and your app is served at http://localhost:3000/ with some basic elements.
We could already turn this into a native iOS and Android app now, but first, let’s add some more features.
Adding TailwindCSS
You can style your web app as always with just CSS, but throwing in TailwindCSS makes it easy to create a great-looking app in minutes, without committing to any JS framework.
To do so, simply install it as described:
npm install -D tailwindcss postcss autoprefixer
npx tailwindcss init
Now we just need to make sure we are including our files in the tailwind.config.js:
/** @type {import('tailwindcss').Config} */
module.exports = {
  content: ['./src/**/*.{html,js}'],
  theme: {
    extend: {},
  },
  plugins: [],
};
Lastly, we need to load the Tailwind classes, so let’s add the following to our src/css/style.css:
/* Add Tailwind imports */
@tailwind base;
@tailwind components;
@tailwind utilities;
You can confirm that everything works correctly by adding some Tailwind utility classes to an element:
<h1 class="m-4 font-bold text-4xl underline">TEST</h1>This should result in a styled header element, and you should restart your live reload after all the previous steps.
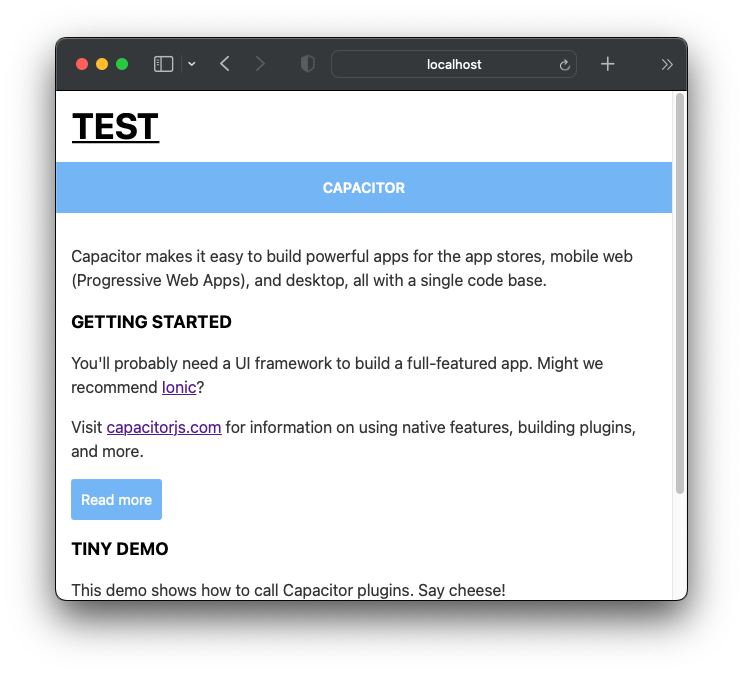
Now we are ready to use Capacitor with VanillaJS to create powerful native mobile apps with Tailwind styling!
Building a Capacitor App
By default, the Capacitor app has one Javascript file that defines a custom element with some styling and functionality. This might feel overwhelming, so we take a step back and delete the src/js/capacitor-welcome.js and also all references to it inside the src/index.html. Instead, we will now build our own app from the ground up with basic Vanilla Javascript and then gradually integrate Capacitor functionality!
Creating a Navigation Bar
Almost every app has a navigation bar, so we start by creating our own.
Begin by adding a new file at src/js/navbar.js.
The following code block now defines a custom navigation bar component in VanillaJS that can be reused across different pages (or even projects). This component has three slots, named “start,” “title,” and “end,” where you can insert your own elements like a button (following the idea of Ionic components).
- The
window.customElements.define()method is used to define the custom element with the namecustom-navbarand a class that extends theHTMLElementclass. The class constructor attaches a shadow DOM to the element, which means this component is separated from the rest of our DOM.
- The
root.innerHTMLproperty defines the HTML structure and CSS styles for our navigation bar component. The `:host` selector styles the host element, which is the custom element itself.
- The
.navclass styles the navigation bar’s internal structure, which is a flexbox container with three child elements, each containing a slot element.
- The
::slotted()pseudo-element styles the content inserted into the slots. In this case, the “title” slot is styled as anh1element, while the “start” and “end” slots are styled as div elements with white font color.
Go ahead now and insert the following into the src/js/navbar.js:
// A simple reusable custom navigation ba element with 3 slots
window.customElements.define(
  'custom-navbar',
  class extends HTMLElement {
    constructor() {
      super();
      const root = this.attachShadow({ mode: 'open' });
      root.innerHTML = `
    <style>
      :host {
        position: relative;
        display: block;
        padding: 15px 15px 15px 15px;
        text-align: center;
        background-color: var(--nav-bg);
        position: fixed;
        width: 100%;
        top: env(safe-area-inset-top);
      }
      .nav {
        display: flex;
        flex-direction: row;
        justify-content: space-between;
      }
      ::slotted(h1) {
        margin: 0;
        font-size: 1em;
        font-weight: 700;
        color: #fff;
      }
      ::slotted(div) {
        color: #fff;
        margin: 0;
      }
    </style>
    <div class="nav">
      <div><slot name="start"></slot></div>
      <div><slot name="title"></slot></div>
      <div><slot name="end"></slot></div>
    </div>
    `;
    }
  }
);
To include our new component, bring up the index.html and add the element and the import for our JavaScript file to the body:
<body>
<!-- The custom nav bar, using 2 of the slots -->
<custom-navbar>
<h1 slot="title">My Capacitor App</h1>
<div slot="end">
<a href="/info.html"><button>Info</button></a>
</div>
</custom-navbar>
<script src="./js/navbar.js" type="module"></script>
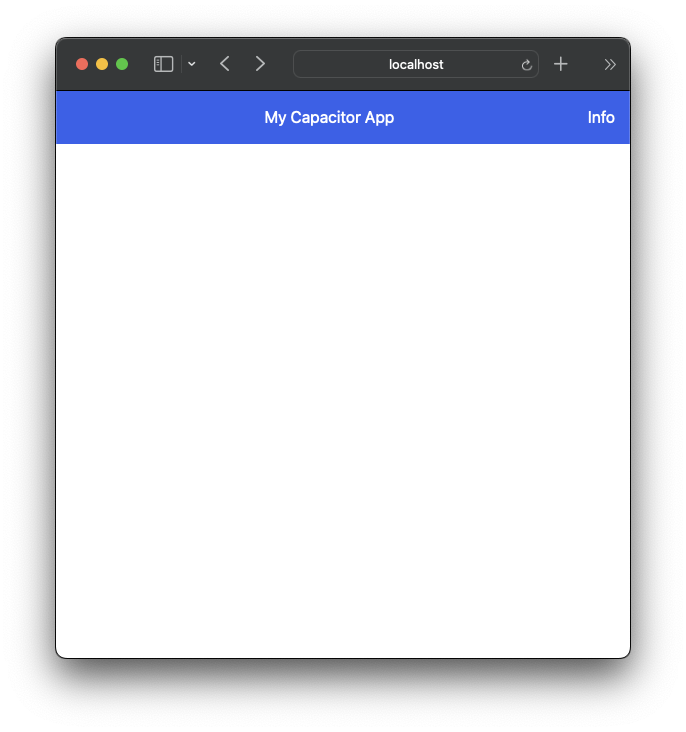
</body>At this point, you still don’t see the bar – because we used a CSS variable --nav-bg to style the background of our bar! This is how we can inject styling into our components, and how most Ionic Framework components can be styled as well. We can simply style our bar by adding the variable to our src/css/style.css:
:root {
  --nav-bg: theme(colors.blue.600);
}
Rather than using a plain value, we access the TailwindCSS theme colors to achieve a consistent UI for our app.
Capturing images with the camera
Let’s move on to building a more powerful component with Capacitor plugins!
We want to capture images with the camera of a device, store them inside our app, and later display them in a list.
To get started, let’s install these Capacitor plugins:
npm install @capacitor/camera
npm install @capacitor/preferences
npm install @capacitor/haptics
We are using the Capacitor preferences plugin to store images in this tutorial for simplicity – in a real-world scenario, you might want to either use the Filesystem directly or access the underlying SQLite database of a native app.
To present our camera and a captured image, we need some new elements on our page, so bring up the src/index.html and insert the new element into our body:
<div class="app-container">
  <!-- The captured image -->
  <img id="image" class="p-4" />

  <!-- Box to upload an image -->
  <div class="upload-box" id="upload-box">
    <div class="font-medium text-blue-600" id="image-button">
      <span>Capture image</span>
    </div>
  </div>

  <!--  Input fields -->
  <div class="m-4">
    <label
        for="description"
        class="block text-sm font-medium leading-6 text-gray-900">
        Description
    </label>
    <textarea
      id="description"
      name="description"
      rows="3"
      class="description-input"
      placeholder="Describe your image">
    </textarea>
    <button class="button mt-4" id="save">Save Image</button>
  </div>
</div>
<script src="./js/main.js" type="module"></script>
For this example, I tried to hide most of the Tailwind-specific styling in standard classes, which means we need to add the following to our src/css/style.css now to correctly style our page:
/* Wrap our app content so it'*s not covered by nav bar */
.app-container {
  margin-top: 60px;
}

/* Style our main screen */
.upload-box {
  @apply cursor-pointer m-4 flex justify-center rounded-md border-2 border-dashed border-gray-300 px-6 pt-5 pb-6;
}

.description-input {
  @apply w-full p-2 rounded-md text-gray-900 border-2 border-gray-300 placeholder:text-gray-400;
}

.button {
  @apply w-full rounded bg-blue-600 py-3 px-2.5 text-sm font-semibold text-white shadow-sm hover:bg-blue-500 focus-visible:outline focus-visible:outline-2 focus-visible:outline-offset-2 focus-visible:outline-blue-600;
}
With that in place, we have a beautiful input dialog with a consistent color theme.
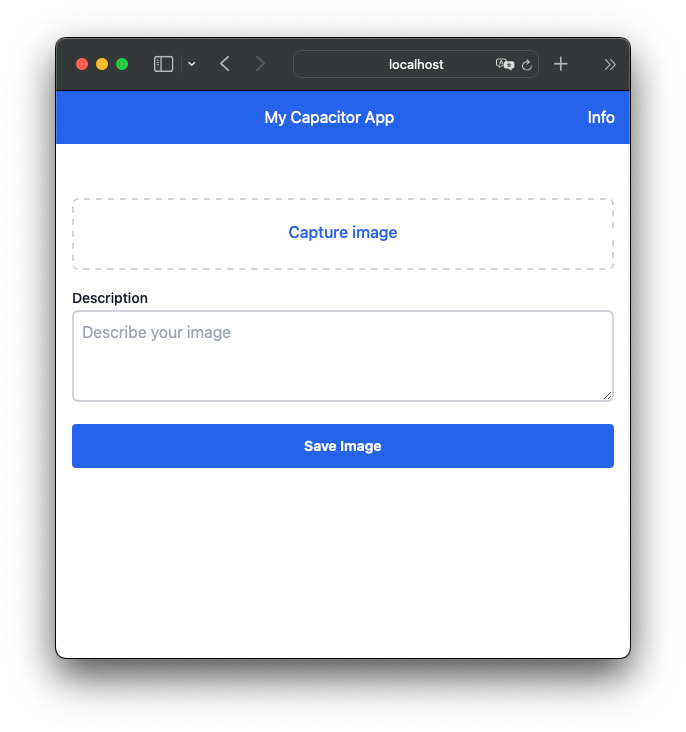
However, there’s no functionality behind it (yet). For this, create a file at src/js/main.js and get started by importing our Capacitor plugins and adding an event listener to our upload-box:
import { Camera, CameraResultType, CameraSource } from '@capacitor/camera';
import { Preferences } from '@capacitor/preferences';
import { Haptics, ImpactStyle } from '@capacitor/haptics';

export const STORAGE_KEY = 'my-images';

// Handle click to add image
document.getElementById('upload-box').addEventListener('click', async (e) => {
  // Capture image with Capacitor
  const photo = await Camera.getPhoto({
    resultType: CameraResultType.Base64,
    source: CameraSource.Prompt,
  });

  // Show the selected image
  const image = document.getElementById('image');
  image.src = `data:image/jpeg;base64,${photo.base64String}`;
  image.style.display = 'block';

  // Hide the dialog upload-box
  document.getElementById('upload-box').style.display = 'none';
});
In this function, we are now using the Capacitor camera package, which will open the native camera on a real device, and then add the resulting image as a base64 string to our image DOM element.
For the browser, because there’s no UI built-in to handle this, we can use the PWA Elements to handle this automatically for us.
<script
  type="module"
  src="https://unpkg.com/@ionic/pwa-elements@latest/dist/ionicpwaelements/ionicpwaelements.esm.js"
></script>
<script
  nomodule
  src="https://unpkg.com/@ionic/pwa-elements@latest/dist/ionicpwaelements/ionicpwaelements.js"
></script>
This package gives a nice fallback UI on the web to capture an image!
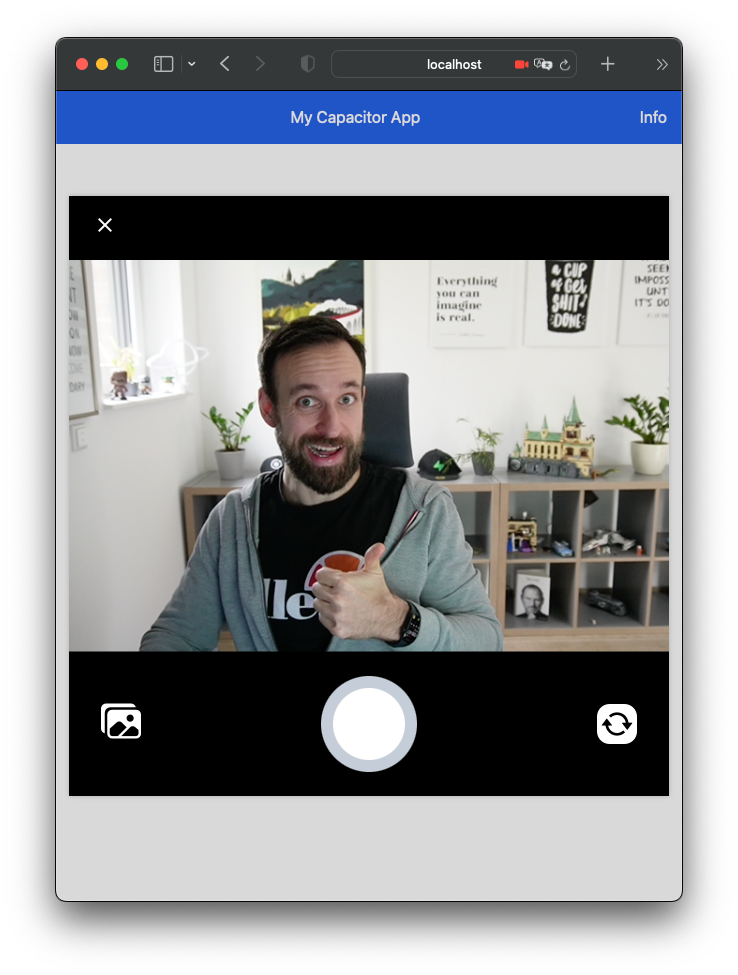
You can even select an image file if you want because we set the source for the camera to CameraSource.Prompt which brings up this handy little sheet.
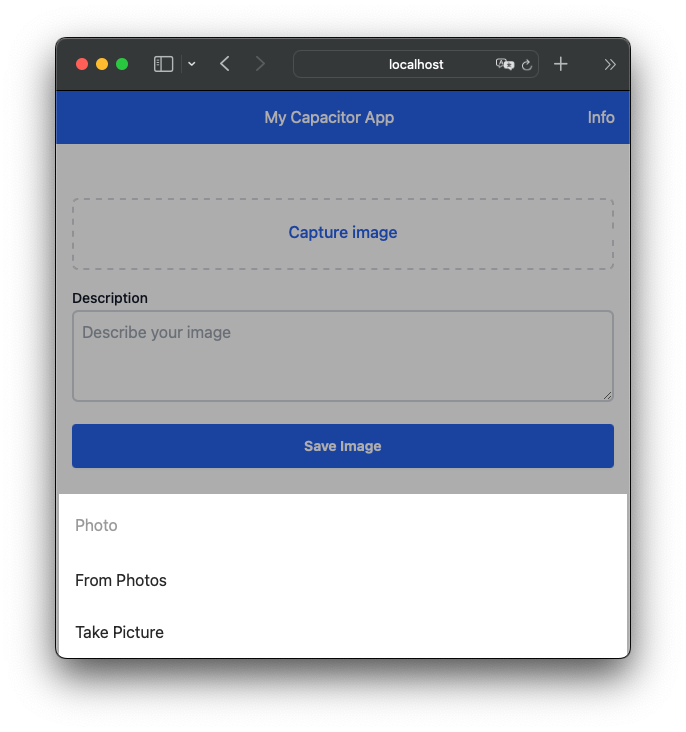
The selected image is displayed, so now we need a function to actually save it along with a little description.
For this task, we add a new function that will grab the image and description and also load all information stored under our defined STORAGE_KEY.
Capacitor Preferences use UserDefaults on iOS and SharedPreferences on Android, and falls back to local storage on the web.
We add some logic to check if we already have stored images and then push() our new object, and before saving the data we need to make it a string as that’s the only type we can store with Capacitor preferences.
Add the following to our src/js/main.js:
// Handle click to safe image
document.getElementById('save').addEventListener('click', async (e) => {
  // Get the image data and input text
  const image = document.getElementById('image').getAttribute('src');
  const description = document.getElementById('description').value;

  // Load any stored previous data
  const { value } = await Preferences.get({ key: STORAGE_KEY });

  // Add the new image/description to the array
  // or create a new array
  // Then store the JSON.stringified() version to Preferences
  if (value) {
    const arr = JSON.parse(value);
    arr.push({ image, description, });
    await Preferences.set({ key: STORAGE_KEY, value: JSON.stringify(arr) });
  } else {
    const arr = [
      {
        image,
        description,
      },
    ];
    await Preferences.set({ key: STORAGE_KEY, value: JSON.stringify(arr) });
  }

  // Reset image and textarea
  document.getElementById('image').style.display = 'none';
  document.getElementById('description').value = '';

  // Show upload-box again
  document.getElementById('upload-box').style.display = 'flex';

  // Make our list reload with a custom event
  const body = document.querySelector('body');
  body.dispatchEvent(new CustomEvent('reload-list'));

  // Indicate list update with haptic feedback
  await Haptics.impact({ style: ImpactStyle.Medium });
});
Clicking the save button makes the image disappear now, but you can find the new entry in your browser debugging tools under storage (or application in Chrome):
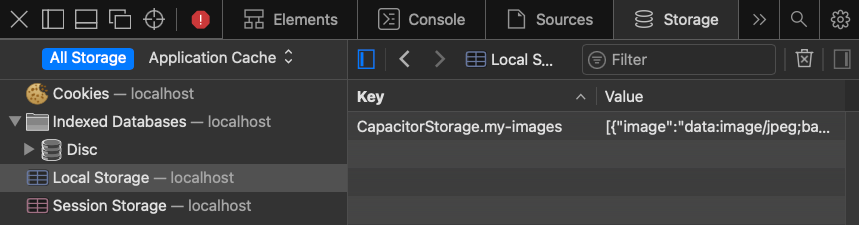
That means we can use one API, but depending on the platform our code runs on the according implementation of that platform will be used!
We have also used the Haptics plugin which won’t work on the browser, but wait until we run this as a native app…
There’s also a custom event reload-list we dispatch so we can reload our image list by listening to this – but of course, we first need that list.
Building a native iOS and Android App with Capacitor
You can drop Capacitor into any web project no matter which framework you use, and simply add native iOS and Android folders from which you can deploy and release a real native mobile app – all in just minutes.
Adding Native Platforms
To get started, install the native platforms and run a build of your web project. Afterward, we can add the platforms using the Capacitor CLI in our project:
npm install @capacitor/android @capacitor/ios
npm run build

npx cap add android
npx cap add ios
Now whenever you want to build a native app, you can simply build your web project and sync those changes into the native folders:
npm run build
npx cap sync
You can now directly deploy your app to a simulator by running:
npx cap run iosYou can select a simulator, and in a few seconds, you should see your native mobile app built with VanillaJS!
At this point, we are leaving web land and diving into native app development, which you will notice because trying to capture an image will crash your app.
Adding native permissions
For native apps, we need to ask for certain permissions, especially if we use plugins like the camera or file system. We can do this for iOS by opening the ios/App/App/Info.plist and adding some elements to the dict:
<key>NSCameraUsageDescription</key>
<string>To capture images</string>
<key>NSPhotoLibraryAddUsageDescription</key>
<string>To add images</string>
<key>NSPhotoLibraryUsageDescription</key>
<string>To select images</string>
The same needs to be done for Android, where we need to add the following at the bottom of the android/app/src/main/AndroidManifest.xml:
<uses-permission android:name="android.permission.INTERNET" />
<uses-permission android:name="android.permission.READ_EXTERNAL_STORAGE" />
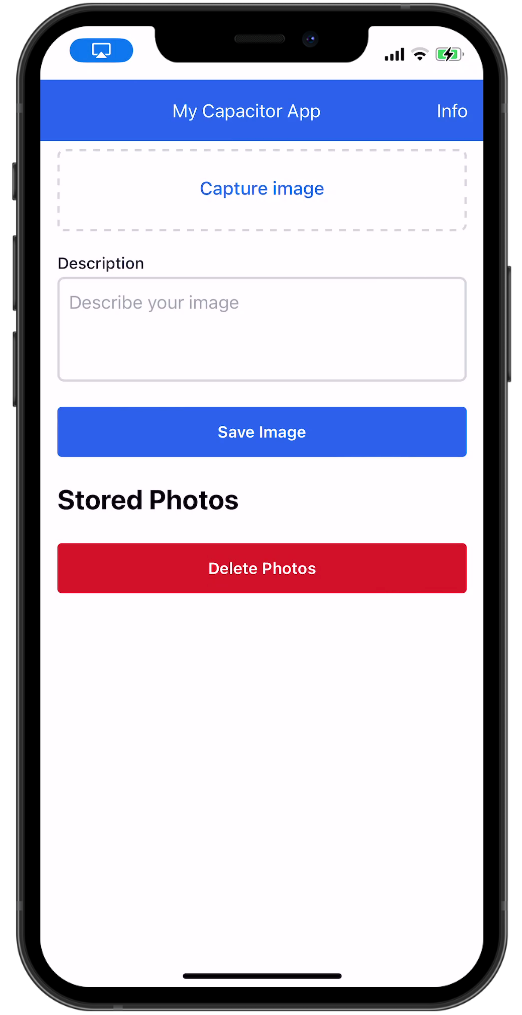
<uses-permission android:name="android.permission.WRITE_EXTERNAL_STORAGE" />This will make our app work, but we still have a somewhat ugly-looking UI issue at the top so let’s fix that as well.
Fixing the Native UI
On native devices, we sometimes have a notch at the top or a safe area at the bottom – things we usually don’t have to worry about with a website.
To fix these issues, let’s open the index.html and add a simple element:
<body>
  <!-- Fix for iOS navbar gap -->
  <div class="app-navbar-notch"></div>
  <!-- Rest of your code -->
</body>
This element will be positioned at the top of our app and uses the safe-area-inset-top environment variable, which will be 0px inside a browser, but has a value inside our native app.
Add the following to the src/css/style.css:
/* Fix for iOS area above our custom nav bar */
.app-navbar-notch {
position: fixed;
top: 0;
left: 0;
right: 0;
z-index: 99;
height: env(safe-area-inset-top);
@apply bg-blue-600;
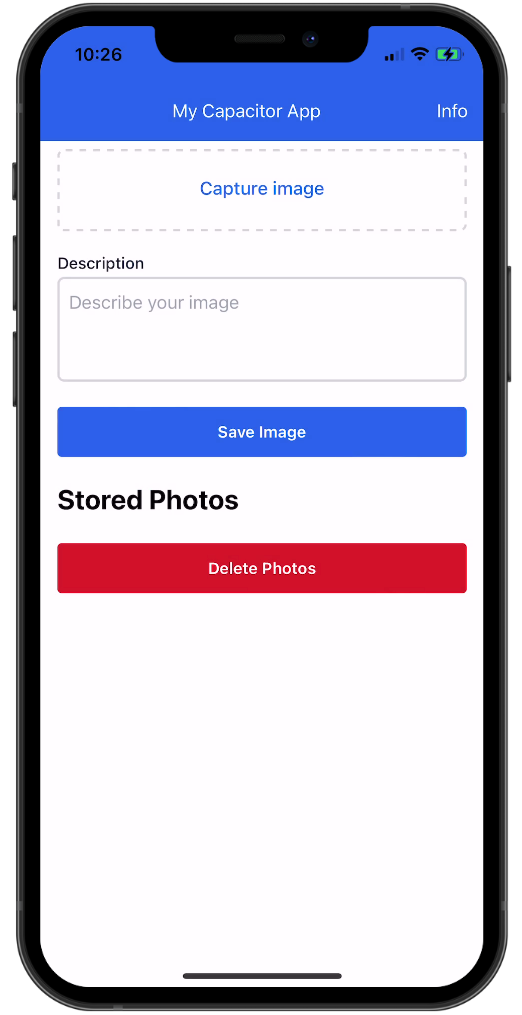
}In previous code snippets I already made sure we respect that area within our content, so after running another build our top area should look much cleaner.
Parting Thoughts
We’ve seen that we can build powerful native mobile apps with Capacitor and VanillaJS without using any big Javascript framework.
However, if you go down this route, I still recommend you check out the Ionic Framework, which is an open source mobile UI toolkit that gives you access to tons of components that adapt their look for iOS and Android. Ionic Framework also allows you to easily display a styled alert or modal to build truly amazing native mobile apps.
If you enjoyed this tutorial, check out how you can use Capacitor to build native iOS and Android apps with the web.